
Customizing your character’s appearance in Minecraft is one of the most personal and expressive ways to enhance your gameplay experience. Whether you want to look like a ninja, a superhero, or a pixel-art masterpiece, changing your skin transforms how you see yourself—and how others see you—in the blocky universe. But with multiple versions of Minecraft—Java Edition, Bedrock Edition (including mobile, Windows 10, and consoles), and legacy systems—the process varies significantly. This guide breaks down everything you need to know about adding and customizing skins across all platforms, ensuring no player gets left behind.
Understanding Minecraft Skins: What They Are and How They Work
A Minecraft skin is a 64x32 or 64x64 pixel texture file that wraps around your character model, replacing the default Steve or Alex with your chosen design. These skins are applied client-side in single-player worlds but synchronized through Mojang’s servers in multiplayer environments. The two main formats are:
- Classic (64x32): Uses only the front and back of limbs and body, with no arms on the sides.
- Slender (64x64): Features thinner arms and includes side arm textures, offering more detailed designs.
Skin files are saved as PNG images and must follow precise pixel alignment to avoid visual glitches when rendered in-game. While Java Edition supports both formats natively, Bedrock Edition automatically converts uploaded skins into its own rendering style.
“Skins are more than cosmetics—they’re digital identity in the Minecraft community.” — Lydia Foster, Game Design Educator and Modding Instructor
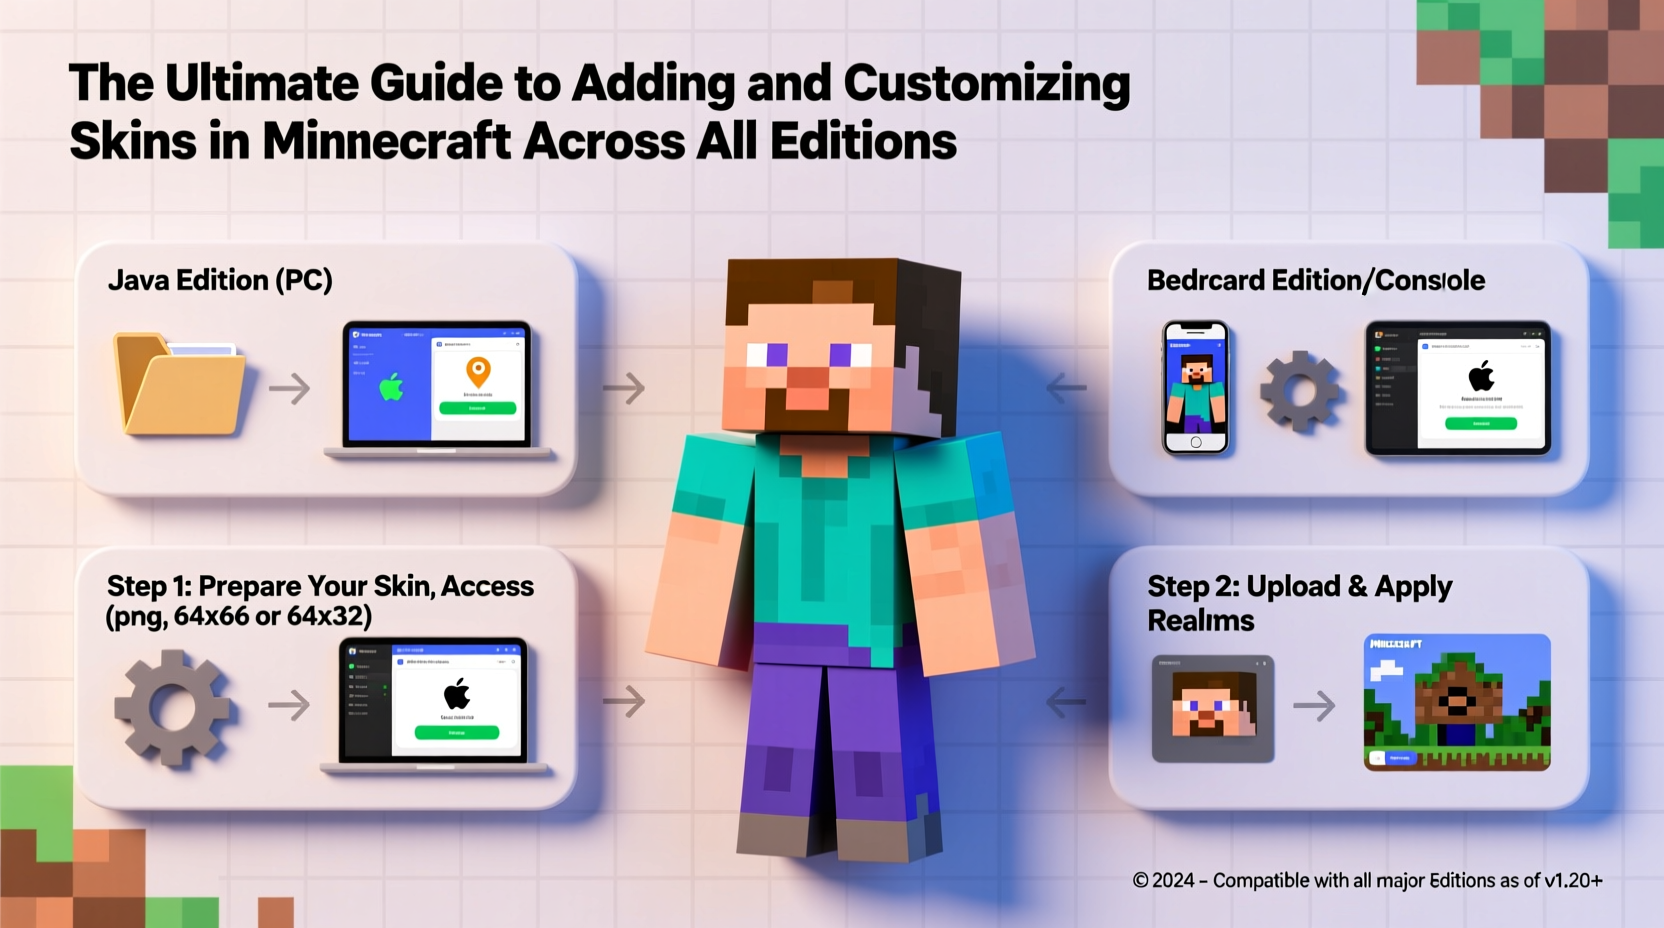
How to Add a Skin in Minecraft: Step-by-Step by Edition
The method for applying a skin depends entirely on which version of Minecraft you're playing. Below is a breakdown for each major platform.
Java Edition (PC/Mac)
- Visit minecraft.net and log in with your Mojang account.
- Navigate to your profile settings by clicking your username in the top-right corner.
- Select “Skins” from the dropdown menu.
- Click “Upload Skin” and choose a PNG file from your device.
- Select either “Classic” or “Slim” model based on your skin design.
- Save changes. The skin will sync across all devices where you play Java Edition.
Bedrock Edition (Windows 10/11, Mobile, Xbox, PlayStation, Nintendo Switch)
In Bedrock, skin management occurs within the game itself:
- Launch Minecraft and go to the main menu.
- Select “Settings” (gear icon).
- Go to “Profile” > “Edit Character.”
- Choose “Skins” and browse available options.
- To upload a custom skin, select “Import” and navigate to your PNG file.
- Confirm the import and apply the skin to your active profile.
Note: On consoles, file access may be limited. You’ll need to transfer the skin via USB drive or cloud storage linked to your device.
Legacy Console Editions (Xbox 360, PS3, Wii U)
These older versions do not support custom skin uploads. Players are restricted to preloaded skin packs purchased from the in-game store or included with texture packs. No user-generated skins can be applied.
Creating Your Own Custom Skin: Tools and Best Practices
Designing a unique skin allows for full creative control. Here’s how to make one effectively:
Recommended Skin Editors
- Minecraft Skin Editor (minceraft.net): Browser-based, intuitive interface, supports both classic and slim models.
- Novaskin.me: Advanced layering tools and real-time preview.
- BlueSkin Editor: Desktop application with offline functionality and zoom precision.
Design Tips for High-Quality Skins
- Use a grid overlay to align clothing seams and facial features accurately.
- Avoid overly bright colors that may appear washed out in-game.
- Test your skin in-game before finalizing—some lighting conditions reveal transparency issues.
- Reserve transparent pixels only for capes or overlays, if supported.
Skin Compatibility and Troubleshooting Across Platforms
Not all skins work seamlessly across devices. Differences in rendering engines, resolution handling, and animation rigs lead to inconsistencies.
| Edition | Supports Custom Uploads? | Model Types | Syncs via Account? | Notes |
|---|---|---|---|---|
| Java Edition | Yes | Classic, Slim | Yes (Mojang account) | Most flexible; ideal for creators |
| Bedrock (Win 10, Mobile) | Yes | Auto-converted | Limited (via Microsoft profile) | Some details lost in conversion |
| Xbox Series X|S / PS5 | Yes (via import) | Standardized | No (local only) | Requires file transfer |
| Nintendo Switch | Yes (via SD card) | Fixed proportions | No | Manual setup required |
| Older Consoles (PS3, Xbox 360) | No | Preset only | No | Only marketplace skins available |
Common Issues and Fixes
- Skin not appearing online: Log out and back into your account to force a refresh.
- Arms appear too thick: You’ve used a slim skin on a classic model setting—or vice versa.
- Texture appears stretched: Check that the image is exactly 64x64 pixels and uses the proper template.
- Uploaded skin reverts: Confirm you’re logged into the correct Microsoft or Mojang account.
Real Example: From Concept to In-Game Avatar
Jamal, a high school student and avid Minecraft builder, wanted to represent his cultural heritage in-game. He designed a skin inspired by traditional West African attire using Ankara patterns. Using Novaskin.me, he mapped vibrant geometric designs onto the torso and head layers. After several test renders, he adjusted the sleeve length to prevent clipping during animation. Once uploaded to his Java Edition profile, the skin became his signature look in multiplayer servers. Other players began requesting similar cultural designs, sparking a server-wide appreciation event for diverse avatars.
This example shows how a well-crafted skin can transcend aesthetics and become a medium for storytelling and connection.
Frequently Asked Questions
Can I use the same skin on both Java and Bedrock Editions?
Yes, but results may vary. While the PNG file can be reused, Bedrock often alters shading and limb proportions. For best results, create separate versions optimized for each edition.
Are capes still available for custom skins?
Capes are no longer granted freely. However, players who had Minecon capes before 2016 retain them. Official charity capes (e.g., for UNICEF) and Optifine capes (via donation) remain exceptions. Bedrock Edition uses “cloaks” sold in the marketplace.
Why does my skin look blurry in-game?
This usually happens when the image isn’t exactly 64x64 pixels or has been compressed. Use lossless PNG export settings and avoid upscaling low-resolution art.
Checklist: Successfully Adding a Custom Skin
- ✅ Verify your Minecraft edition and account type (Mojang or Microsoft)
- ✅ Download or create a skin using the correct template (64x64 PNG)
- ✅ Choose between classic or slim model based on design
- ✅ Upload via official website (Java) or in-game editor (Bedrock)
- ✅ Test the skin in a world to ensure proper rendering
- ✅ Backup your skin file for future use or sharing
Conclusion: Make Your Mark, One Pixel at a Time
Custom skins are more than cosmetic upgrades—they’re expressions of identity, creativity, and belonging in the Minecraft universe. Whether you're playing solo or joining a bustling server, your avatar tells a story before you say a word. By understanding the nuances across editions and mastering the tools at your disposal, you gain full control over that narrative. Now that you know how to add and customize skins with confidence, it’s time to bring your vision to life. Design boldly, share proudly, and let your character stand out in the crowd.


 浙公网安备
33010002000092号
浙公网安备
33010002000092号 浙B2-20120091-4
Comments
No comments yet. Why don't you start the discussion?