
A well-fitting bracelet should feel like an extension of your wrist—secure, balanced, and barely noticeable. Yet many people wear bracelets that are too tight, too loose, or misaligned, leading to discomfort, skin irritation, or even loss. Whether it’s a cherished heirloom, a luxury timepiece, or a trendy chain, achieving the ideal fit isn’t guesswork. It’s a blend of measurement precision, material understanding, and technique. This guide walks you through every step of adjusting any bracelet type confidently and correctly.
Why Proper Bracelet Fit Matters
The right fit goes beyond comfort—it affects durability, appearance, and safety. A bracelet that slides around too much can snag on clothing or door handles. One that’s too tight restricts circulation and leaves marks. Over time, improper tension can weaken links, stretch elastic, or damage clasps.
Experts agree: “A properly adjusted bracelet doesn’t draw attention to itself. It complements the wearer without causing distraction or discomfort,” says Daniel Reyes, a master jeweler with over two decades of experience in fine jewelry restoration.
Step-by-Step Guide to Measuring Your Wrist
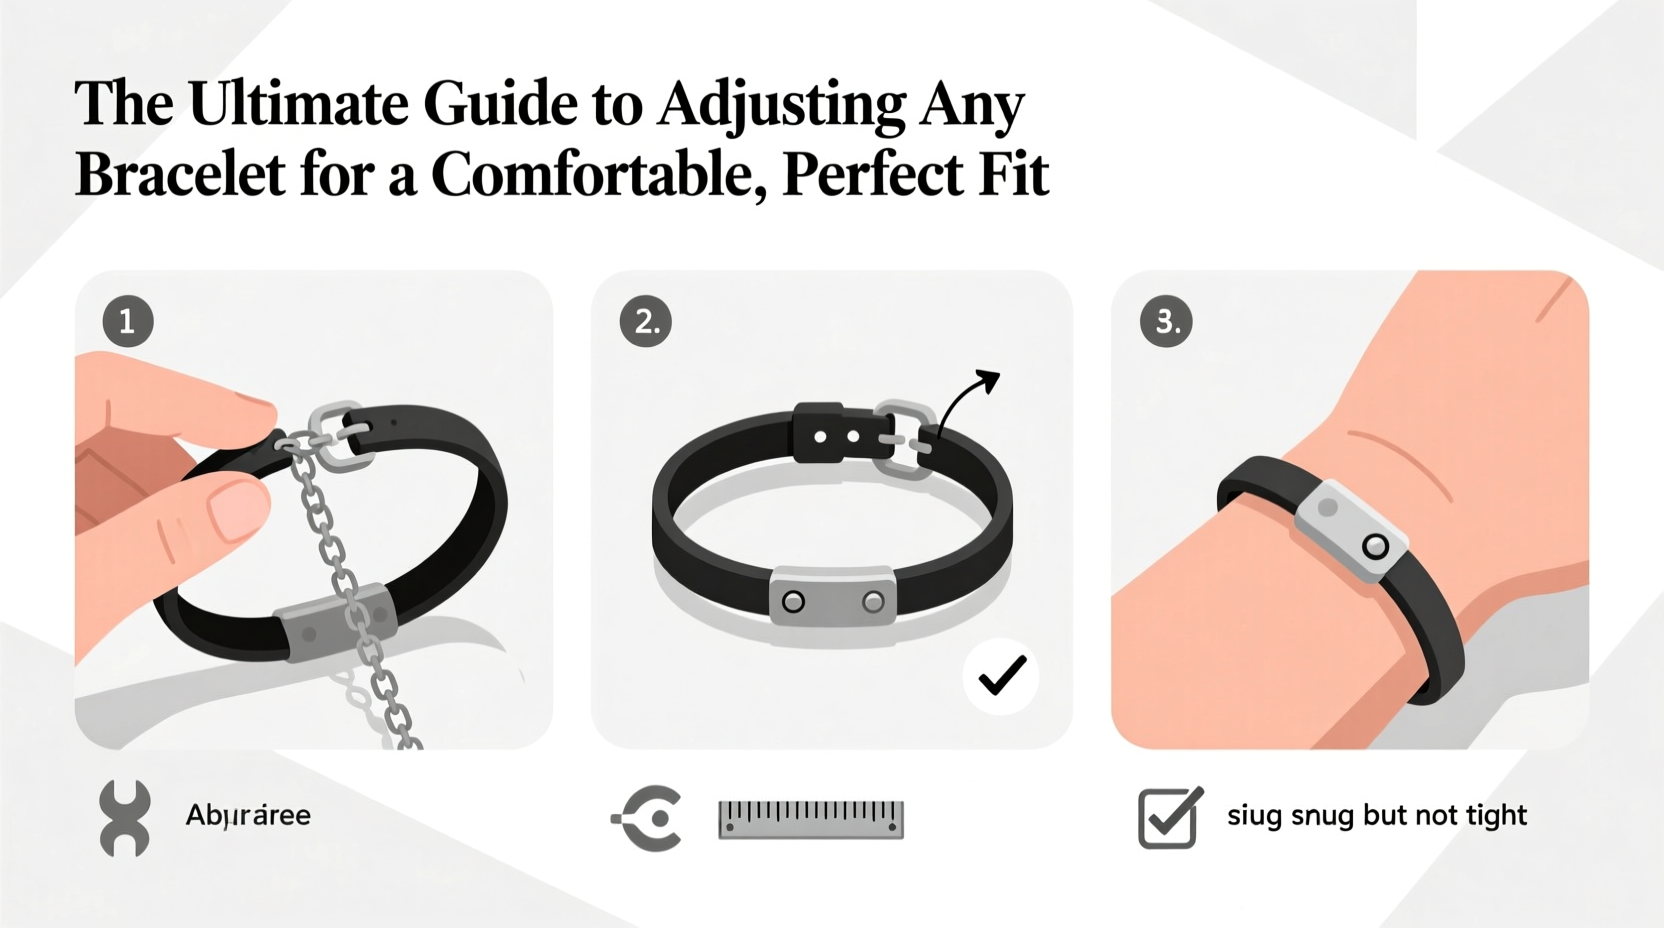
Before making any adjustments, accurate measurement is essential. Use a flexible measuring tape or a strip of paper and a ruler.
- Wrap the tape snugly around the wrist bone (not too tight).
- Note the measurement in inches or centimeters.
- Add 0.25 to 0.75 inches (0.6–2 cm) for comfort, depending on preference and bracelet style.
- For bangles or rigid cuffs, go slightly larger to allow clearance over the hand.
For example, if your wrist measures 6.5 inches, a comfortable bracelet length would be between 6.75 and 7.25 inches. Delicate chains may require less added space; wider cuffs need more.
| Bracelet Type | Recommended Fit Clearance | Notes |
|---|---|---|
| Skinny Chain | 0.25 inch (0.6 cm) | Tight but not constricting |
| Medium Bangle | 0.5 inch (1.3 cm) | Must slide over knuckles comfortably |
| Wide Cuff | 0.75 inch (2 cm) | No gap when worn; hugs wrist |
| Elastic Beaded | Fits snugly | Should stretch slightly when worn |
Adjusting Different Bracelet Types
Not all bracelets are adjusted the same way. The method depends on material, closure type, and construction.
Metal Link Bracelets (e.g., Rolex, Cartier, Generic Chains)
These often have removable links held by pins or screws. Adjusting them requires specific tools and care.
- Lay the bracelet flat and identify the removal arrows stamped on the underside of links.
- Use a pin removal tool or small nail set and hammer to gently push out the pin.
- Remove the necessary number of links from both sides for symmetry.
- Reinsert pins securely, ensuring they lock into place.
Beaded or Elastic Bracelets
Popular for casual and spiritual styles, these rely on stretch cord elasticity.
- If too large, restring using a smaller diameter cord or fewer beads.
- If too tight, add spacer beads or use a longer strand.
- Knot tightly and apply a drop of jewelry glue to secure knots.
“Elastic bracelets should fit snugly but never dig into the skin. When in doubt, size up slightly—stretch degrades over time.” — Lena Park, Artisan Jewelry Designer
Cuff and Bangle Bracelets
Rigid designs don’t adjust like chains, but fit can still be optimized.
- Gently bend open or closed using padded pliers—only for metal cuffs.
- For bangles, choose diameters based on hand width, not just wrist size.
- Consider hinged bangles if traditional ones are difficult to put on.
Leather or Fabric Strap Bracelets
Common on watches and bohemian styles, these use holes and buckles.
- To shorten: punch a new hole using an awl and leather punch.
- To lengthen: some straps have hidden extensions; others require replacement.
- Always seal cut edges with edge paint to prevent fraying.
Tools You Need for DIY Adjustment
Professional help is best for valuable pieces, but basic tools empower safe at-home tweaks.
- Precision Screwdriver Set: For screw-in link removal.
- Pin Pusher Tool: Safely removes spring bars and pins.
- Jeweler’s Pliers (Chain Nose & Bent): For gripping and bending.
- Measuring Tape & Ruler: Accurate sizing starts here.
- Awl & Hole Punch: For leather strap modifications.
- Thread Conditioner & Glue: Secures knots on beaded strings.
Mini Case Study: Adjusting a Gifted Watch Bracelet
Sarah received a stainless steel watch as a birthday gift. While beautiful, the bracelet was too large, sliding around her slim wrist. She visited a local jeweler who removed three links—two from one side, one from the other—unbalancing the clasp position. At home, Sarah researched proper symmetry and returned to request correction. The jeweler then removed one additional link from the opposite side, aligning the clasp perfectly over the wrist center. The difference was subtle but significant: improved comfort, better aesthetics, and no slippage during daily tasks.
This case highlights the importance of symmetry and informed oversight—even professionals make mistakes when clients don’t know what to expect.
Checklist: Before and After Adjusting Your Bracelet
- ✅ Measure your wrist accurately
- ✅ Identify bracelet type and adjustment method
- ✅ Gather appropriate tools
- ✅ Check for directional links or asymmetrical design
- ✅ Remove equal links from both sides (if applicable)
- ✅ Test fit before finalizing
- ✅ Inspect clasp function and security
- ✅ Store removed parts safely
When to Seek Professional Help
While minor adjustments are manageable at home, certain situations demand expert hands:
- High-value or antique bracelets
- Integrated links (common in luxury watches)
- Soldered or fused connections
- Bracelets with embedded electronics (smartwatches)
- Uncertainty about tool usage or structural integrity
One mistake can lead to irreversible damage or safety risks. As Reyes warns, “I’ve seen $10,000 bracelets ruined by a misplaced hammer strike. If you’re unsure, stop and consult a professional.”
FAQ
How do I know if my bracelet is too tight?
If you can’t slide a finger underneath, notice red marks after removal, or feel numbness or tingling, the bracelet is too tight. Circulation should remain unimpeded.
Can I resize a gold bracelet multiple times?
Yes, but each resizing weakens solder points slightly. Repeated opening and closing may eventually require reinforcement or re-shanking. High-karat gold is softer and more prone to wear.
What’s the average cost to resize a bracelet professionally?
Simple link removal typically costs $20–$50. Complex work on designer pieces or soldering may range from $75 to $200, depending on region and craftsmanship required.
Conclusion
A perfectly fitted bracelet enhances both comfort and confidence. By understanding your wrist dimensions, recognizing bracelet types, and applying the right techniques—or knowing when to step back—you preserve both function and beauty. Whether you're customizing a sentimental piece or optimizing a daily accessory, the effort pays off in how it feels on your skin and how it reflects your personal style.


 浙公网安备
33010002000092号
浙公网安备
33010002000092号 浙B2-20120091-4
Comments
No comments yet. Why don't you start the discussion?