
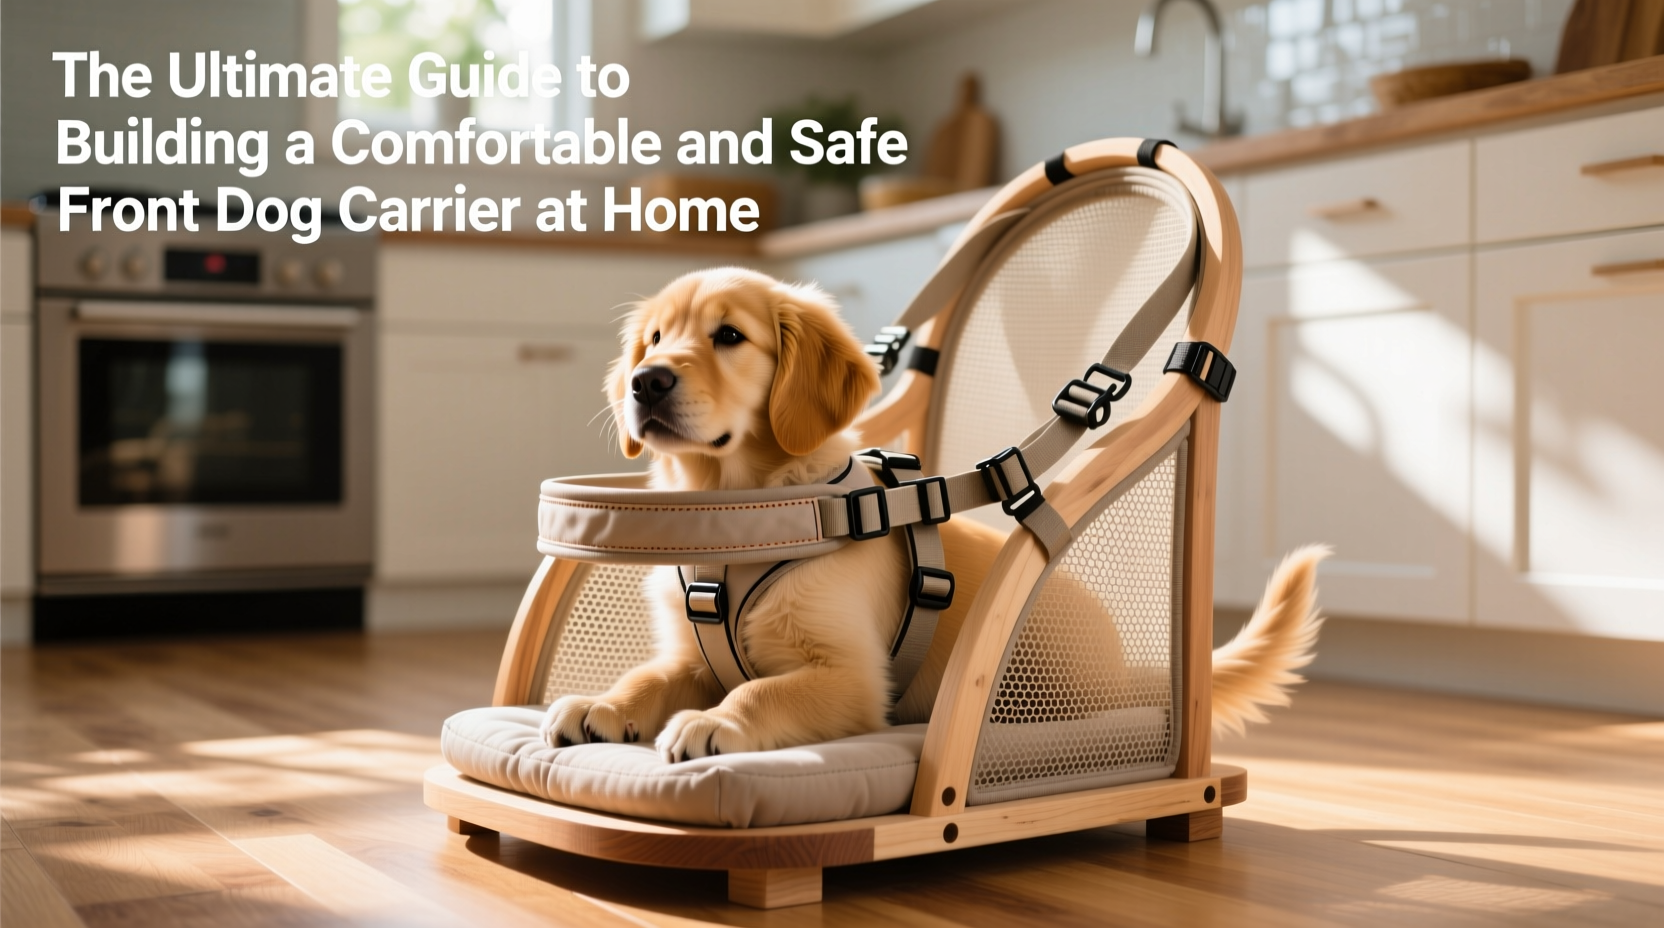
Walking your dog through the city, hiking narrow trails, or simply commuting without sacrificing bonding time—front dog carriers make all of this possible. While commercial options exist, many pet owners find them overpriced, poorly padded, or incompatible with their body type. Building your own front dog carrier allows you to customize fit, comfort, and safety while using sustainable materials. This guide walks you through every step: from selecting the right fabrics to final safety testing, ensuring both you and your dog enjoy secure, strain-free adventures.
Why Build Your Own Front Dog Carrier?
Prefabricated carriers often prioritize aesthetics over ergonomics or use synthetic padding that traps heat. When you build your own, you control the materials, structure, and weight distribution. You can tailor the dimensions precisely to your dog’s size and weight, incorporate breathable mesh panels, and reinforce stress points for long-term durability. Most importantly, you ensure the carrier meets strict safety standards—something not always guaranteed in mass-produced models.
“Custom-built carriers significantly reduce pressure on a dog’s spine and improve owner posture during extended wear.” — Dr. Lena Patel, Veterinary Biomechanics Researcher, University of Colorado
Essential Materials and Tools
Before cutting any fabric, gather high-quality components designed for load-bearing and comfort. Avoid lightweight textiles or flimsy zippers; these compromise safety under movement.
| Material | Purpose | Recommended Type |
|---|---|---|
| Outer Fabric | Durability and weather resistance | 600D polyester or canvas duck cloth |
| Mesh Panels | Ventilation and visibility | Nylon tulle or pet-safe breathable mesh |
| Foam Padding | Comfort and shock absorption | 1/2-inch closed-cell foam (EVA or polyethylene) |
| Straps & Buckles | Load support and adjustability | 2-inch wide nylon webbing with side-release buckles |
| Thread | Sewing strength | UV-resistant polyester thread (heavy-duty) |
| Frame Stiffener | Maintains upright shape | Plastic boning or flexible wire insert |
Step-by-Step Construction Guide
Follow this sequence to assemble a functional, ergonomic front carrier. Allow 6–8 hours for completion, depending on sewing experience.
- Measure your dog: Record length (nose to base of tail), chest girth, height at shoulders, and weight. Add 2 inches to each dimension for comfort and movement.
- Create a paper pattern: Sketch the carrier body: a U-shaped base (for bottom and sides) and flat front/back panels. Include openings for head, legs, and mesh windows.
- Cut fabric layers: Cut two outer pieces, two lining pieces, one padded middle layer, and mesh inserts. Reinforce edges with interfacing if needed.
- Sew ventilation zones: Attach mesh panels between outer and lining layers using zigzag stitch for stretch. Ensure no sharp edges contact your dog.
- Assemble the main compartment: Sew side and bottom seams with reinforced box stitching at corners. Insert foam padding between outer and inner layers around the top rim and back panel.
- Add structural support: Insert plastic boning into side channels or sew a semi-rigid base board (lightweight plywood or dense cardboard sealed in vinyl) to prevent sagging.
- Attach straps: Position shoulder straps diagonally across the back panel for weight distribution. Use bartack stitches at anchor points. Include a sternum strap with quick-release buckle.
- Install closures: Use dual zippers on the front opening for easy access. Back it with a flap to prevent accidental escapes.
- Finalize interior: Line the floor with removable, washable fleece pad secured by Velcro. Avoid dangling strings or loose threads.
- Test-load safely: Place a weighted bag (equal to your dog’s weight) inside and wear for 15 minutes. Adjust strap angles if pressure builds on shoulders or hips.
Safety Checklist Before First Use
- All seams are double-stitched or bartacked at high-tension points.
- Zippers operate smoothly and have protective guards to prevent fur snagging.
- Dog can breathe freely, see forward, and hold head upright without restriction.
- No exposed hardware, sharp edges, or pinch points.
- Weight is evenly distributed across shoulders and hips—not concentrated on the neck.
- Carrier allows for quick release in emergencies (e.g., fallen strap, sudden panic).
- You can carry the dog for at least 10 minutes without discomfort or imbalance.
Real-World Example: Maya’s Urban Commute Upgrade
Maya, a Boston-based software engineer, adopted a 14-pound Cairn Terrier named Scout. Her daily subway commute involved stairs, crowds, and unpredictable delays. Store-bought carriers caused shoulder pain and left Scout anxious due to poor airflow. Using this guide, she built a custom front carrier with reflective trim, ventilated mesh on three sides, and memory foam shoulder pads. She added a small pocket for waste bags and a leash clip inside. After two weeks of gradual training, Scout willingly entered the carrier. Maya reported reduced fatigue and greater confidence navigating rush hour—without compromising her dog’s comfort.
Common Mistakes to Avoid
Even well-intentioned designs can fail under real-world conditions. These errors compromise safety or usability:
- Overlooking weight limits: Carriers should support at least 1.5x your dog’s weight. A 20-pound limit isn’t safe for a 19-pound dog.
- Poor ventilation: Solid fabric fronts trap heat and limit visibility, increasing anxiety.
- Inadequate reinforcement: Thin thread or single stitching at strap junctions can snap under dynamic loads.
- Ignoring ergonomics: Horizontal straps dig into shoulders. Diagonal or Y-shaped harness-style straps distribute weight better.
- Skipping test runs: Never take your dog on a long trip without dry runs at home and short outdoor trials.
Frequently Asked Questions
Can I use this carrier for a puppy?
Yes, but adjust dimensions as they grow. Monitor frequently to ensure proper spinal alignment. Puppies should not be carried more than 10–15 minutes at a time until fully developed.
How do I clean the carrier?
Remove the fleece liner and wash separately. Spot-clean outer surfaces with mild detergent and a damp cloth. Do not submerge the entire carrier—this can weaken glued seams or degrade padding.
Is it safe to bike or run with a homemade carrier?
Only if specifically designed for motion stability. Standard carriers lack the suspension and secure harness integration needed for high-impact activities. Consider adding a waist belt and rigid base if planning active use.
Final Thoughts and Next Steps
A well-built front dog carrier enhances mobility, strengthens companionship, and protects your pet in crowded or hazardous environments. By constructing your own, you invest in quality, safety, and personalization that off-the-shelf products rarely offer. The effort pays dividends in comfort, durability, and peace of mind. Whether you’re navigating urban sidewalks or exploring nature trails, your custom carrier becomes an extension of your shared journey.


 浙公网安备
33010002000092号
浙公网安备
33010002000092号 浙B2-20120091-4
Comments
No comments yet. Why don't you start the discussion?