
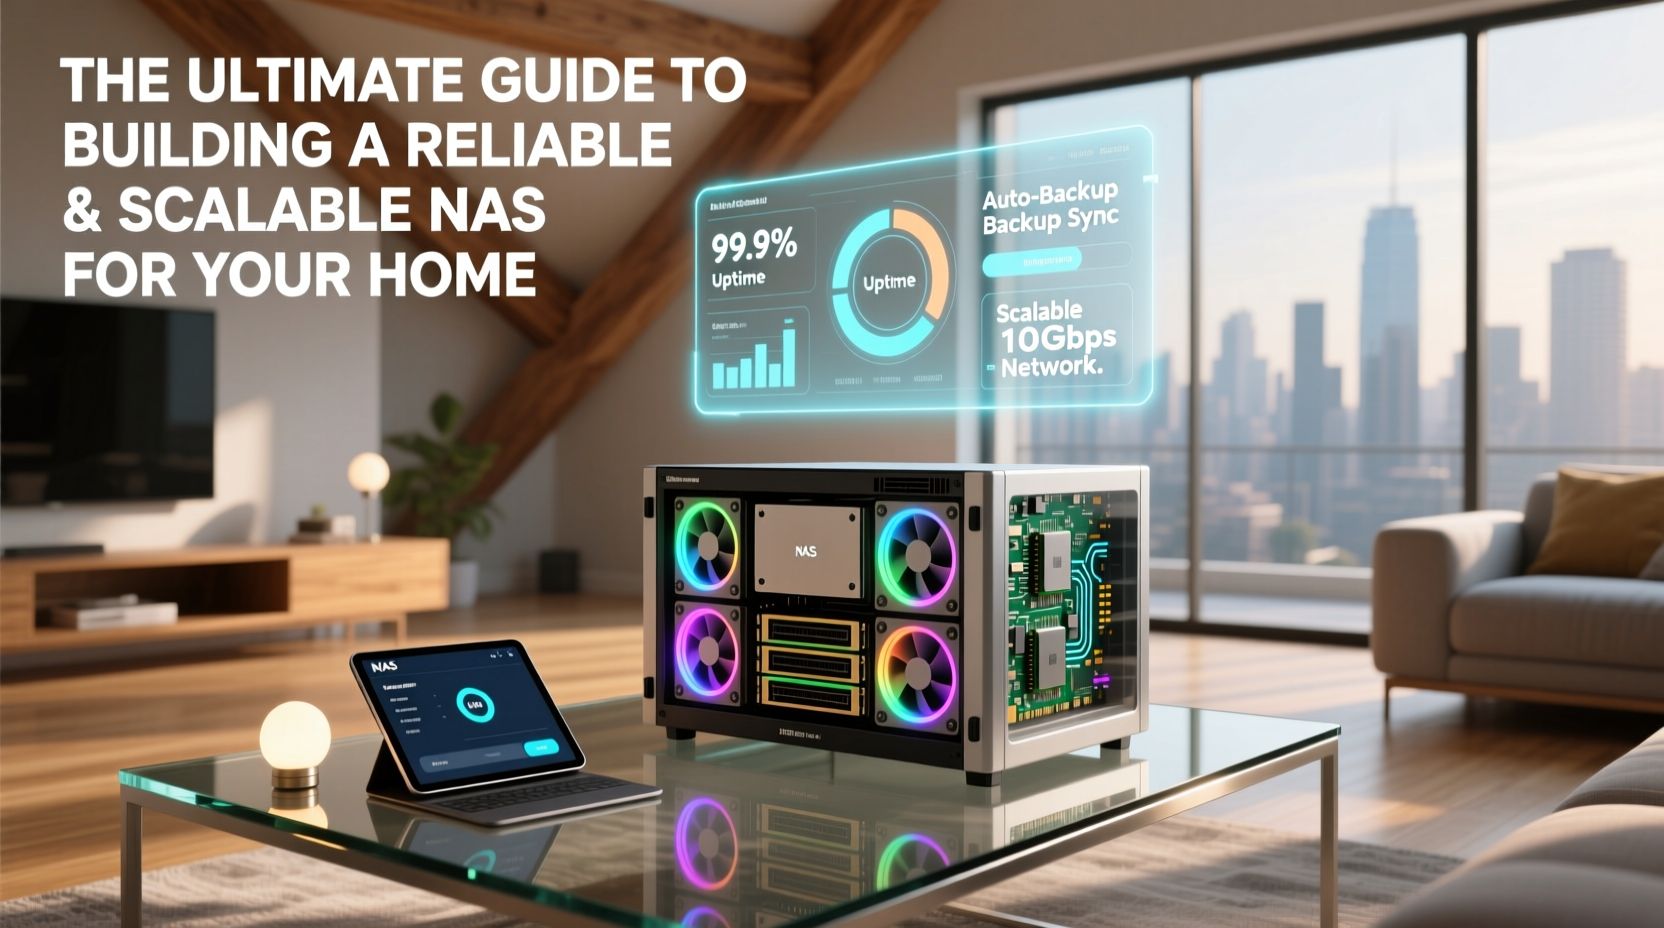
In an era where digital content fills our lives—from 4K family videos to decades of photos and extensive music libraries—relying on individual hard drives or cloud storage alone is no longer sufficient. A Network Attached Storage (NAS) system offers centralized, secure, and always-accessible data management within your home network. But not all NAS setups are created equal. Building one that’s both reliable and scalable requires thoughtful planning, the right components, and smart configuration. This guide walks you through every phase of creating a future-proof home NAS that grows with your needs.
Selecting the Right Hardware Foundation
The reliability and longevity of your NAS begin with hardware choices. Unlike consumer desktops, a NAS runs 24/7, making component durability critical. Start with a low-power, energy-efficient CPU such as an Intel Celeron J-series or AMD Ryzen Embedded. These chips provide enough processing power for file serving, backups, and light virtualization without generating excessive heat or consuming high electricity.
RAM is equally important. While 8GB may suffice for basic file sharing, 16GB allows room for containerized applications (like Docker), media indexing, and multiple user access. Use ECC (Error-Correcting Code) RAM if your motherboard supports it—this reduces the risk of data corruption over time.
For storage drives, avoid consumer-grade desktop HDDs. Instead, opt for NAS-optimized drives from manufacturers like Western Digital Red Plus, Seagate IronWolf, or Toshiba N300. These drives are engineered for continuous operation, vibration resistance, and compatibility with RAID arrays. Always purchase drives from the same batch to minimize variance in failure rates.
Understanding RAID and Data Protection Strategies
RAID (Redundant Array of Independent Disks) is fundamental to NAS reliability. It ensures data remains accessible even if one or more drives fail. The most common configurations for home users are:
| RAID Level | Drive Minimum | Fault Tolerance | Best For |
|---|---|---|---|
| RAID 1 | 2 | 1 drive | Small setups, maximum safety |
| RAID 5 | 3 | 1 drive | Balance of capacity and safety |
| RAID 6 | 4 | 2 drives | Long-term scalability, higher safety |
| RAID 10 | 4 | Up to 2 drives | High performance + redundancy |
For most home environments, RAID 6 is ideal. It protects against two simultaneous drive failures—a crucial safeguard during rebuilds, which can stress remaining drives. Avoid RAID 5 with drives larger than 4TB due to extended rebuild times and increased risk of unrecoverable read errors.
“RAID is not backup—it’s redundancy. Always pair your NAS with an offsite or external backup strategy.” — David Liu, Senior Systems Architect at OpenStorage Foundation
Step-by-Step: Building and Configuring Your NAS
Follow this sequence to assemble and configure your system securely and efficiently:
- Assemble the hardware: Install the motherboard, CPU, RAM, and PSU into a well-ventilated case. Connect SATA drives to the motherboard or dedicated HBA (Host Bus Adapter).
- Install NAS operating system: Choose between TrueNAS CORE, OpenMediaVault, or UnRAID. TrueNAS is powerful and free but requires more resources; UnRAID excels in flexibility with mixed drive sizes.
- Create the storage pool: In TrueNAS, use ZFS to form a zpool with RAIDZ2 (equivalent to RAID 6). ZFS adds checksumming, compression, and snapshot capabilities.
- Configure shared folders: Set up SMB (for Windows), NFS (for Linux), and AFP (for older Macs) shares. Apply permissions based on user roles.
- Enable regular scrubs: Schedule monthly ZFS scrubs to detect and correct silent data corruption.
- Set up automated backups: Use rsync or cloud sync tools to replicate critical data to an external drive or encrypted cloud service.
Scaling Your NAS Over Time
Scalability means your NAS can grow without requiring a full rebuild. Plan for expansion by choosing a motherboard with extra SATA ports and a case that supports additional bays. UnRAID, for instance, allows adding drives one at a time—even of different sizes—without reconfiguring the entire array.
When expanding storage, consider tiered approaches:
- Hot tier: SSD cache for frequently accessed files (photos, documents).
- Warm tier: Spinning disks in RAID for media and backups.
- Cold tier: Optional offline or tape storage for archival data.
Use scheduled snapshots to version control important folders. TrueNAS allows hourly snapshots retained for days, weekly ones for months—protecting against accidental deletion or ransomware.
Real Example: The Home Media & Backup Hub
Consider Mark, a photographer and father of two. He started with a 4-bay NAS using RAID 5 and 4TB drives. Within three years, his 4K video collection outgrew the space. Because he used ZFS and left one bay free, he upgraded to RAIDZ2 by replacing drives one at a time (a process called “drive spin-up”). His data remained online throughout. He now uses SSD caching for his Lightroom catalog and schedules nightly backups of his laptop to the NAS. The system has survived two drive failures without data loss.
Essential Best Practices Checklist
To ensure your NAS remains reliable and performs well long-term, follow this checklist:
- ✅ Use NAS-rated hard drives designed for 24/7 operation
- ✅ Choose a redundant RAID configuration (RAID 6 or ZFS RAIDZ2)
- ✅ Enable regular file system scrubs (monthly for ZFS)
- ✅ Install a UPS to protect against power surges and outages
- ✅ Enable SMART monitoring and set up email alerts for drive health
- ✅ Maintain offsite backups using Backblaze B2, Wasabi, or physical drives
- ✅ Keep the OS and packages updated to patch security vulnerabilities
- ✅ Restrict remote access with strong passwords and two-factor authentication
Frequently Asked Questions
Can I use my old PC as a NAS?
Yes, but with caveats. Older PCs may lack energy efficiency, sufficient drive bays, or support for ECC RAM. If repurposing, ensure the machine can run quietly and coolly in a closet or basement. Install a lightweight OS like OpenMediaVault and monitor temperatures closely.
How do I access my NAS remotely?
Enable secure remote access via HTTPS with a reverse proxy or use a built-in service like TrueNAS Cloud Sync or Tailscale for zero-config VPN access. Never expose SMB directly to the internet—it’s a major security risk.
Is ZFS better than traditional file systems for home NAS?
ZFS offers superior data integrity through checksumming, copy-on-write, and self-healing capabilities. However, it requires at least 8GB RAM and is less forgiving of hardware issues. For users prioritizing data safety over simplicity, ZFS is unmatched.
Build Smart, Scale Confidently
A well-built NAS transforms how you manage digital life at home. It eliminates scattered drives, automates backups, and provides seamless media streaming across devices. By investing time upfront in selecting durable hardware, configuring intelligent redundancy, and planning for growth, you create a system that reliably serves your household for years. Whether you're preserving family memories, hosting a private cloud, or running homelab services, your NAS can be the quiet, dependable backbone of your digital ecosystem.


 浙公网安备
33010002000092号
浙公网安备
33010002000092号 浙B2-20120091-4
Comments
No comments yet. Why don't you start the discussion?