
For pet owners who groom their dogs regularly, a reliable grooming stand is essential. Commercial models can cost hundreds of dollars and often lack customization. Building your own at home offers a smarter, more economical solution—especially when you prioritize strength, stability, and portability. With the right materials and design, a DIY grooming stand can outperform store-bought versions while fitting your space and budget perfectly.
Why Build Your Own Grooming Stand?
Pre-made grooming stands are convenient but come with trade-offs: limited adjustability, bulky frames, or subpar durability. When you build your own, you control every aspect—from height range and load capacity to foldability and mobility. A custom-built stand ensures it suits your dog’s size, your grooming routine, and storage needs. Plus, most DIY versions cost under $100 in materials and take less than a day to assemble.
“Customization is key in pet grooming equipment. A stand that fits both the handler and the animal reduces stress and improves safety.” — Dr. Laura Simmons, Veterinary Behavior Specialist
Materials and Tools You’ll Need
Selecting the right components determines whether your stand lasts for years or fails after one use. Prioritize strength-to-weight ratio and rust resistance, especially if you plan to use it in damp environments like bathrooms or outdoor spaces.
Core Materials
- Steel square tubing (1-inch x 1-inch, 14-gauge) – for legs and frame
- Aluminum or steel perforated tabletop (18” x 24”) – lightweight yet strong
- Adjustable locking pins or spring-loaded buttons – for height adjustment
- Heavy-duty swivel casters (2 locking, 2 non-locking) – for mobility
- Welded cross-bracing brackets or angle iron – for lateral stability
- Anti-slip rubber mat or mesh insert – for surface grip
Essential Tools
- Angle grinder or metal saw
- Drill with metal bits
- Welding machine (or high-strength bolts as alternative)
- Tape measure and level
- Wrench and socket set
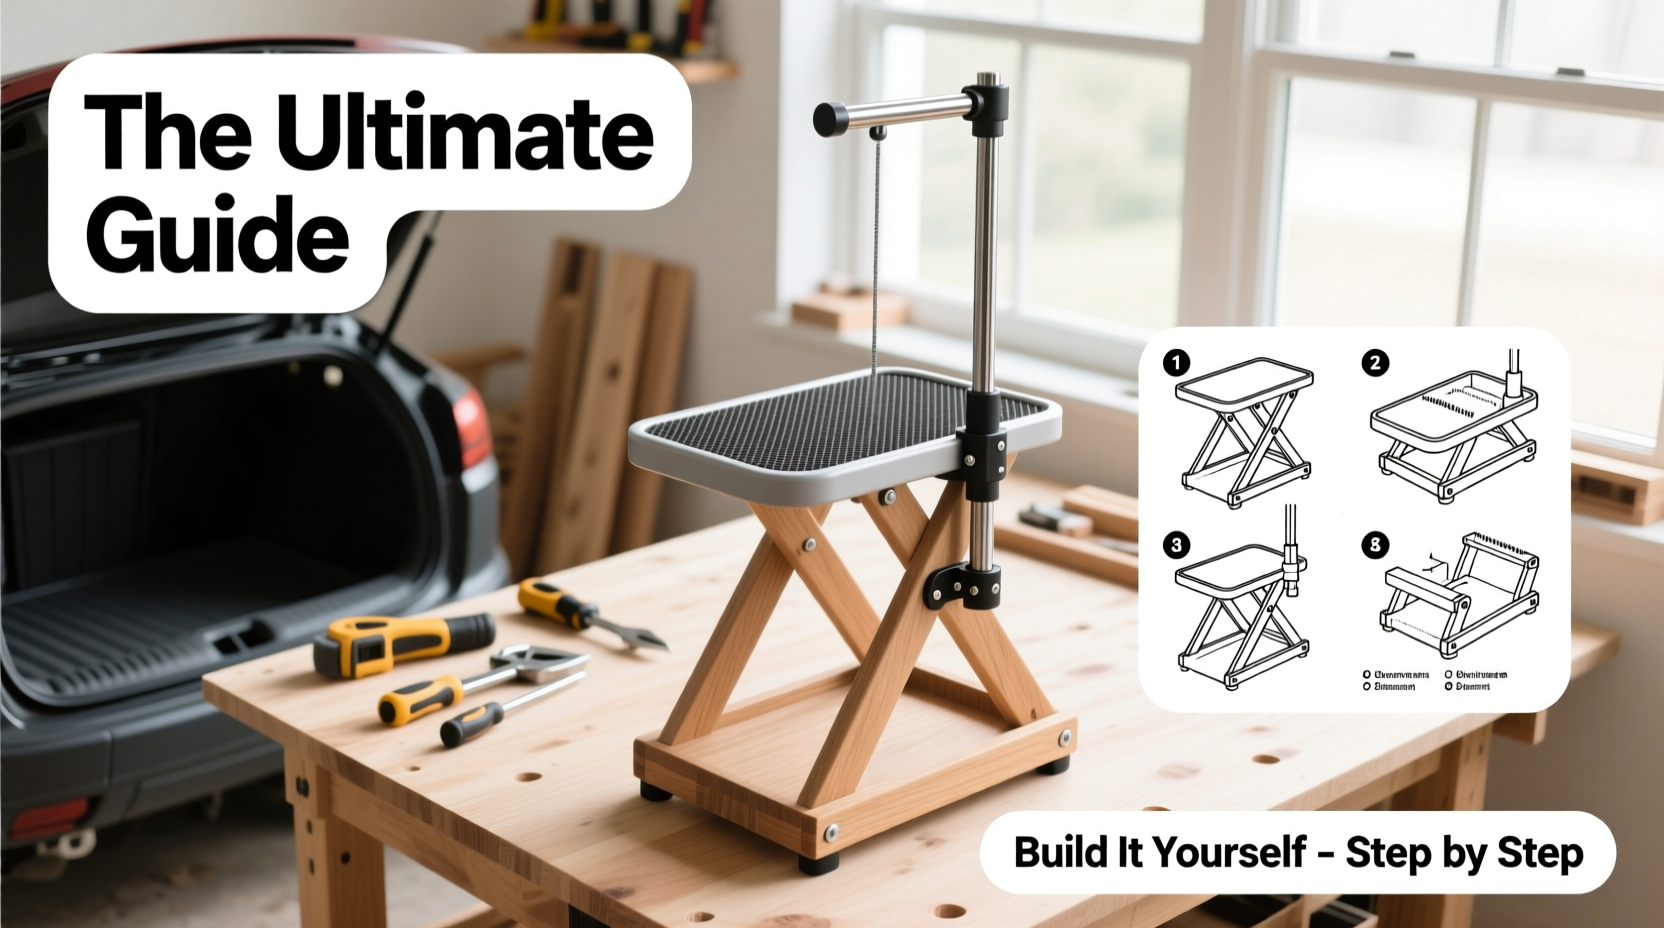
Step-by-Step Assembly Process
Follow this sequence to construct a stable, height-adjustable, and foldable grooming stand. This design supports dogs up to 90 lbs and folds flat for transport or storage.
- Cut the vertical posts: Cut two pieces of 1-inch steel tubing to 36 inches each. These form the main support columns with multiple height holes drilled every 2 inches from 18” to 34”.
- Build the base: Weld or bolt a rectangular frame using 1-inch tubing (24” front/back, 18” sides). Attach swivel casters to each corner.
- Add cross-bracing: Install diagonal angle iron braces between the base and uprights to prevent wobbling. Secure with bolts or welds.
- Create the tabletop support: Fabricate an adjustable arm from a shorter tube (20”) that slides into a sleeve welded to the uprights. Use spring-loaded pins to lock height.
- Attach the grooming table: Secure the perforated metal top to the arm using L-brackets. Line the surface with a replaceable rubber mat for traction.
- Test stability: Place weight on the table (use sandbags or a helper) and check for wobble. Reinforce joints if needed.
- Add portability features: Install a carrying handle on the base and consider folding hinges on the uprights if disassembly is desired.
Design Considerations for Portability
To make the stand truly portable, avoid permanent welds on critical joints. Instead, use bolted connections with oversized washers to distribute load. This allows quick disassembly and reassembly without tools beyond a wrench. Keep total weight under 35 lbs by using aluminum for the tabletop and hollow steel tubing.
Do’s and Don’ts: Building a Safe, Functional Stand
| Do’s | Don’ts |
|---|---|
| Use locking casters to prevent movement during grooming | Skimp on bracing—lateral support is critical |
| Drill alignment holes precisely to ensure smooth height adjustment | Over-tighten bolts, which can strip threads or warp metal |
| Round sharp edges with a grinder to protect pets and handlers | Use wood or plastic for primary structural elements—they flex under load |
| Test the stand with incremental weight before using with your dog | Ignore floor type—uneven surfaces increase tipping risk |
Real-World Example: A Mobile Groomer’s Upgrade
Sarah Kim, a mobile groomer based in Colorado, built her first stand after her commercial model collapsed during a session with a 75-lb husky. “I was mortified,” she recalls. “The dog wasn’t hurt, but I lost half my tools and had to reschedule three clients.” She spent $87 on steel tubing, casters, and a perforated tabletop, welding the frame herself. The new stand weighs 32 lbs, adjusts from 20” to 34”, and fits in the back of her van. “It’s sturdier than anything I’ve rented. Clients notice how calm their dogs stay now—no shaking or slipping.”
Expert Tips for Long-Term Durability
Metal fatigue and corrosion are the biggest threats to a DIY stand’s lifespan. Protect your investment with these maintenance practices.
- After each use, wipe down the table and frame with a dry cloth to remove moisture and hair.
- Inspect bolts and pins monthly for looseness or wear.
- Store indoors or cover with a breathable tarp to prevent condensation buildup.
- Keep spare pins and washers on hand—these small parts are prone to loss.
Frequently Asked Questions
Can I build this without welding experience?
Yes. Replace welded joints with heavy-duty U-bolts, flange connectors, or threaded rod couplers. While not as sleek, bolted connections are removable and repairable. Just ensure all fasteners are rated for structural loads.
What’s the ideal table height for medium-sized dogs?
Dogs weighing 30–60 lbs typically groom best at 24” to 28” off the ground. This allows the handler to work at elbow height, reducing back strain. Adjustable stands accommodate different breeds and user heights.
Is aluminum strong enough for the frame?
Aluminum is lighter but less rigid than steel. For dogs over 60 lbs, stick with steel uprights and base. You can use aluminum for the tabletop to reduce overall weight without sacrificing safety.
Final Checklist Before Use
- Confirm all bolts and pins are tight and secure
- Test casters roll smoothly and lock firmly
- Verify height adjustments engage without slipping
- Check surface for sharp edges or loose matting
- Perform a weight test with 20% more than your dog’s weight
- Ensure the stand sits level on your intended flooring
Conclusion: Take Control of Your Grooming Setup
A well-built grooming stand isn’t just a convenience—it’s a tool for safer, more effective pet care. By constructing your own, you gain a durable, tailored solution that adapts to your lifestyle. Whether you’re a hobbyist groomer or managing a small business, this project pays for itself in time, confidence, and peace of mind. With thoughtful planning and attention to detail, your DIY stand can become the most reliable piece of equipment in your grooming kit.


 浙公网安备
33010002000092号
浙公网安备
33010002000092号 浙B2-20120091-4
Comments
No comments yet. Why don't you start the discussion?