
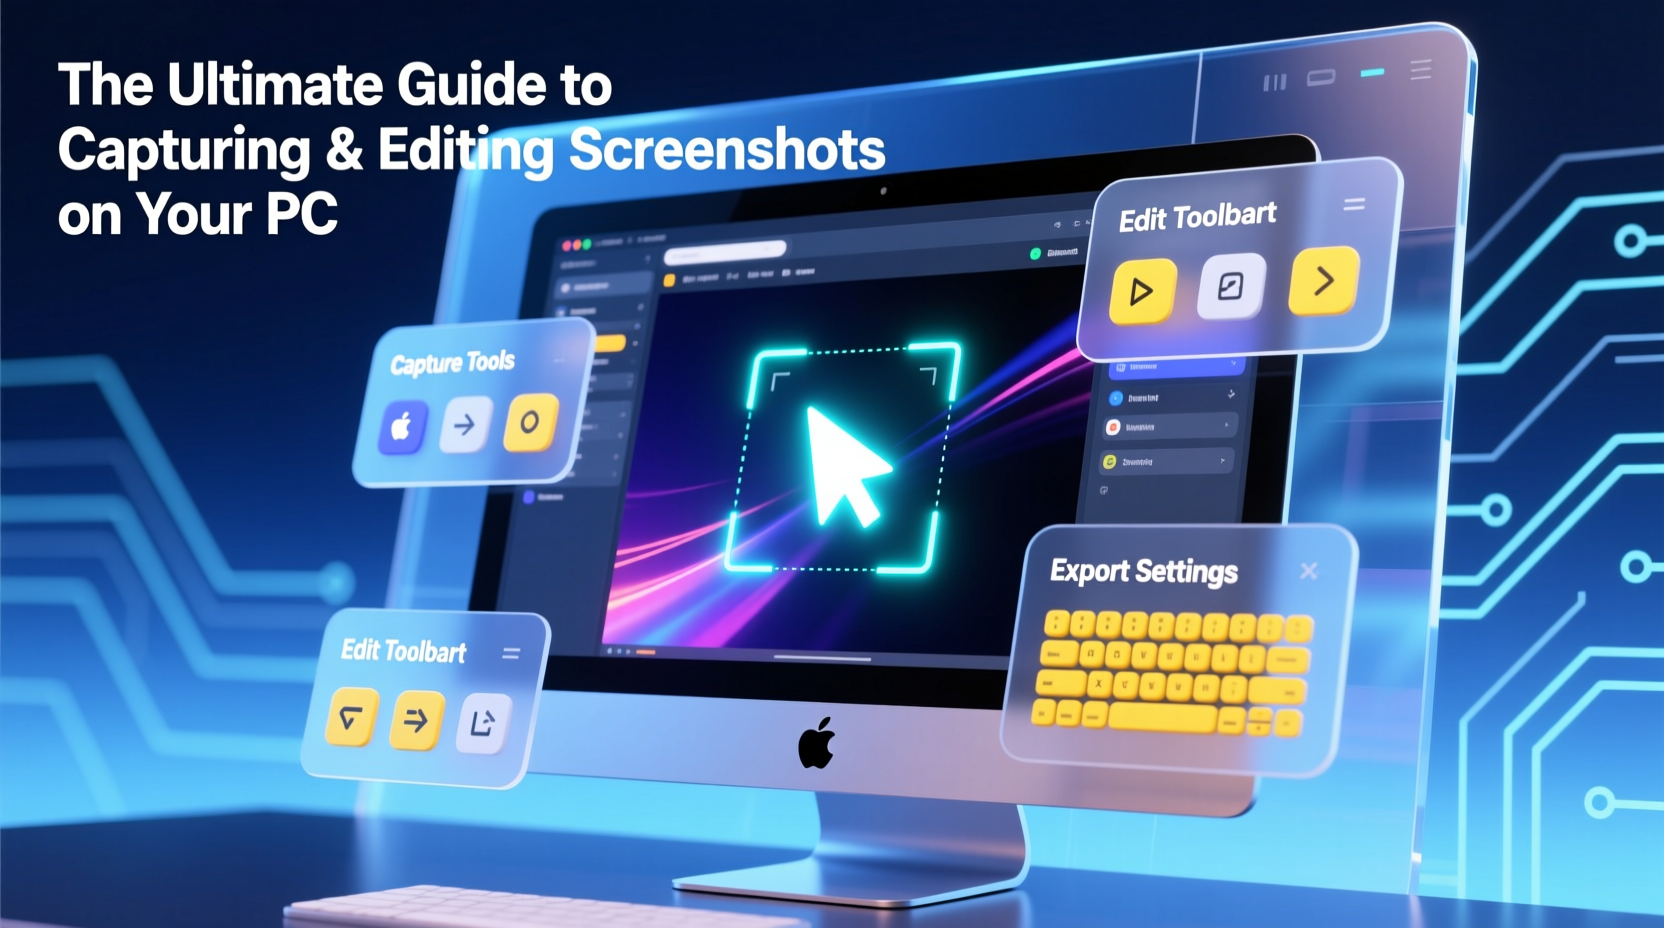
Capturing a screenshot is one of the most frequently used digital skills, whether you're troubleshooting an error, sharing information with a colleague, or documenting steps for a tutorial. Despite its simplicity, many users rely on outdated methods or miss powerful built-in and third-party tools that can enhance both capture and post-processing. This guide dives into every aspect of taking and refining screenshots on a Windows PC, offering practical strategies, overlooked shortcuts, and professional editing techniques that turn basic images into polished visuals.
Understanding Your Screenshot Options
Modern Windows systems offer multiple ways to capture what's on your screen, each suited to different scenarios. Knowing which method to use saves time and ensures clarity in communication.
- Full-screen capture: Records everything visible across all monitors.
- Active window capture: Snaps only the currently selected window.
- Custom region capture: Lets you select a specific portion of the screen.
- Delayed capture: Takes a screenshot after a set delay, useful for capturing hover menus or tooltips.
The key is matching the method to your purpose. A full-screen shot may include unnecessary clutter when only a small dialog box needs highlighting. Conversely, missing part of a form because of a too-tight crop defeats the purpose of documentation.
Native Tools: Built-In Methods That Work
Windows includes several free, no-download-required options for capturing screenshots. These are often overlooked in favor of third-party apps, but they’re fast, reliable, and seamlessly integrated.
Keyboard Shortcuts Everyone Should Know
| Shortcut | Action | Save Location |
|---|---|---|
| PrtScn | Copies entire screen to clipboard | Clipboard only (not saved automatically) |
| Alt + PrtScn | Copies active window to clipboard | Clipboard only |
| Win + Shift + S | Opens snip bar for selective capture | Clipboard only |
| Win + PrtScn | Saves full screen as file | Screenshots folder in Pictures |
The Win + Shift + S shortcut activates the Snip & Sketch tool, allowing rectangular, freeform, window, or full-screen snips. After capture, the image appears temporarily in a notification panel, from which it can be edited or pasted directly into documents, emails, or design software.
“Most people don’t realize that Windows has evolved beyond simple Print Screen functionality. The modern snipping experience rivals many standalone apps.” — David Lin, UX Analyst at TechFlow Insights
Advanced Capture with Third-Party Software
For power users, educators, or content creators, native tools may fall short. Third-party applications provide enhanced features such as scrolling capture, annotation layers, cloud upload, and scheduled screenshots.
Top Recommended Tools
- Snagit: Industry standard for technical documentation. Offers scrolling capture (captures entire web pages beyond the visible fold), GIF creation, and smart templates.
- Lightshot: Lightweight and fast. Presses a hotkey, lets you drag a region, then uploads instantly with a shareable link.
- Greenshot: Open-source favorite among developers. Integrates with issue trackers like Jira and supports OCR text extraction.
- ShareX: Highly customizable. Automates workflows including blur effects, watermarks, and automatic file naming.
These tools shine when consistency and repeatability matter—such as creating user manuals or recording bug reports. While some require purchase, others are completely free and ad-free.
Mini Case Study: Remote IT Support Workflow
A mid-sized tech support team adopted Snagit to streamline customer issue reporting. Previously, clients sent fragmented descriptions or poorly cropped images. After providing a simple guide using annotated screenshots with arrows and numbered steps, first-contact resolution improved by 37%. Agents reported faster diagnosis times, especially for UI-related bugs that required context only a well-framed screenshot could provide.
Editing Screenshots Like a Pro
A raw screenshot rarely tells the full story. Effective editing focuses attention, removes distractions, and enhances readability.
Step-by-Step Guide: Polishing a Screenshot
- Crop tightly around the subject to eliminate irrelevant areas.
- Blur sensitive data such as passwords, email addresses, or personal info.
- Add annotations: Use arrows, circles, or text boxes to highlight key elements.
- Adjust brightness/contrast if the original is too dark or washed out.
- Resize appropriately for the destination (e.g., blog post vs. printed manual).
- Export in optimal format: PNG for transparency and quality; JPEG for smaller size.
Windows includes the Microsoft Paint app and the newer Photos editor, both capable of basic markup. For more control, consider using free tools like GIMP or online editors like Photopea, which mimic Photoshop’s interface without the cost.
Do’s and Don’ts of Screenshot Editing
| Do’s | Don’ts |
|---|---|
| Use high-contrast colors for annotations (e.g., red or yellow) | Overcrowd the image with too many labels |
| Blur confidential information before sharing | Rely solely on low-resolution exports |
| Keep file sizes under 500KB for email attachments | Forget to check spelling in added text |
| Use consistent fonts and arrow styles across related images | Crop so tightly that UI context is lost |
Frequently Asked Questions
How do I capture a dropdown menu or right-click context menu?
Use a delayed screenshot function. In Snagit or ShareX, set a 3–5 second timer. Open the menu after triggering the capture, and the software will snap it once the countdown ends. Alternatively, take a regular screenshot and quickly press the menu open—it often stays rendered long enough to capture.
Can I scroll-capture an entire webpage?
Yes, but not with built-in Windows tools. Applications like Snagit, ShareX, or browser extensions such as GoFullPage (Chrome) can stitch together multiple segments of a long page into one continuous image. This is ideal for saving terms of service, lengthy articles, or chat histories.
Why does my screenshot look blurry when I paste it into a document?
This usually happens due to automatic compression in programs like Microsoft Word or Outlook. To preserve quality, insert the image as “High Quality” or embed it outside the body text. Also ensure you’re working from a PNG or high-bitrate JPEG source rather than a heavily compressed file.
Checklist: Perfect Screenshot Workflow
- ✅ Choose the right capture method (full screen, window, region)
- ✅ Use
Win + Shift + Sfor quick selective captures - ✅ Store screenshots in an organized folder (e.g., Projects > Documentation)
- ✅ Crop and annotate to emphasize key details
- ✅ Blur or redact private information
- ✅ Save final version in appropriate format (PNG for clarity, JPEG for size)
- ✅ Verify legibility on different devices before sending
Final Thoughts
Taking a screenshot is easy. Taking a *useful* one requires intention. Whether you're explaining a software bug, teaching someone a new process, or archiving digital content, the quality of your screenshot reflects your professionalism and attention to detail. With the right tools and habits, you can transform a mundane task into a powerful communication asset.


 浙公网安备
33010002000092号
浙公网安备
33010002000092号 浙B2-20120091-4
Comments
No comments yet. Why don't you start the discussion?