
Whether you're troubleshooting an error, sharing a moment from a video call, or creating content for social media, a clear screenshot can make all the difference. Yet many people still end up with blurry, cropped, or poorly timed captures that fail to communicate what they intended. The good news: clarity is within reach, regardless of your device. With the right methods, settings, and habits, anyone can consistently capture sharp, useful screenshots.
Why Screenshot Clarity Matters
A screenshot isn't just a digital snapshot—it's often a communication tool. A support team needs to see exactly what error message you're facing. A designer might need to reference spacing or color from a live webpage. Students share lecture slides. Remote workers document workflows. In each case, a low-resolution or misaligned image slows things down.
Clarity means legible text, accurate colors, full context, and minimal distortion. It also means understanding resolution, scaling, and timing—factors most users overlook. Modern devices have built-in tools, but default behaviors don’t always produce optimal results. Knowing how to adjust for your specific use case turns an average capture into a precise one.
“High-fidelity screenshots reduce miscommunication in technical support by up to 70%.” — Dr. Lena Torres, UX Researcher at Digital Interaction Lab
How to Take Crisp Screenshots by Device
Different operating systems handle screen capture differently. Below are proven methods for major platforms, optimized for clarity.
Windows PCs
Windows offers several ways to take screenshots, but not all yield the same quality.
- Print Screen (PrtScn): Copies the entire screen to clipboard. Paste into an editor like Paint or Word for saving. Best for full-screen documentation.
- Alt + PrtScn: Captures only the active window. Ideal when you want to exclude desktop clutter.
- Win + Shift + S: Opens the Snip & Sketch tool for selective, resizable snips. Use this for precision—select exactly what you need without extra cropping later.
- Game Bar (Win + G): Designed for gamers, but excellent for recording or capturing fullscreen apps with high DPI scaling preserved.
macOS
Apple’s screenshot tools are powerful and customizable via keyboard shortcuts.
- Cmd + Shift + 3: Full-screen capture saved to desktop.
- Cmd + Shift + 4: Drag to select area. Press Spacebar while dragging to switch to window capture mode.
- Cmd + Shift + 5: Opens the full Screenshot app with timer, options to record, and save location preferences.
For maximum clarity, ensure Retina display scaling is set to \"Default for display\" in System Settings > Displays. This avoids pixel doubling that can blur exports.
iOS (iPhone & iPad)
To capture clearly on iOS:
- Press Side Button + Volume Up simultaneously.
- Tap the preview thumbnail in the corner to mark up, crop, or enhance before saving.
- Use the Markup tool to highlight text or zoom in on small details—this improves perceived clarity even if resolution stays the same.
For long webpages, Safari offers a scrollable screenshot option. When you take a shot during page scroll, iOS prompts to capture the full page. Select “Full Page” and export as PDF for sharable, high-clarity documents.
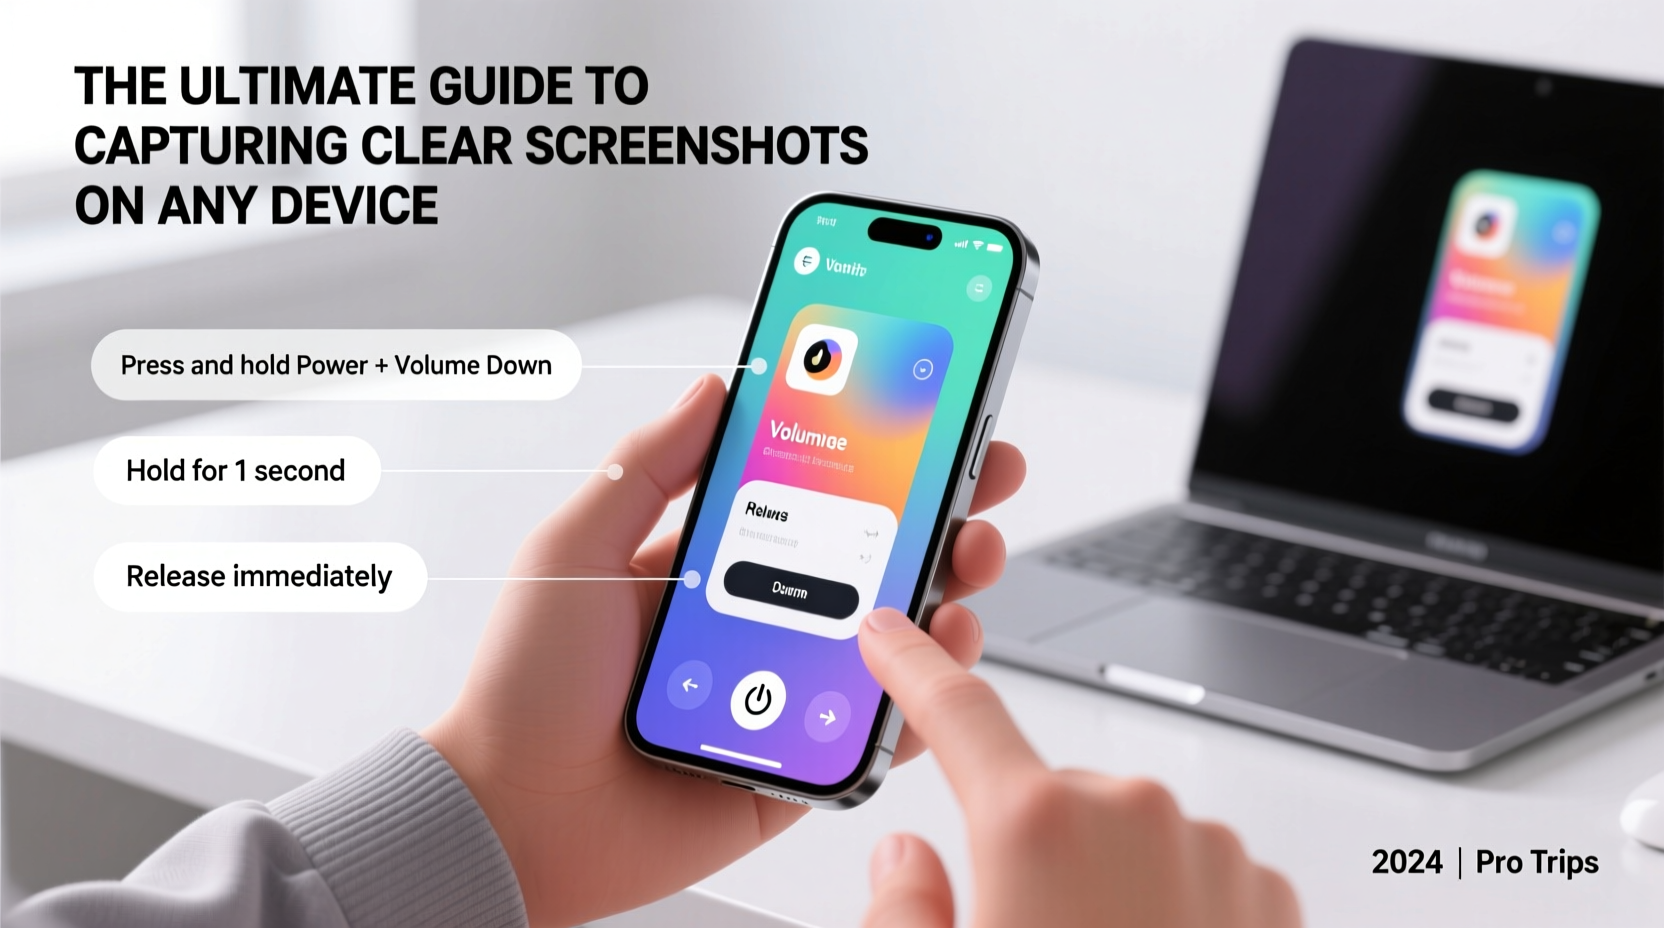
Android Devices
Most Android phones use Power + Volume Down held for half a second. Some manufacturers vary slightly—Samsung allows palm-swipe gestures under Motion Controls.
After capture:
- Open the notification shade and tap the screenshot to edit.
- Use “Smart Capture” (on Samsung) to extend the shot beyond the visible screen.
- Enable developer options to disable screen overlays that may interfere with clarity.
Optimizing Settings for Maximum Clarity
Hardware matters, but software settings determine output quality. Follow these adjustments to ensure every screenshot is as sharp as possible.
Adjust Display Scaling and Resolution
High DPI displays (like 4K monitors or Retina screens) render text sharply—but only if captured correctly. Avoid taking screenshots while running apps in compatibility mode or stretched resolution. On Windows, right-click the app shortcut > Properties > Compatibility > Disable scaling. On macOS, avoid opening apps in Low Resolution mode.
Disable UI Overlays
Notifications, floating chat heads (Facebook Messenger), or gaming widgets can appear in your capture unintentionally. Before taking critical screenshots:
- Enable Do Not Disturb.
- Close background apps with popups.
- Use focus modes (iOS Focus, Android Zen Mode).
Choose the Right File Format
Most systems default to PNG for lossless quality. Avoid JPEG unless file size is a constraint—compression can blur fine text edges. If editing frequently, keep originals as PNG and convert only when sharing.
| Format | Best For | Clarity Risk |
|---|---|---|
| PNG | Text, diagrams, transparency | None – lossless |
| JPEG | Photos, gradients | Medium – compression artifacts |
| GIF | Simple animations | High – limited color depth |
| Multi-page scrolls, documents | Low – vector-friendly |
Step-by-Step: Capturing a Flawless Screenshot
Follow this timeline to ensure consistency across devices and scenarios.
- Prepare the Screen: Close irrelevant tabs, hide bookmarks bar, maximize the target window.
- Zoom Appropriately: Set browser zoom to 100%. Avoid capturing at 125% or higher unless intentional.
- Stabilize Your Hands: Rest elbows on a table. Use two fingers evenly for button combos (especially on mobile).
- Capture: Use the correct key combo or gesture for your OS.
- Review Immediately: Check for cut-off elements, blurriness, or glare.
- Edit if Needed: Crop tightly, annotate key areas, sharpen text using tools like Snipaste or Skitch.
- Save Properly: Use descriptive filenames and store in organized folders (e.g., “ProjectX_ErrorLogin_Sep24.png”).
Real-World Example: Solving a Support Ticket Faster
Sophie, a freelance writer, encountered an issue where her client’s CMS displayed a blank editor. She took a quick screenshot using iPhone’s standard method—but the initial capture only showed the top banner. Remembering the full-page option in Safari, she reloaded the page and used the scroll capture feature. The resulting full-height image revealed a JavaScript error at the bottom. She sent it to tech support with a note. Within minutes, they identified the conflicting plugin. Without that complete, clear view, diagnosis could have taken days.
Essential Checklist for Clear Screenshots
- Before Capture
- ☐ Close unnecessary apps and notifications
- ☐ Set screen brightness to medium-high (but not glaring)
- ☐ Ensure text is at readable size (no extreme zoom)
- During Capture
- ☐ Use native OS tools for best integration
- ☐ Hold buttons firmly but gently—no double-presses
- ☐ Wait for visual/audio confirmation (flash or sound)
- After Capture
- ☐ Verify all relevant content is visible
- ☐ Annotate if needed (arrows, highlights)
- ☐ Save with meaningful name and date
Frequently Asked Questions
Why does my screenshot look blurry when zoomed in?
This usually happens due to screen scaling. If your display runs at 150% scaling, the system may downscale the capture. To fix, either take the screenshot at 100% scaling or use a dedicated tool like Greenshot (Windows) or Snapz Pro X (Mac) that bypasses scaling limitations.
Can I capture a screenshot of a video or DRM-protected content?
Some apps (like Netflix or Zoom meetings) block standard screenshots to protect copyright. While you may see a black screen or error, legitimate exceptions exist for accessibility. Users with screen readers enabled can sometimes bypass restrictions. Always respect content policies and privacy laws when capturing sensitive material.
How do I capture a dropdown menu or hover state?
Use a delay-based tool. On Windows, Snip & Sketch allows a 3–5 second timer. On Mac, set a timer in the Screenshot app (Cmd+Shift+5). Open the menu, start the timer, and let it capture automatically. Alternatively, inspect the element via browser DevTools and copy the visible section as a node screenshot.
Final Thoughts: Make Clarity a Habit
Taking a clear screenshot should never be left to chance. It’s a skill shaped by preparation, knowledge of tools, and attention to detail. Whether you're a student, developer, teacher, or casual user, mastering this ability streamlines communication and builds professionalism. The next time you reach for that key combo, pause for two seconds to optimize your screen. That small effort pays off in faster responses, clearer messages, and fewer follow-up questions.


 浙公网安备
33010002000092号
浙公网安备
33010002000092号 浙B2-20120091-4
Comments
No comments yet. Why don't you start the discussion?