
Selecting the right rivet boot isn't just about strength—it's about precision. Whether you're working on aerospace components, architectural metalwork, or custom automotive fabrication, using incorrectly sized rivets can compromise structural integrity, reduce durability, and lead to costly rework. The term \"rivet boots\" refers to blind rivets (also known as pop rivets) used in applications where access is limited to one side of the joint. Unlike solid rivets that require hammering from both sides, blind rivets are installed with a tool that pulls the mandrel through the rivet body, expanding it securely.
The key to a flawless installation lies in matching the rivet’s physical dimensions to the materials being joined. Too short, and the rivet won’t form a proper bulge behind the joint. Too long, and you risk over-compression, deformation, or even tool damage. This guide breaks down the essential factors in selecting the correct rivet boot size, backed by practical advice, real-world examples, and expert insights.
Understanding Rivet Boot Anatomy and Sizing
A typical blind rivet consists of two main parts: the rivet body (or shell) and the mandrel (a central stem). When installed, the rivet gun pulls the mandrel upward, causing the rivet body to expand radially and form a blind-side head. The mandrel eventually snaps at a break point, leaving part of it embedded inside to maintain tension.
Rivet size is determined by two primary measurements:
- Diameter (measured in inches or millimeters): Refers to the width of the rivet body before installation. Common diameters include 1/8\", 5/32\", 3/16\", and 1/4\".
- Grip range (also called grip length): The combined thickness of materials the rivet is designed to clamp. This is not the same as the total rivet length.
For example, a rivet labeled “3/16” x 1/2”” has a 3/16-inch diameter and a grip range suitable for materials totaling approximately 1/2 inch in thickness. However, the actual rivet may be longer to accommodate the mandrel and head formation.
Matching Grip Length to Material Thickness
The most common mistake in rivet selection is mismatching grip length to material thickness. A rivet with insufficient grip won’t fully expand behind the joint, resulting in a weak hold. One with excessive grip may leave too much mandrel protruding, increasing the chance of cracking or incomplete setting.
To determine the correct grip range:
- Stack all layers of material to be joined.
- Measure the total thickness using digital calipers.
- Select a rivet whose grip range includes that measurement.
For instance, if joining two sheets of 0.063\" aluminum (totaling 0.126\"), choose a rivet with a grip range of 1/8\" to 3/16\" (0.125\" to 0.187\"). This ensures full expansion without over-compression.
| Rivet Diameter | Common Grip Range | Typical Use Cases |
|---|---|---|
| 1/8\" (3.2 mm) | 1/16\" – 1/4\" | Light-duty enclosures, HVAC ducts, signage |
| 5/32\" (4.0 mm) | 1/8\" – 5/16\" | Automotive trim, trailers, fencing |
| 3/16\" (4.8 mm) | 3/16\" – 1/2\" | Aircraft skins, machinery panels, railings |
| 1/4\" (6.4 mm) | 1/4\" – 3/4\" | Structural steel, heavy equipment, marine fittings |
Step-by-Step: How to Choose the Right Rivet Boot Size
Follow this sequence to ensure optimal rivet selection for any project:
- Identify material types and thicknesses: Note whether you’re joining aluminum, steel, plastic, or composite materials, and record each layer’s thickness.
- Calculate total grip requirement: Add all material thicknesses. Include any gaskets or sealants if present.
- Select rivet diameter based on load and spacing: Larger diameters handle higher shear and tensile loads. Maintain minimum edge distances (typically 2x diameter).
- Choose grip range that matches calculated thickness: Refer to manufacturer charts. Never exceed the maximum grip.
- Verify mandrel break strength: In high-vibration environments, consider structural rivets with higher break values.
- Test on scrap material: Perform a trial installation to confirm proper setting and flush fit.
Real-World Example: Restoring a Classic Car Fender
Jamal, a restoration specialist in Detroit, was replacing a rusted fender on a 1967 Mustang. The original spot welds had failed, so he opted for aluminum blind rivets to preserve the factory look without requiring backside access.
The fender and inner support panel together measured 0.092\". He initially selected 3/16\" diameter rivets with a 3/16\" grip, assuming it would be sufficient. During installation, several rivets cracked due to over-compression—the grip was too long for the thin stack-up.
After consulting a rivet specification chart, he switched to 5/32\" diameter rivets with a 1/8\" grip. These set cleanly, formed consistent bulges, and held firm under stress testing. The lesson? Even experienced fabricators can misjudge grip length when relying on visual estimation alone.
“Grip range isn’t a suggestion—it’s an engineering parameter. Get it wrong, and you’ve compromised the joint.” — Luis Mendez, Senior Aircraft Riveter, Boeing Retired
Material Compatibility and Environmental Factors
Beyond size, consider material compatibility. Using aluminum rivets on steel creates galvanic corrosion in humid or outdoor environments. Similarly, stainless steel rivets on aluminum can also cause electrolytic degradation over time.
Solutions include:
- Using stainless-on-stainless or aluminum-on-aluminum whenever possible.
- Applying anti-corrosion washers or sealants around the rivet head.
- Choosing coated rivets (e.g., zinc-plated or Dacromet-coated) for harsh conditions.
In marine or industrial settings, opt for monel or titanium rivets for superior corrosion resistance, though they come at a higher cost.
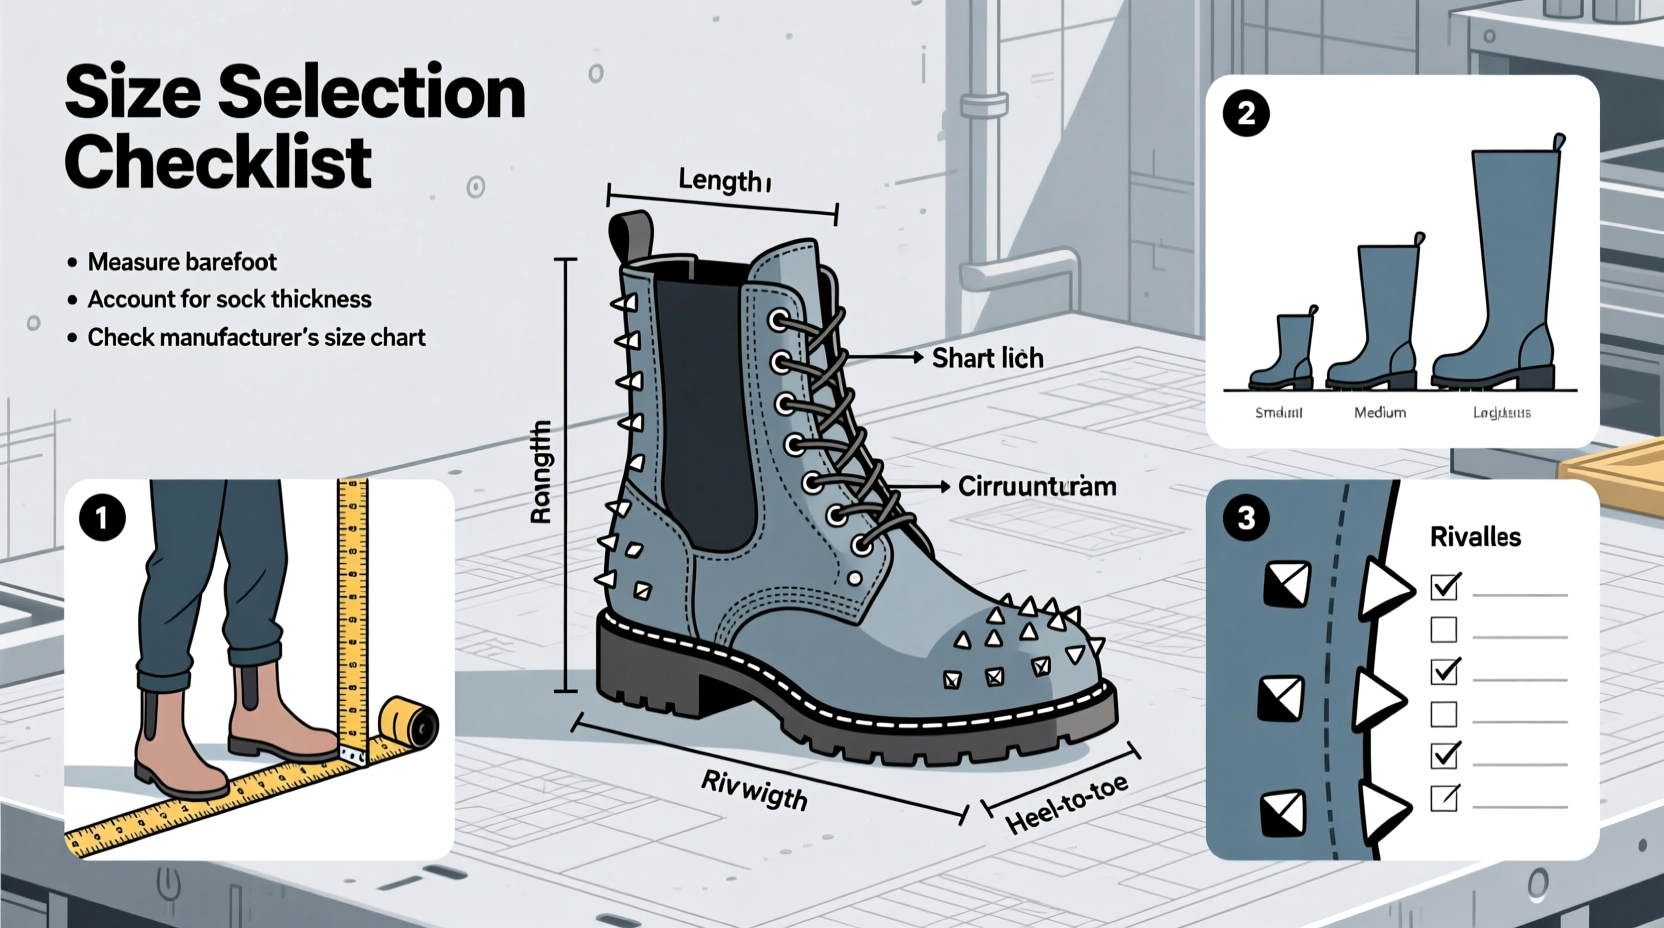
Checklist: Final Verification Before Installation
Before ordering or installing rivets, run through this checklist:
- ✅ Measured total material thickness with calipers
- ✅ Selected rivet diameter appropriate for load requirements
- ✅ Confirmed grip range covers material stack-up
- ✅ Verified rivet and base material compatibility
- ✅ Ensured hole diameter matches rivet specs (usually +1/64\")
- ✅ Tested installation on scrap piece
- ✅ Chose correct rivet type (standard, structural, sealed, etc.)
Frequently Asked Questions
Can I use a longer rivet and trim the excess?
No. Trimming the mandrel alters the break point calibrated by the manufacturer. This can lead to incomplete setting or premature breakage during installation.
What happens if I use a rivet with too short a grip?
The rivet body won’t fully expand on the blind side, resulting in reduced holding strength and potential pull-through under load.
How do I know if a rivet is properly set?
A properly set rivet will have a fully formed shop head flush against the material, no visible gaps, and the mandrel will snap cleanly. The remaining mandrel stub should sit just below the surface of the rivet head.
Conclusion: Precision Leads to Performance
The success of any project involving blind rivets hinges on precise sizing. From grip length to diameter and material match, every detail contributes to the strength and longevity of the joint. Taking time to measure accurately, consult specifications, and test on sample material pays dividends in reliability and safety.


 浙公网安备
33010002000092号
浙公网安备
33010002000092号 浙B2-20120091-4
Comments
No comments yet. Why don't you start the discussion?