
High-quality audio can elevate any project—whether you're recording a podcast, filming a YouTube video, capturing field interviews, or narrating voiceovers. While the iPhone's built-in microphone has improved over the years, it still falls short when ambient noise, distance, or clarity are concerns. The good news? You can connect nearly any microphone to your iPhone and achieve studio-grade sound with the right setup.
iPhones support a wide range of external microphones thanks to advancements in connectivity standards and third-party accessories. From lavalier mics for on-the-go interviews to condenser mics for home studios, the options are vast. But choosing and configuring the right one requires understanding compatibility, connection types, and best practices.
Understanding iPhone Audio Input Options
The first step in connecting a microphone is knowing what input methods your iPhone supports. Over time, Apple has shifted from 3.5mm headphone jacks to Lightning and now USB-C ports (on newer models), affecting how microphones interface with the device.
- Late-model iPhones (iPhone 15 and later): Use USB-C, allowing direct connection to USB microphones or digital audio interfaces.
- iPhone 5 through iPhone 14 (excluding Pro models): Feature a Lightning port, requiring adapters or compatible Lightning mics.
- All models: Support Bluetooth audio, though not ideal for high-fidelity recording due to latency and compression.
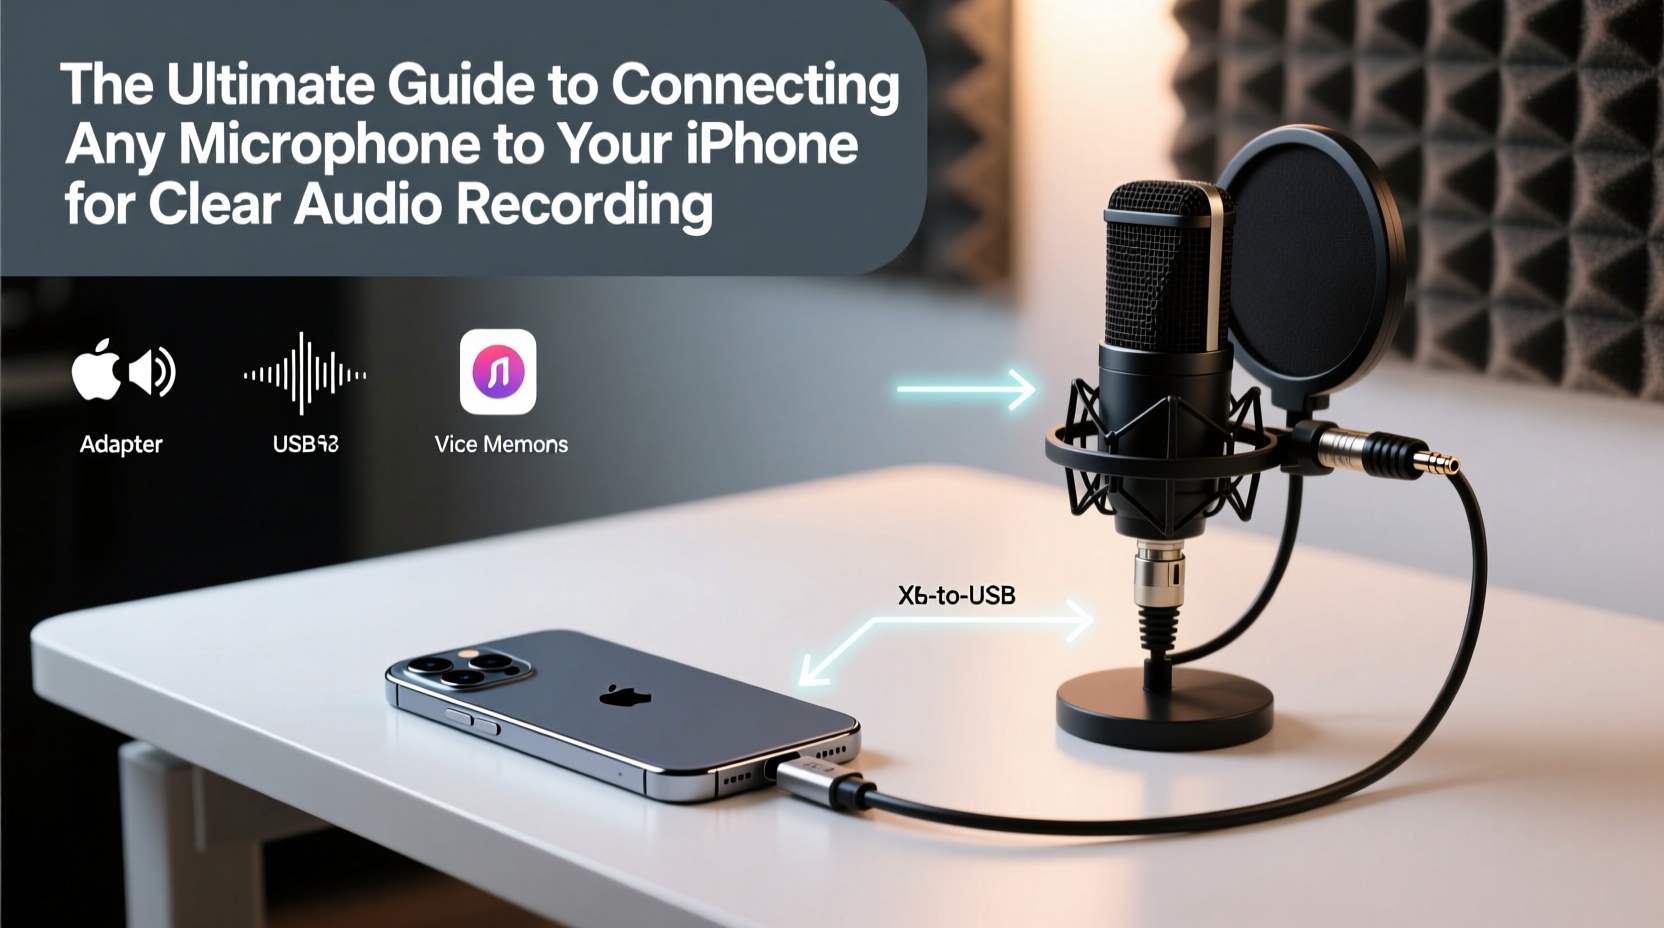
Additionally, the iPhone’s operating system, iOS, natively supports plug-and-play for many audio devices. Once connected, apps like Voice Memos, GarageBand, Ferrite, or Filmic Pro automatically detect the external mic without extra configuration.
Types of Microphones Compatible with iPhone
You’re not limited to iPhone-specific gear. With the right adapter or interface, most professional microphones—including XLR dynamic and condenser mics—can work seamlessly.
| Microphone Type | Connection Method | Best For |
|---|---|---|
| Lavalier (Lapel) Mic | Lightning/USB-C or wireless via adapter | Interviews, presentations, vlogging |
| Shotgun Mic | Mounted via TRRS-to-Lightning/USB-C adapter or hot shoe | Film, documentary, outdoor recording |
| Handheld Dynamic Mic | XLR to USB interface or mixer with USB output | Live vocals, street reporting |
| Condenser Mic | Audio interface with USB/USB-C output | Studio narration, music, ASMR |
| Digital USB Mic | Direct USB-C or with adapter | Podcasting, voiceovers, quick recordings |
For example, the Rode VideoMic Me-L is designed specifically for Lightning iPhones, while the Shure MV88+ connects via Lightning or USB-C depending on model. Meanwhile, larger mics like the Audio-Technica AT2020 require an interface such as the Focusrite Scarlett Solo to bridge the XLR-to-USB-C gap.
Step-by-Step: Connecting Any Microphone to Your iPhone
Follow this universal process to integrate almost any microphone with your iPhone, regardless of type.
- Determine your iPhone’s port: Check if you have Lightning or USB-C. This dictates your adapter needs.
- Select the correct adapter or interface:
- For USB microphones: Use a USB-C to USB-A cable (for older USB mics) or USB-C to USB-C (for newer).
- For XLR mics: Use an audio interface (e.g., iRig Pre, Apogee Meta 4) that connects via USB-C or Lightning.
- For analog 3.5mm mics: Use a TRRS-to-Lightning or TRRS-to-USB-C adapter with mic support.
- Connect the hardware: Plug the microphone into the interface or adapter, then connect that to your iPhone. Some interfaces require external power or batteries.
- Grant app permissions: When prompted, allow the recording app to access the microphone. Go to Settings > Privacy > Microphone if issues arise.
- Test the signal: Open Voice Memos or a dedicated app, speak clearly, and check input levels. Adjust gain if your interface allows.
- Record a sample: Save and play back to confirm clarity, absence of distortion, and proper stereo balance.
“With the right interface, an iPhone can serve as a fully capable recording device—rivaling setups twice its cost.” — Daniel Kim, Field Audio Engineer
Optimizing Audio Quality: Best Practices
Even the best microphone can underperform without proper technique. Environmental control and settings matter as much as hardware.
- Maintain a distance of 6–12 inches from directional mics to avoid plosives and volume spikes.
- Use a pop filter with condenser mics, especially in close-talk scenarios.
- Record in quiet environments; even subtle HVAC noise becomes noticeable in post.
- Enable “Record in Lossless” in Settings > Camera > Formats for higher audio fidelity when video recording.
- Avoid using Bluetooth headphones and microphones simultaneously—iOS prioritizes one audio path at a time.
Real Example: Podcasting on Location
Sarah, a travel podcaster, needed to record interviews across Southeast Asia with minimal gear. She used two Shure SM58s with an iRig Pro I/O connected to her iPhone 13 via Lightning. The compact setup allowed her to capture dual-host audio directly onto her phone using the RØDE Reporter app. By pre-testing levels and using foam windscreens, she avoided clipping and wind noise—even on open-air tuk-tuks. Her episodes now feature broadcast-level clarity without carrying a laptop or recorder.
Essential Checklist Before Recording
Run through this checklist to ensure a smooth, high-quality session:
- ✅ Confirm iPhone battery is above 50% or connect to power
- ✅ Test microphone input in target environment
- ✅ Verify app permissions for microphone access
- ✅ Set recording levels to avoid clipping (aim for peaks around -6dB)
- ✅ Use a tripod or mount to stabilize the iPhone and reduce handling noise
- ✅ Backup plan: Have a secondary recording method (e.g., backup voice memo)
Frequently Asked Questions
Can I use a professional XLR microphone with my iPhone?
Yes. You’ll need an audio interface that converts XLR to USB or USB-C, such as the Apogee Quartet or Shure MVi. These provide phantom power for condenser mics and analog-to-digital conversion.
Why isn’t my microphone being detected?
Common causes include incompatible adapters, insufficient power, or iOS restrictions. Try restarting the phone, checking Settings > Privacy > Microphone, and using Apple-certified adapters. Non-MFi (Made for iPhone) adapters often fail to deliver reliable signal.
Do I need an app other than Voice Memos?
Voice Memos works for basic use, but apps like Ferrite Recording Studio, RØDE Reporter, or Adobe Audition offer multi-track editing, level meters, and export flexibility essential for professional work.
Conclusion
Connecting any microphone to your iPhone is no longer a technical hurdle—it’s a creative opportunity. Whether you're a journalist, musician, educator, or content creator, leveraging your iPhone’s audio capabilities means you can produce clear, compelling recordings anywhere. The tools are accessible, affordable, and increasingly powerful.


 浙公网安备
33010002000092号
浙公网安备
33010002000092号 浙B2-20120091-4
Comments
No comments yet. Why don't you start the discussion?