
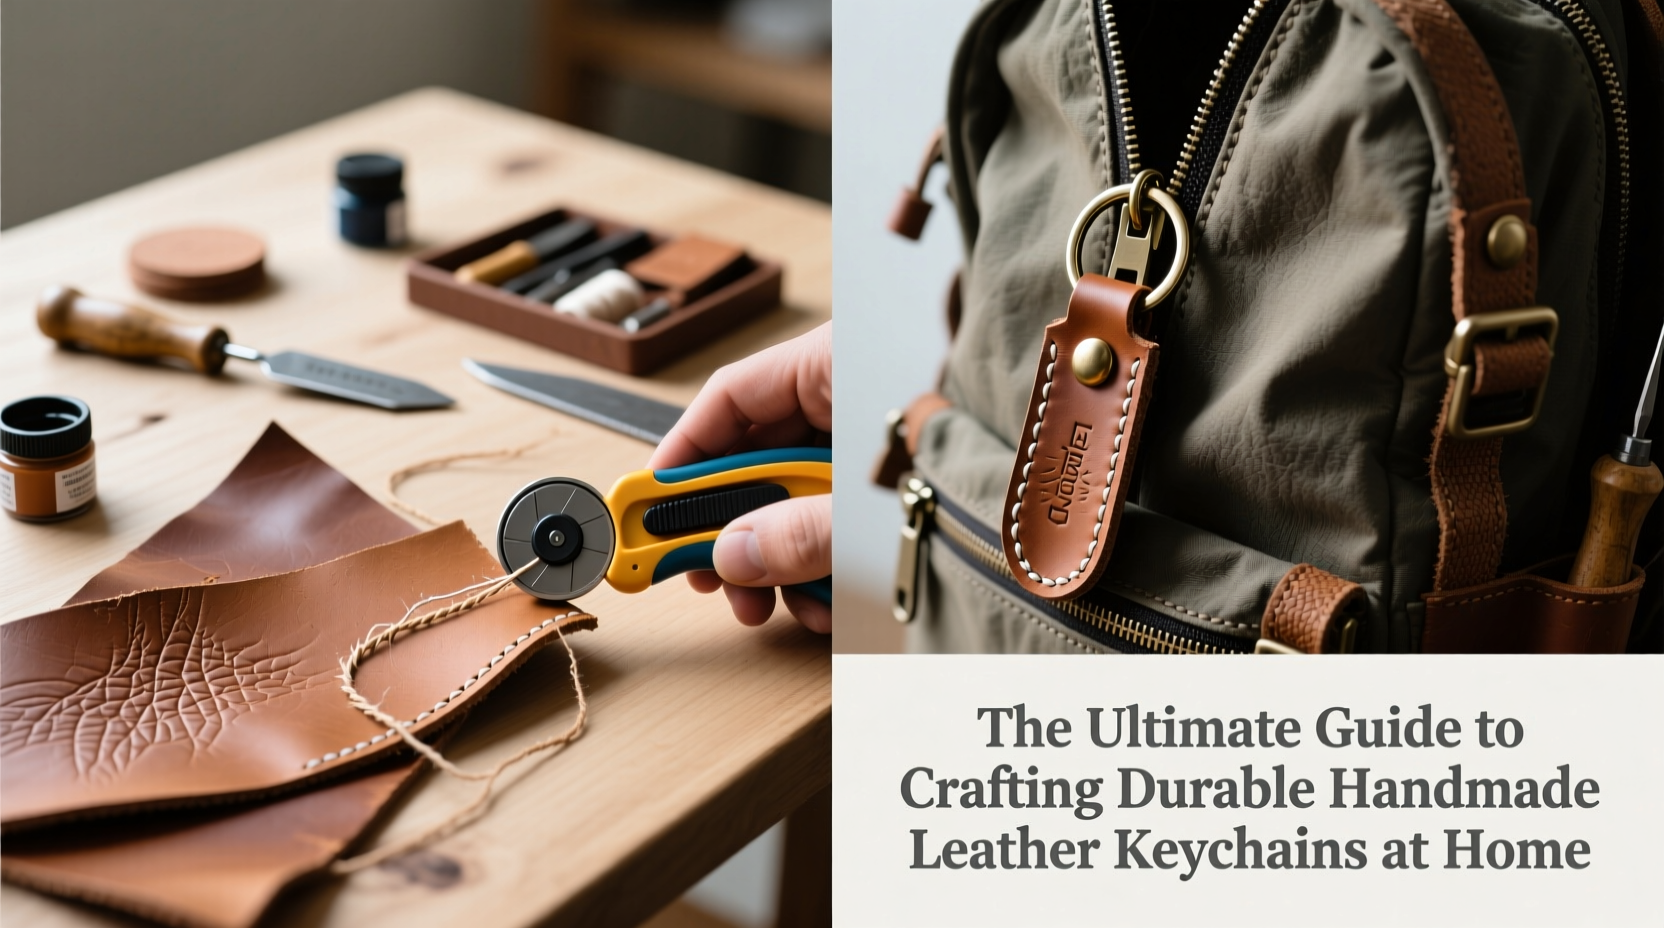
Crafting handmade leather keychains is more than a hobby—it’s an act of creating something both functional and personal. Unlike mass-produced accessories, a well-made leather keychain ages beautifully, develops character, and withstands daily wear. With the right materials, techniques, and attention to detail, you can produce professional-quality keychains from your home workspace. This guide walks you through every stage, from selecting leather to finishing touches, ensuring durability and elegance in every piece.
Choosing the Right Leather for Longevity
The foundation of any durable leather keychain is the material itself. Not all leathers are created equal, and selecting the wrong type can result in cracking, fraying, or premature wear. Full-grain vegetable-tanned leather is the gold standard for handmade keychains. It retains the natural grain and fibers of the hide, offering superior strength and developing a rich patina over time.
Vegetable tanning uses natural tannins from tree bark instead of harsh chemicals, resulting in a safer, more eco-friendly product. This type of leather responds well to tooling, stamping, and edge finishing—essential processes when crafting a polished keychain.
For keychains, opt for leather between 3mm and 4mm thick. Thinner leather (1–2mm) may not hold up under stress, while thicker hides can be difficult to cut and punch without proper tools.
Essential Tools and Materials Checklist
Starting with quality tools ensures precision and consistency in your work. While some beginners try to improvise, investing in proper equipment pays off in cleaner edges, tighter stitching, and longer-lasting results.
“Precision in tooling directly translates to durability in the final product.” — Daniel Reyes, Artisan Leatherworker
Here’s what you’ll need to get started:
- Full-grain vegetable-tanned leather (3–4mm thickness)
- Rotary cutter or utility knife
- Self-healing cutting mat
- Leather hole punch (adjustable prong or rotary type)
- Edge beveler (for smoothing raw edges)
- Leather skiver (to thin edges for folding)
- Ruler and metal straightedge
- Wax-edged nylon or polyester thread (size #2 or #3)
- Harness needles (blunt-tipped, size 2–4)
- Stitching groover (creates a recessed line for even stitching)
- Leather conditioner and finish (e.g., beeswax or resin-based edge coat)
- Keyring or split ring (brass or stainless steel)
Step-by-Step Guide to Building a Durable Keychain
Follow this proven sequence to craft a keychain that lasts years, not months. Each step contributes to strength, comfort, and aesthetic appeal.
- Design & Template: Sketch your desired shape—rectangle, rounded tag, or custom silhouette. Transfer it to paper and cut out as a template.
- Trace & Cut: Place the template on the flesh side of the leather. Trace with a silver pen or stylus, then cut using a sharp rotary cutter guided by a metal ruler.
- Skive Edges: If folding the leather (e.g., for a double-layer design), use a skiver to thin one edge so it bends smoothly without bulging.
- Bevel the Edge: Run an edge beveler around the perimeter to round off sharp corners and create a smooth profile that won’t catch on fabric.
- Create Stitching Line: Use a stitching groover along the edge where you plan to sew. This groove guides your needle and keeps stitches evenly spaced.
- Punch Holes: Use a prong punch or adjustable stitch marker to make holes along the groove. Aim for 8–10 stitches per inch for maximum strength.
- Add Hardware: Insert the keyring into a pre-punched hole near the top before stitching if designing a single-layer tag.
- Saddle Stitch: Thread a harness needle on each end of a 24-inch waxed thread. Pass both needles through the first hole, then alternate through subsequent holes. Pull tight after each stitch to eliminate slack.
- Finish Edges: Apply edge slicker or a mix of beeswax and gum tragacanth with a wooden burnisher. Buff repeatedly until smooth and sealed.
- Condition & Protect: Lightly apply leather conditioner to the surface, then wipe off excess. Finish with a protective coat if desired.
Do’s and Don’ts: Leather Keychain Best Practices
| Do’s | Don’ts |
|---|---|
| Use saddle stitch instead of machine sewing for higher tensile strength | Don’t skip edge finishing—raw edges fray quickly |
| Condition leather every 3–6 months to prevent drying | Don’t expose finished pieces to prolonged moisture or direct sunlight |
| Store unused leather flat and away from heat sources | Don’t use silicone-based polishes—they block breathability |
| Test dyes or finishes on scraps first | Don’t rush the burnishing process; it takes time to achieve a glassy edge |
Real Example: From First Attempt to Finished Product
When Maria, a DIY enthusiast from Portland, tried making her first leather keychain, she used 2mm chrome-tanned leather from a craft store. Within three weeks of daily use, the corners cracked and the thread unraveled. After researching materials, she switched to 3.5mm full-grain veg-tan leather and invested in a basic toolkit. Her second attempt included edge beveling, proper grooving, and hand saddle stitching. Over a year later, the keychain remains intact, showing only a deepening color and soft luster—exactly the kind of aging that defines quality craftsmanship.
Her turnaround wasn’t due to talent, but technique. By focusing on structure and material choice, she transformed a fragile accessory into a lasting heirloom.
Frequently Asked Questions
How long should a handmade leather keychain last?
A well-made keychain using full-grain leather and saddle stitching can last 5–10 years or more with regular use. Factors like exposure to water, oils from skin, and frequency of use affect lifespan. Proper maintenance extends longevity significantly.
Can I personalize my leather keychain?
Yes—personalization enhances both beauty and meaning. Use leather stamps to imprint initials, dates, or symbols. For finer details, try pyrography (wood-burning tool adapted for leather) or laser engraving if accessible. Always condition the leather afterward to seal exposed fibers.
Why is my thread coming loose after stitching?
Loose thread usually results from incorrect tension or skipping waxing. Waxed thread resists moisture and friction. When saddle stitching, pull each stitch firmly so the threads cross tightly beneath the leather. Knot securely at both ends and trim close without cutting the knot.
Making It Your Own: Beyond the Basics
Once you’ve mastered the fundamentals, experiment with layered designs, contrasting stitching colors, or embedding small metal accents. Some artisans incorporate tooled patterns or dye gradients for visual depth. The key is maintaining structural integrity while exploring creativity.
Consider making keychains as gifts. A personalized, handcrafted piece carries emotional weight far beyond its material cost. Engraved initials, a meaningful symbol, or a favorite color combination turns a simple tag into a cherished object.
“People don’t just carry keys—they carry memories. A well-made keychain becomes part of that story.” — Lena Torres, Handcrafted Goods Curator
Final Thoughts and Call to Action
Crafting durable handmade leather keychains blends tradition, patience, and purpose. Each cut, stitch, and finish reflects your commitment to quality. These small items endure because they’re built to last—not designed for disposal. Whether you're creating for yourself or others, the process teaches respect for materials and pride in handmade work.


 浙公网安备
33010002000092号
浙公网安备
33010002000092号 浙B2-20120091-4
Comments
No comments yet. Why don't you start the discussion?