
Creating your own scented candles at home is more than a craft—it’s an experience. The gentle melt of wax, the careful selection of fragrance, and the quiet satisfaction of lighting a candle you made yourself offer a unique blend of creativity and mindfulness. Beyond the personal joy, homemade candles make thoughtful gifts and can even become a small business venture. With the right materials, techniques, and attention to detail, anyone can master the art of candle making. This guide walks you through every step, from choosing waxes to blending signature scents, ensuring your results are safe, long-lasting, and beautifully aromatic.
Selecting the Right Materials
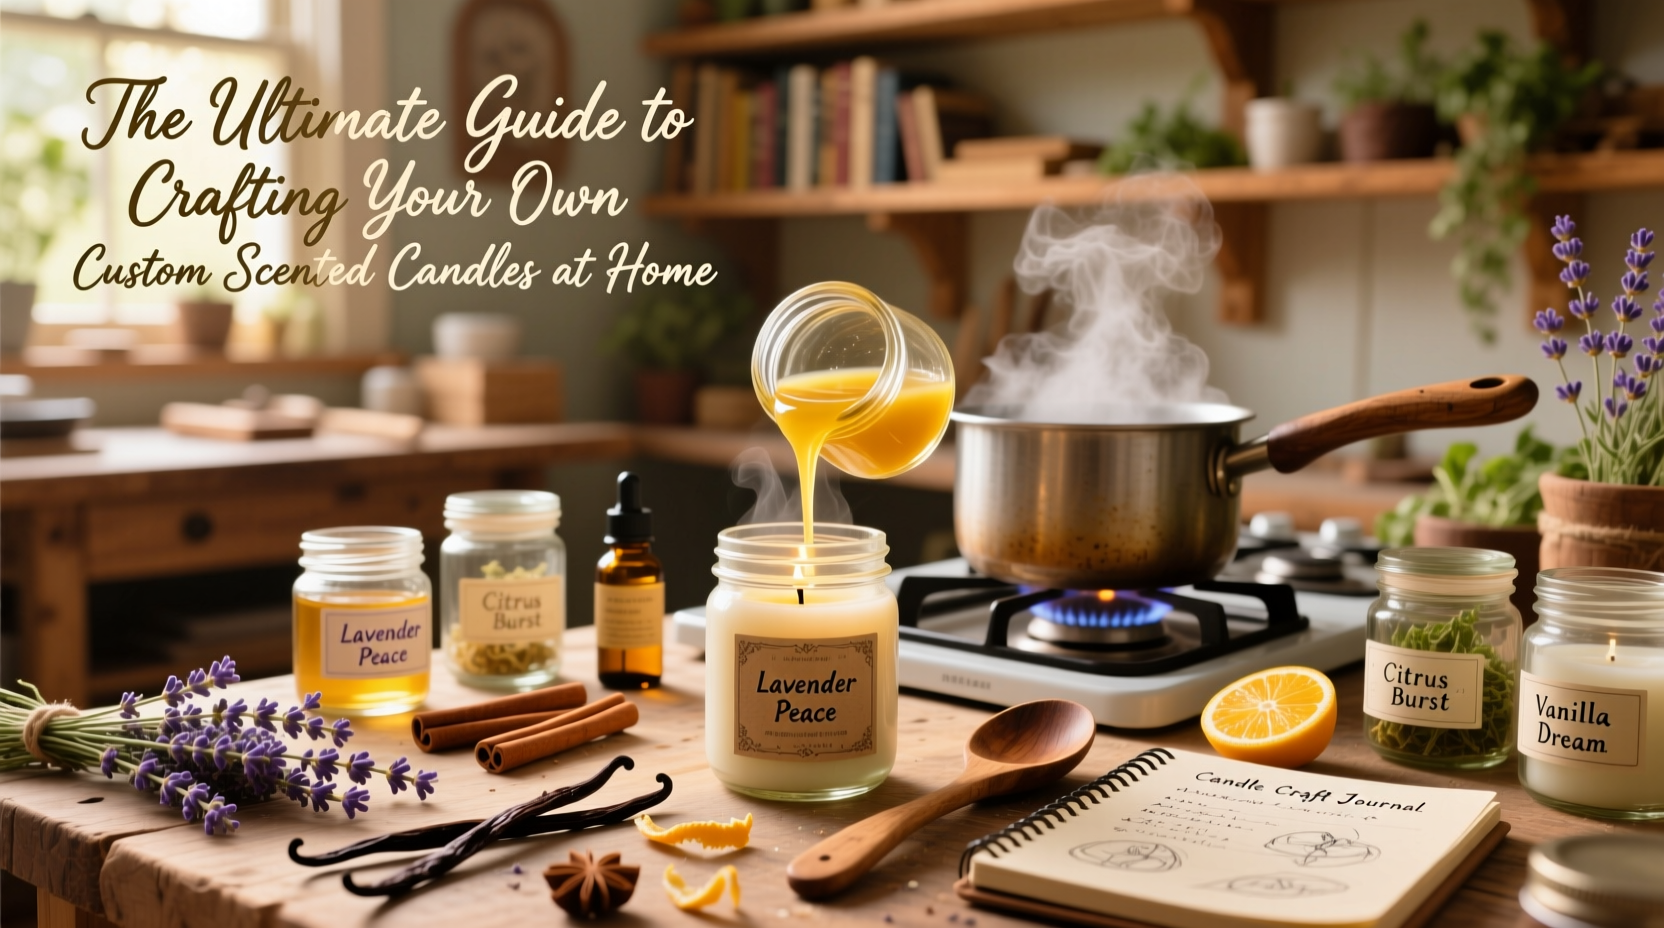
The foundation of a high-quality candle lies in its ingredients. Not all waxes, wicks, or fragrances behave the same way, and understanding their properties ensures consistent results.
**Wax Types:** Common options include soy wax, beeswax, paraffin, and coconut blends. Soy wax is popular for its clean burn, biodegradability, and excellent scent throw. Beeswax offers a natural honey aroma and long burn time but can be harder to work with. Paraffin is affordable and holds fragrance well but is petroleum-based. Coconut-soy blends provide superior scent retention and smooth texture.
**Wicks:** Cotton and wood wicks are widely used. Cotton burns cleanly and evenly; wood wicks create a soft crackling sound and are ideal for wide containers. Wick size depends on the diameter of your container—too small, and the candle tunnels; too large, and it produces excess smoke.
**Fragrance Oils vs. Essential Oils:** Fragrance oils are lab-created and designed specifically for candles, offering strong scent throw and stability in wax. Essential oils are natural but often have a weaker aroma when burned and may not bind well with certain waxes. For best results, use fragrance oils approved for candle making at a ratio of 6–10% of total wax weight.
Essential Equipment Checklist
Before beginning, gather the necessary tools. Having everything ready prevents interruptions during the process, which is crucial when working with hot wax.
- Dual boiler or heat-safe pitcher and saucepan
- Thermometer (candy or infrared)
- Heat-resistant pouring pitcher
- Candle molds or containers (glass jars, tins, ceramic vessels)
- Wick holders or centering devices
- Scale for precise measurements
- Stirring utensil (wooden stick or silicone spatula)
- Adhesive (hot glue or wick stickers)
“Precision in temperature and measurement separates amateur melts from professional-grade candles.” — Lila Monroe, Artisan Candle Maker & Instructor
Step-by-Step Candle Making Process
Follow this detailed sequence to create a well-performing, beautifully scented candle.
- Prepare Your Workspace: Cover surfaces with newspaper or silicone mats. Ensure good ventilation and keep flammable materials away.
- Secure the Wick: Attach the metal base of the wick to the center of your container using a dab of hot glue. Use a wick holder or chopstick to keep it upright.
- Melt the Wax: Using a double boiler, heat the wax slowly to the manufacturer’s recommended melting point (typically 170–185°F / 77–85°C). Avoid direct heat to prevent scorching.
- Add Fragrance: Once melted, remove from heat and let cool slightly to 160–170°F (71–77°C). Stir in fragrance oil at 6–10% of wax weight. Overheating fragrance can cause it to evaporate prematurely.
- Pour the Wax: Carefully pour into the container at a steady pace to minimize air bubbles. Leave about ½ inch at the top.
- Cure the Candle: Let the candle cool at room temperature for 24–48 hours. Rapid cooling can cause sinkholes or frosting (especially in soy wax).
- Trim the Wick: Cut the wick to ¼ inch before lighting to ensure a clean, even burn.
Fragrance Blending: Create Your Signature Scent
One of the most rewarding aspects of candle making is designing your own fragrance profile. Think of scent blending like composing music—each note plays a role in the overall harmony.
**Top Notes:** These are the first impressions—light, fresh, and volatile. Examples: citrus, bergamot, eucalyptus.
**Middle (Heart) Notes:** The core of the fragrance. Floral, herbal, or spicy scents like lavender, rosemary, or cinnamon fall here.
**Base Notes:** Deep, long-lasting anchors. Vanilla, sandalwood, musk, and patchouli provide warmth and depth.
A balanced blend might combine 30% top, 50% middle, and 20% base notes. Start small—test blends in 10ml sample batches before scaling up.
| Scent Profile | Top Note | Middle Note | Base Note |
|---|---|---|---|
| Calming Retreat | Lemon | Lavender | Cedarwood |
| Cozy Hearth | Orange Peel | Clove | Vanilla |
| Forest Morning | Pine | Rain Accord | Moss |
Avoiding Common Mistakes
Even experienced crafters encounter issues. Knowing what to watch for helps maintain quality.
- Tunneling: Caused by too small a wick or extinguishing the candle before a full melt pool forms. Always allow the wax to liquefy across the surface on the first burn.
- Weeping Wax: Oily spots on the candle surface occur when fragrance oil isn’t fully incorporated or exceeds recommended ratios.
- Weak Scent Throw: Can result from underloading fragrance, incorrect pouring temperature, or using low-quality oils.
- Cracking or Frosting: Common in soy wax due to natural crystallization. While harmless, it can be minimized by controlled cooling and proper pouring temps.
Real Example: Sarah’s Home-Based Candle Business
Sarah, a teacher from Portland, began making candles as a weekend hobby. After receiving consistent praise from friends, she launched an Etsy shop specializing in seasonal blends—like “Spiced Apple Crisp” for fall and “Ocean Breeze” for summer. She invested in high-quality fragrance oils, standardized her process with digital scales and thermometers, and created branded labels. Within eight months, her side hustle covered her grocery bills. Her secret? Consistency and customer feedback. She keeps a log of each batch and adjusts wick sizes based on burn tests. Today, she sources recyclable glass jars and uses eco-friendly packaging, aligning her brand with sustainability—a key selling point for her audience.
Frequently Asked Questions
How long should I cure my candles before burning?
Most candles benefit from a curing period of 3–7 days. This allows the fragrance molecules to fully bind with the wax, enhancing both cold and hot scent throw. Some complex blends improve over two weeks.
Can I reuse old candle jars?
Yes. Remove leftover wax by freezing the jar and popping it out. Wash with hot, soapy water and dry thoroughly. Reuse the jar or recycle the glass. Save and repurpose metal wick bases if possible.
Why does my candle produce black smoke?
Excessive smoke usually indicates a wick that’s too long or a drafty environment. Trim the wick to ¼ inch before each use and place the candle away from vents or open windows.
Final Thoughts and Call to Action
Crafting custom scented candles is a fulfilling practice that blends science, art, and sensory pleasure. Whether you’re making one candle for your living room or building a product line, the process rewards patience and attention to detail. You control the ingredients, the scent, and the story behind every flicker of flame. There’s no need for perfection on the first try—experimentation is part of the journey.


 浙公网安备
33010002000092号
浙公网安备
33010002000092号 浙B2-20120091-4
Comments
No comments yet. Why don't you start the discussion?