
Replacing cat litter is a necessary part of pet ownership, but it doesn’t have to be messy or stressful. Many cat owners dread the chore due to scattered granules, lingering odors, and the physical effort involved. However, with the right tools, techniques, and routine, you can transform this daily task into a quick, clean, and even satisfying process. The key lies in preparation, consistency, and understanding your cat’s habits.
A well-maintained litter box contributes not only to household hygiene but also to your cat’s health and emotional well-being. Cats are naturally fastidious animals; a dirty litter box may lead to inappropriate elimination, stress, or urinary issues. By mastering efficient litter replacement, you create a better environment for both you and your feline companion.
Choose the Right Litter and Box Setup
The foundation of a mess-free litter change starts with selecting appropriate supplies. Not all litters are created equal—some produce more dust, scatter easily, or clump poorly. Similarly, the design and placement of the litter box play a crucial role in minimizing cleanup.
Clumping clay and silica crystal litters tend to be easier to manage because they form solid waste that can be removed quickly. Lightweight litters reduce strain when lifting full boxes, while low-dust formulas improve air quality and reduce respiratory irritation for both pets and people.
Litter box design matters too. Covered boxes help contain odor and reduce side-scattering, but some cats dislike enclosed spaces. Consider a high-walled or top-entry model if your cat kicks litter aggressively. For multi-cat households, follow the “n+1” rule—one box per cat, plus one extra—to prevent territorial avoidance and ensure cleanliness.
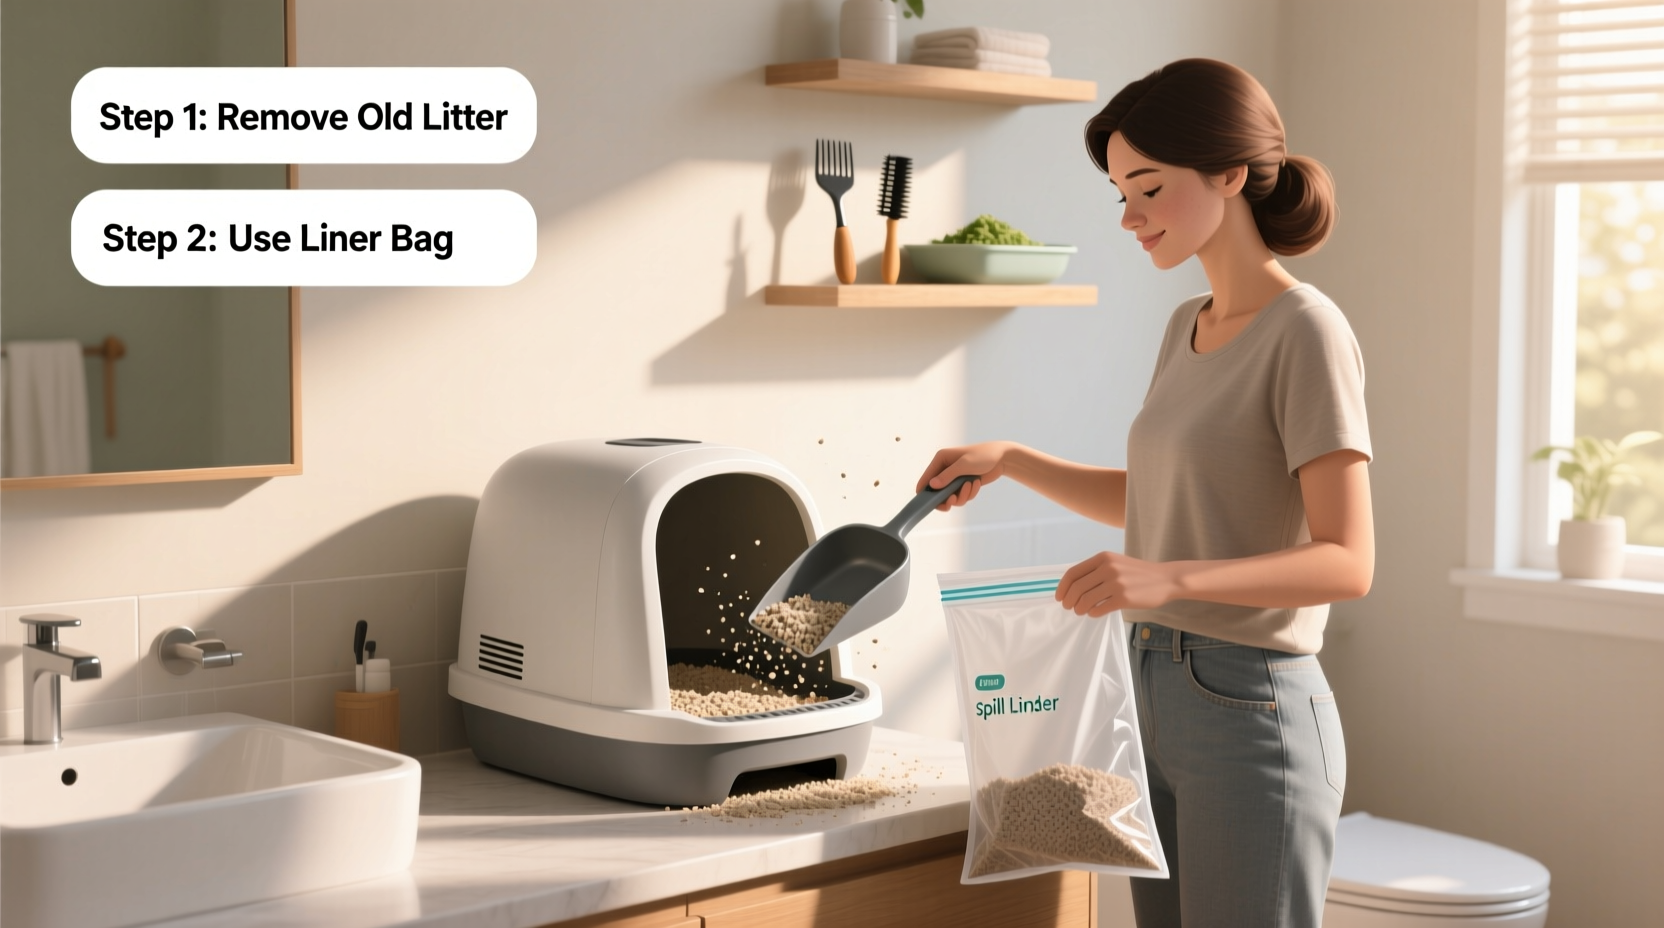
Step-by-Step Guide to Stress-Free Litter Replacement
Efficiency comes from repetition and structure. Follow this proven sequence to replace litter with minimal disruption.
- Prepare your workspace. Open windows for ventilation and lay down disposable paper or a washable mat around the box area.
- Remove your cat from the area. Ensure safety and prevent tracking by keeping your cat in another room during cleaning.
- Scoop solid waste daily. Use a slotted scoop to remove clumps and feces. This extends the life of the litter and reduces full changes.
- Empty old litter completely every 2–3 weeks. Pour used litter into a sealed bag and dispose of it in an outdoor trash can to avoid indoor odors.
- Clean the box thoroughly. Wash with warm water and mild, unscented soap. Avoid harsh chemicals like ammonia or bleach, which can repel cats.
- Rinse and dry completely. Residual moisture promotes bacterial growth and mold.
- Add fresh litter (3–4 inches deep). This depth allows for proper digging and clumping without excessive spillage.
- Return the box to its original location. Cats rely on routine—changing the spot can cause confusion or refusal to use the box.
This process takes less than 15 minutes when done consistently and prevents the buildup that leads to overwhelming messes.
Do’s and Don’ts of Litter Maintenance
| Do | Don’t |
|---|---|
| Use unscented litter to avoid overwhelming your cat’s sensitive nose | Use heavily perfumed litters—they can irritate cats and mask health issues |
| Wash hands after handling litter, especially for pregnant individuals | Ignore hygiene—cat feces can carry toxoplasmosis |
| Replace litter box every 6–12 months as plastic pores absorb odors | Keep using a cracked or stained box—it harbors bacteria |
| Monitor litter tracking and adjust placement or add a hood if needed | Place litter box near noisy appliances—cats prefer quiet, accessible locations |
Real-Life Example: Solving a Persistent Tracking Problem
Sarah, a cat owner in Portland, struggled with litter tracked across her hardwood floors every morning. Despite daily scooping, tiny granules spread from the bathroom to the kitchen. She tried switching brands, but the problem persisted. After observing her cat, Luna, she noticed that Luna would vigorously dig after elimination, launching litter over the sides.
Sarah implemented three changes: she moved the box to a laundry room with tile flooring, placed a large washable mat underneath, and switched to a covered, high-walled box. Within a week, tracking dropped by 90%. She now cleans the mat weekly and empties the box every 20 days, maintaining a nearly mess-free routine.
Her experience underscores a key principle: small environmental adjustments often solve what seems like an unavoidable mess.
Expert Insight on Feline Behavior and Hygiene
“Cats are creatures of habit. A sudden change in litter type or box location can trigger stress-related behaviors, including urinating outside the box. Consistency and gradual transitions are essential.” — Dr. Lena Torres, DVM, Feline Behavioral Specialist
Dr. Torres emphasizes that abrupt switches in litter texture or scent can confuse cats, leading them to reject the box altogether. If you need to change litter brands, do so gradually by mixing increasing amounts of the new litter with the old over 7–10 days.
Essential Checklist for Efficient Litter Management
- ☐ Scoop waste at least once daily
- ☐ Empty and clean the entire box every 2–3 weeks
- ☐ Replace the litter box annually or when cracked
- ☐ Use a rubber or washable mat under the box
- ☐ Store extra litter in a sealed container away from moisture
- ☐ Keep cleaning supplies nearby (spare bags, scoop, gloves)
- ☐ Monitor your cat’s usage for signs of health issues (straining, frequent visits)
Sticking to this checklist ensures long-term cleanliness and prevents last-minute scrambling when the box becomes unmanageable.
Frequently Asked Questions
How often should I completely change the cat litter?
For clumping litter, a full change every 2–3 weeks is sufficient if you scoop daily. Non-clumping litters may require weekly replacement. Always inspect for odor, moisture saturation, and visible grime as indicators it’s time to refresh.
Why does my cat scratch the floor outside the litter box?
This behavior often mimics burying instinct. It may indicate the box is too small, the litter is too shallow, or your cat is trying to signal dissatisfaction. Try increasing litter depth or upgrading to a larger box before assuming behavioral issues.
Can I flush cat litter down the toilet?
No. Most cat litters, especially clay and crystal types, can clog pipes and harm aquatic ecosystems. Even “flushable” plant-based litters pose risks to municipal systems. Always dispose of litter in sealed bags through regular trash.
Final Thoughts: Turn a Chore Into a Seamless Routine
Replacing cat litter doesn’t have to be a dreaded, messy task. With the right setup, consistent habits, and attention to your cat’s preferences, it becomes a quick, almost automatic part of your day. The benefits extend beyond cleanliness—you’ll notice fewer odors, less tracking, and a happier, healthier cat.
Start by evaluating your current system. Is your scoop effective? Is the box in a quiet, accessible spot? Are you using litter that suits both your home and your cat’s instincts? Small upgrades yield big improvements.


 浙公网安备
33010002000092号
浙公网安备
33010002000092号 浙B2-20120091-4
Comments
No comments yet. Why don't you start the discussion?