
In today’s digital world, your mobile phone is likely your primary camera. From family moments to scenic travel shots, those memories deserve safekeeping beyond your phone’s storage. Whether you're moving photos to a laptop, tablet, desktop, or external drive, knowing how to transfer them efficiently saves time, prevents data loss, and keeps your digital life organized.
This guide walks you through the most reliable, practical, and modern ways to download photos from your mobile phone—regardless of brand or operating system. No technical jargon, no confusion. Just clear, actionable steps that work.
Why Seamless Photo Transfer Matters
Smartphones capture high-resolution images that quickly consume internal storage. Over time, this can slow down performance, limit app functionality, or force you to delete older photos just to make space. Transferring photos to another device isn’t just about freeing up space—it’s about preserving your visual history in multiple locations.
Digital experts emphasize redundancy: “One copy on your phone isn’t enough,” says Lin Zhao, a data preservation specialist at the Digital Archiving Institute.
“Two copies across different devices or platforms is the minimum standard for personal photo safety.” — Lin Zhao, Data Preservation Specialist
Beyond backup, transferring photos allows for better editing, sharing, printing, and long-term organization. The right method depends on your needs: speed, convenience, privacy, or automation.
Wired Transfer: Fast, Reliable, and Always Works
Using a physical cable remains one of the fastest and most secure ways to move large batches of photos from your phone to a computer. It doesn’t rely on internet connectivity and gives you full control over which files are transferred.
For Android Users
- Connect your phone to your computer using a USB cable.
- On your phone, tap the USB notification and select “File Transfer” (also called MTP).
- A window will open on your computer showing your phone’s folders.
- Navigate to
DCIM > Camera. - Select the photos you want and drag them to a folder on your computer.
- Safely eject the device before disconnecting the cable.
For iPhone Users
- Connect your iPhone to your Mac or Windows PC with a Lightning or USB-C cable.
- On Mac: Open the Photos app. It will prompt you to import new photos. Choose “Import All New Photos” or select specific ones.
- On Windows: Use the built-in “Photos” app or File Explorer. In File Explorer, locate your iPhone under “This PC,” open it, go to Internal Storage > DCIM, and copy the desired images.
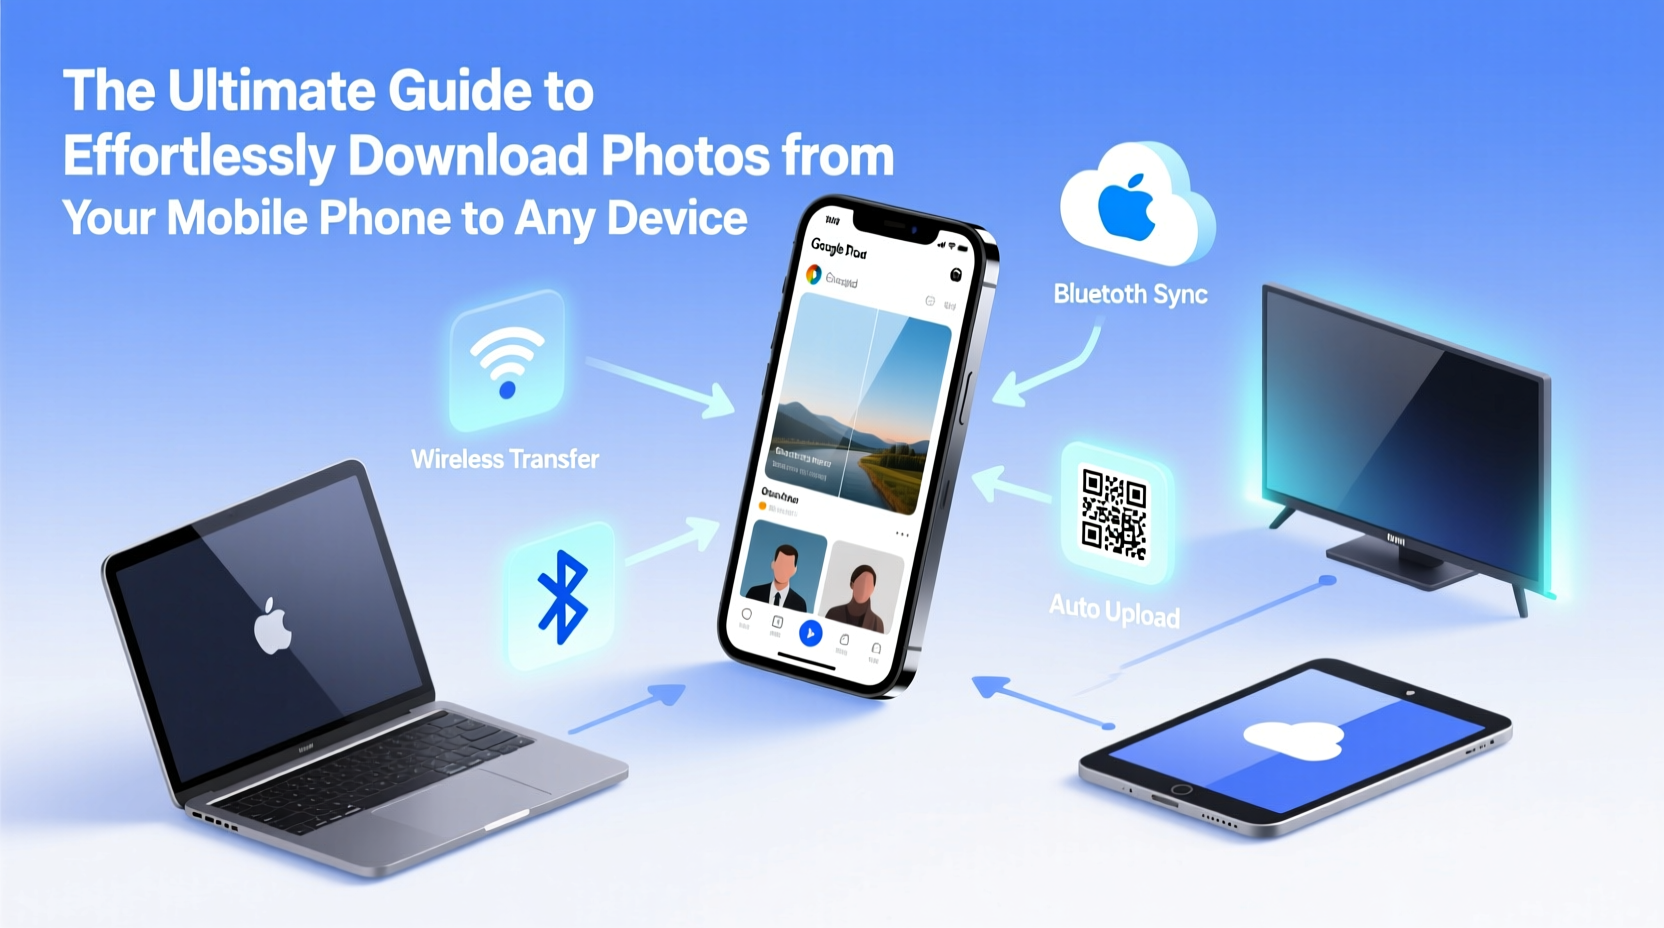
Wireless Methods: Convenience Without Cables
If plugging in feels outdated, wireless options offer hands-free transfers—especially useful when you’re on the go.
Cloud-Based Syncing
Services like Google Photos, iCloud, and Dropbox automatically upload your photos as soon as they’re taken, provided you have Wi-Fi or cellular data enabled.
- Google Photos: Install the app, sign in, and enable “Backup & Sync.” Photos upload in the background. Access them from photos.google.com on any device.
- iCloud Photos: On iPhone, go to Settings > [Your Name] > iCloud > Photos, then turn on “iCloud Photos.” Your entire library syncs across Apple devices.
- Dropbox: Enable camera uploads in the app settings. Files appear in your Dropbox folder on other devices.
While convenient, cloud syncing requires storage space. Free tiers often compress photos or limit resolution unless you upgrade.
Wi-Fi Direct and Peer-to-Peer Transfer
Modern phones support direct file sharing via local Wi-Fi networks or proprietary tools:
- Android Beam (discontinued) alternatives: Use Samsung Quick Share, Xiaomi ShareMe, or Google’s Nearby Share. These allow instant photo transfer between nearby Android devices.
- Apple AirDrop: Turn on Wi-Fi and Bluetooth, open Control Center, press and hold the network settings card, and tap AirDrop. Set to “Everyone” or “Contacts Only.” Then share photos directly to nearby Macs or iPhones.
Step-by-Step: How to Download 500+ Photos in Under 10 Minutes
Suppose you’ve returned from vacation with hundreds of photos and need to get them onto your laptop fast. Here’s a proven workflow:
- Prepare your devices: Charge your phone and ensure your computer has enough free space.
- Use a high-speed USB cable: Avoid cheap cables—they often fail mid-transfer.
- Open file explorer (Windows) or Finder (Mac): Wait for the phone to appear as a connected device.
- Navigate to DCIM/Camera: Sort files by date to identify recent photos.
- Select all (Ctrl+A / Cmd+A): Copy and paste into a new folder named with the current date.
- Verify transfer: Open a few random photos on the computer to confirm integrity.
- Eject safely: Right-click the device and choose “Eject” before unplugging.
This method avoids compression, retains metadata (like GPS location), and works regardless of cloud subscriptions.
Comparison Table: Transfer Methods at a Glance
| Method | Speed | Internet Required? | Best For | Limits |
|---|---|---|---|---|
| USB Cable | Fast | No | Large batches, full quality | Cable dependency |
| Google Photos | Medium | Yes | Automatic backup | Compression on free tier |
| iCloud Photos | Medium | Yes | Apple ecosystem users | Paid storage needed for large libraries |
| AirDrop / Nearby Share | Fast | No (local Wi-Fi/Bluetooth) | Sharing between trusted devices | Distance-limited |
| Email or Messaging Apps | Slow | Yes | Single or few photos | Size limits, compression |
Real Example: Recovering Lost Wedding Photos
When Sarah attended her sister’s wedding, she took over 700 photos on her Android phone. Days later, her phone froze and wouldn’t restart. Panicked, she visited a local tech shop. The technician used a USB cable to connect the phone in recovery mode and successfully extracted all photos to an external hard drive. “I didn’t lose a single shot,” Sarah said. “I now back up every event within 24 hours.”
This case underscores the importance of timely transfers—and having a fallback plan. Relying solely on your phone is risky.
Essential Checklist Before Transferring Photos
Follow this checklist to ensure a smooth, error-free process:
- ✅ Charge both devices to at least 50%
- ✅ Use an original or certified cable (avoid knockoffs)
- ✅ Close unnecessary apps on your phone
- ✅ Create a dedicated folder on your target device
- ✅ Verify file integrity after transfer
- ✅ Delete photos from the phone only after confirming backup
Frequently Asked Questions
Can I transfer photos without losing quality?
Yes. Using a USB cable or AirDrop/Nearby Share preserves original resolution and metadata. Cloud services may compress files unless set to “High Quality” or “Original” mode.
What if my computer doesn’t recognize my phone?
Try a different cable or USB port. Ensure USB debugging is off (Android), and update your device drivers (Windows). Restart both devices if needed.
Is it safe to transfer photos over public Wi-Fi?
Not recommended. Public networks are vulnerable to interception. Use encrypted methods like iCloud or Google Photos with two-factor authentication, or wait until you’re on a private network.
Take Control of Your Digital Memories
Your photos are more than pixels—they’re moments frozen in time. Letting them sit only on your phone puts them at risk of loss due to damage, theft, or software failure. By mastering these transfer techniques, you gain peace of mind and full ownership of your digital legacy.
Start small: tonight, connect your phone and move one folder of photos to your computer. Then set up automatic backups. Within a week, you’ll have a smarter, safer photo workflow.


 浙公网安备
33010002000092号
浙公网安备
33010002000092号 浙B2-20120091-4
Comments
No comments yet. Why don't you start the discussion?