
Unboxing a new iPhone is exciting, but the initial setup can feel overwhelming—especially if you're new to Apple’s ecosystem. From activating your device to personalizing settings and transferring data, each step shapes how smoothly your iPhone integrates into your daily life. This guide walks you through the entire process with clarity and precision, ensuring even first-time users gain confidence and control from the very beginning.
Powering On and Initial Activation
The journey begins by pressing and holding the side button until the Apple logo appears. Once the screen lights up, you’ll be guided through a series of intuitive prompts. The setup assistant will ask you to select your preferred language, region, and Wi-Fi network. Connecting to Wi-Fi early ensures access to iCloud, app downloads, and automatic updates during setup.
If you own another Apple device like an iPad or Mac, use the “Quick Start” feature by holding it near your new iPhone. A prompt will appear on the trusted device, allowing you to transfer settings via Bluetooth and camera alignment. This shortcut eliminates manual entry of information such as Apple ID, passwords, and payment methods.
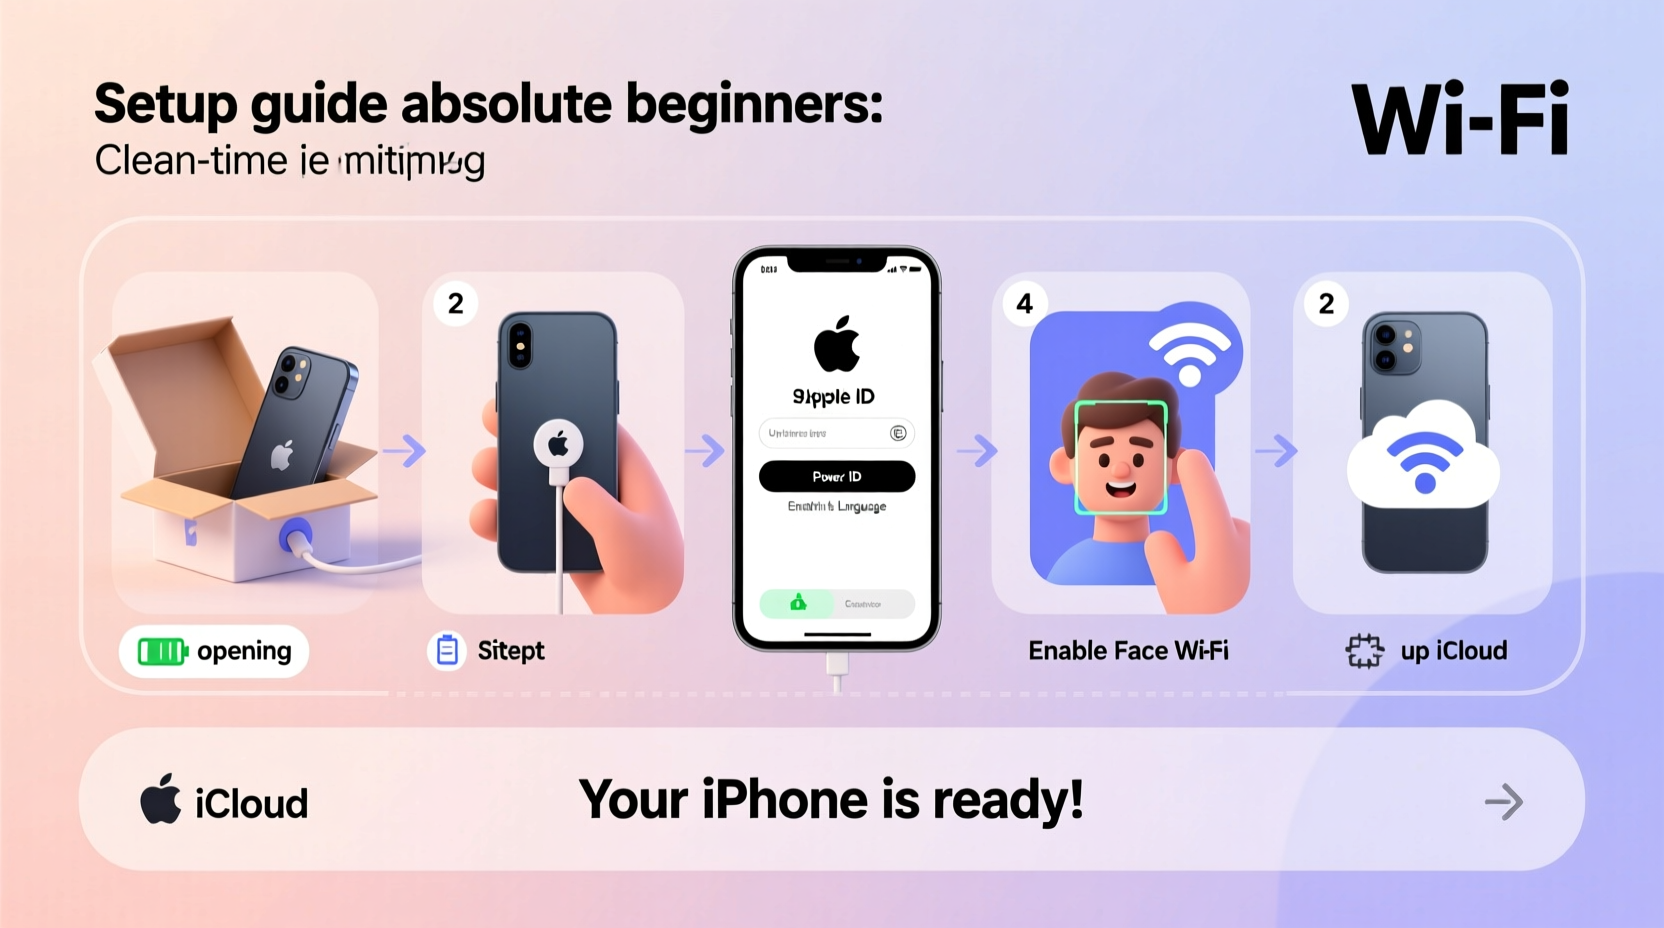
Step-by-Step: Initial Setup Timeline
- Turn on iPhone: Press and hold the side button until the Apple logo appears.
- Select language and country: Choose based on your location.
- Connect to Wi-Fi: Required for activation and iCloud services.
- Enable Location Services: Opt-in or defer based on privacy preferences.
- Set up Face ID or Touch ID: Follow on-screen instructions to register facial features or fingerprint.
- Sign in with Apple ID: Enter credentials or create a new account.
- Restore from backup or set up as new: Choose based on whether you’re migrating from another iPhone.
- Agree to terms and enable services: Siri, Analytics, and Screen Time options appear here.
Transferring Data from Your Old Phone
Moving contacts, photos, apps, and messages doesn’t have to be complicated. Apple offers multiple methods depending on your previous device.
- From another iPhone: Use iCloud Backup or Quick Start over Wi-Fi. Backups include app data, settings, Health data, and messages.
- From an Android device: Download the “Move to iOS” app before starting setup. During activation, select “Move Data from Android” and follow the secure transfer process using a temporary Wi-Fi connection between devices.
- From a computer: Restore from an iTunes or Finder backup (on macOS Catalina and later) for full control over what gets transferred.
| Method | Best For | Time Required | Data Included |
|---|---|---|---|
| Quick Start | iPhone-to-iPhone transfers | 10–20 minutes | Settings, accounts, Home Screen layout |
| iCloud Backup | Wireless convenience | 30+ minutes (depends on size) | Photos, messages, app data, Health info |
| Move to iOS | Switching from Android | 15–60 minutes | Contacts, messages, photos, calendars |
| Finder/iTunes | Full encrypted backups | 20–90 minutes | All data, including keychain and settings |
“Over 70% of new iPhone users report a smoother transition when they prepare their old device by backing up data a day in advance.” — Lisa Tran, Senior Support Analyst at AppleCare
Essential Settings to Customize Immediately
After activation, dive into Settings to tailor your experience. These adjustments improve usability, battery life, and digital well-being.
Do’s and Don’ts of Early Customization
| Action | Recommended? | Why |
|---|---|---|
| Turn on Find My iPhone | ✅ Yes | Enables remote tracking, locking, or erasing if lost |
| Disable Background App Refresh for unused apps | ✅ Yes | Saves battery and reduces data usage |
| Enable all app notifications | ❌ No | Leads to distraction; customize per app instead |
| Use default Safari and Mail apps | ✅ Optional | They integrate best with iOS unless replaced intentionally |
| Set strong passcode immediately | ✅ Yes | Protects sensitive data and enables advanced security features |
A Real Example: Sarah's First iPhone Experience
Sarah, a long-time Android user, upgraded to an iPhone 14 after years of hesitation. She downloaded “Move to iOS” on her Samsung Galaxy but skipped reading the instructions. During setup, she missed the prompt to begin data transfer and panicked when her photos didn’t appear. After reconnecting to Wi-Fi and restarting the process, she successfully moved contacts and messages—but had to manually upload photos to iCloud later.
The lesson? Preparation matters. Had she backed up photos to Google Photos beforehand and reviewed Apple’s migration guide, the shift would have been seamless. Now, she uses iCloud Photos and keeps automatic backups enabled weekly.
Must-Complete Setup Checklist
To ensure nothing slips through the cracks, complete this checklist within the first hour of setup:
- ✅ Charge your iPhone to at least 50% before starting
- ✅ Connect to a stable Wi-Fi network
- ✅ Sign in with your Apple ID (create one if needed)
- ✅ Enable Find My iPhone and Send Last Location
- ✅ Set up Face ID or Touch ID
- ✅ Restore from backup or transfer data from old phone
- ✅ Install available iOS updates under Settings > General > Software Update
- ✅ Review privacy settings in Settings > Privacy & Security
- ✅ Organize Home Screen by grouping apps into folders
- ✅ Turn on iCloud Photos and Notes sync for cross-device access
FAQ
What should I do if my iPhone won’t activate?
Ensure you have a strong Wi-Fi or cellular signal. Restart the device and try again. If the issue persists, visit Apple Support or contact your carrier—activation problems are often tied to SIM card status or account verification.
Can I use my iPhone without an Apple ID?
No. An Apple ID is required to access the App Store, iCloud, iMessage, FaceTime, and software updates. You can create a free Apple ID during setup using your email address.
Is it safe to set up my iPhone on public Wi-Fi?
No. Avoid public networks during initial setup. They may lack encryption, increasing the risk of intercepted login details. Always use a private, password-protected connection.
Final Steps and Long-Term Tips
Your iPhone is now personalized and ready for daily use. But the setup process doesn’t end at activation. Establish good habits early: enable automatic backups, update iOS regularly, and explore built-in accessibility tools like VoiceOver, Magnifier, or Sound Recognition if needed.
Consider enabling Screen Time to monitor app usage and set digital boundaries. Explore Family Sharing to share subscriptions, locations, and purchases securely with up to five family members.
“The first 48 hours with a new iPhone are critical for establishing secure, efficient habits that last years.” — Mark Delgado, Mobile Ecosystem Consultant
Start Strong, Stay Confident
Setting up your iPhone doesn’t need to be stressful. With the right approach, it becomes a powerful foundation for productivity, creativity, and connection. Whether you're switching ecosystems or experiencing iOS for the first time, every tap and toggle brings you closer to mastering your device.


 浙公网安备
33010002000092号
浙公网安备
33010002000092号 浙B2-20120091-4
Comments
No comments yet. Why don't you start the discussion?