
In the vast, procedurally generated landscapes of Minecraft, orientation can be a challenge. Whether you're exploring deep caves, mapping out a mega base, or setting up a mob farm, losing your sense of direction is common. One of the most powerful yet underused tools in the game is the ability to visualize chunk borders. These invisible 16×16 block divisions structure the entire world—and when revealed, they become a navigational superpower.
Enabling chunk borders provides real-time feedback about your position within the world grid, helping you track distance, align builds, and locate key structures more efficiently. This guide walks through everything you need to know: how to activate chunk borders, interpret their visual cues, apply them strategically, and avoid common pitfalls.
Understanding Chunks and Their Role in Minecraft
Minecraft worlds are divided into segments called chunks. Each chunk measures 16 blocks wide by 16 blocks long (and extends vertically from bedrock to sky). These units are fundamental to how the game loads terrain, spawns mobs, generates structures, and manages performance. When you move through the world, new chunks load dynamically as others unload to conserve memory.
Players don’t normally see these boundaries, but they influence nearly every aspect of gameplay. For example:
- Strongholds generate every ~320–960 blocks along diagonal axes, typically centered in specific chunks.
- Mob spawning occurs within loaded chunks near the player.
- Redstone contraptions like flying machines operate predictably only when aligned across chunk edges.
- Chunk boundaries affect lighting updates and entity behavior.
By making chunk borders visible, you gain insight into this hidden framework—turning abstract coordinates into tangible spatial awareness.
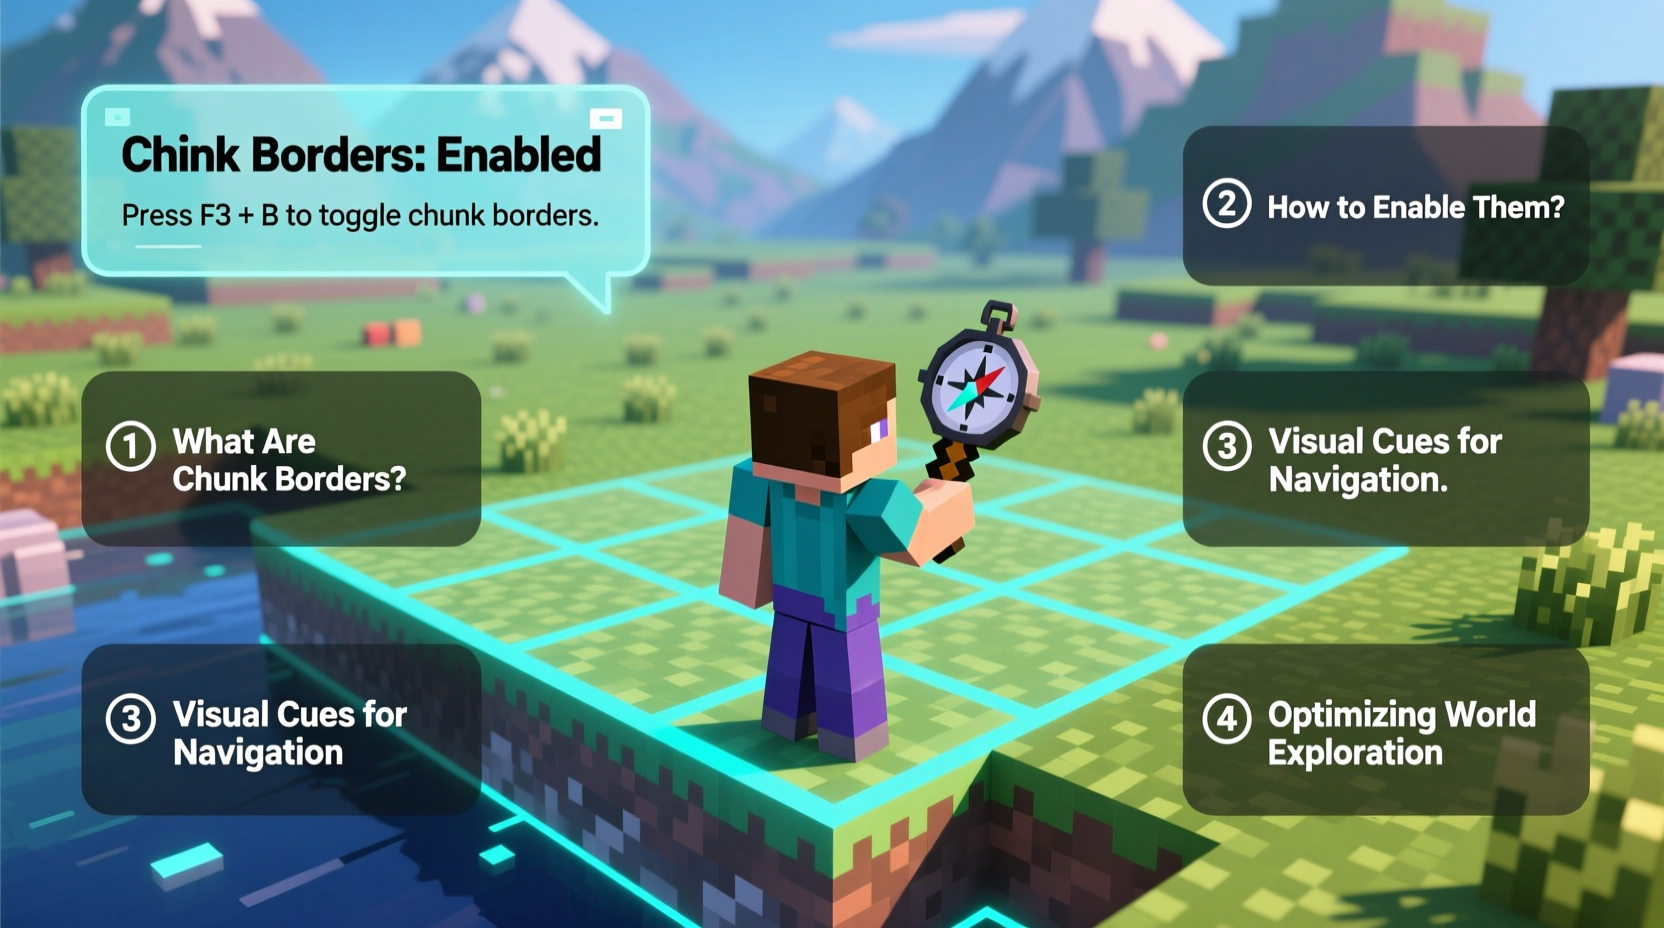
How to Enable Chunk Borders in Minecraft
Activating chunk borders requires accessing the debug screen, which displays technical data about your current location and environment. The process differs slightly depending on your platform.
Step-by-Step Guide: Enabling Chunk Borders
- Launch Minecraft and enter any world (Creative or Survival).
- Press F3 on your keyboard (Java Edition). On Mac, it may be Fn + F3.
- Look for the “c” indicator on the debug screen. It appears near the top section labeled “Displayed Crates” or similar.
- To toggle chunk borders, press F3 + G. A message will appear confirming that chunk boundaries have been rendered.
- Walk around—the edges of each chunk will now appear as red lines extending vertically into the sky.
Note: This feature is exclusive to Java Edition unless using mods or external tools. Bedrock Edition does not support native chunk border rendering without third-party add-ons.
What You’ll See When Chunk Borders Are Active
Once enabled, bright red lines mark the perimeter of the chunk you're currently standing in. These lines stretch from y=0 to y=256 (or higher in 1.18+), making them visible regardless of elevation. As you cross into a new chunk, the red box shifts to outline your new location.
The debug screen also shows additional information:
| Data Point | Description |
|---|---|
| X, Y, Z | Your exact coordinates; X and Z determine chunk placement. |
| Chunk (X, Z) | The chunk number you're currently in (e.g., \"Chunk: 12, -5\"). |
| Local Blocks | Indicates how many blocks within the chunk are actively loaded. |
| c | Shows if chunk borders are active (“c: ON”) or off (“c: OFF”). |
“Understanding chunk mechanics separates casual players from optimized builders and explorers.” — Alex Turner, Minecraft Educator & Speedrunner
Practical Uses of Chunk Borders for Navigation and Building
Seeing chunk borders transforms how you interact with the world. Here’s how to leverage them effectively:
Navigate Caves and Nether Tunnels Efficiently
Underground systems often disorient players due to uniform textures and winding paths. With chunk borders visible, you can count how many chunks you've traveled from your base. Since each chunk equals 16 meters horizontally, moving five chunks east means you’ve gone 80 blocks—a useful mental shortcut without checking coordinates constantly.
Optimize Mob Farm Placement
Mob farms rely on spawnable space within a 128-block radius of the player. By aligning your farm at the edge of a chunk and sitting precisely at the center of another, you maximize control over spawn chunks. Chunk borders help ensure your AFK spot is positioned correctly relative to spawn areas.
Align Large-Scale Builds
For pixel art, cities, or rail networks, alignment matters. Use chunk borders as natural gridlines to keep roads straight, towers evenly spaced, and farms symmetrical. Placing cornerstones at chunk intersections ensures scalability across thousands of blocks.
Locate Structures Faster
Strongholds, villages, and temples often generate at predictable intervals relative to chunk coordinates. While not always perfectly aligned, knowing your chunk position helps narrow down search zones. For instance, strongholds usually spawn between chunks ±(16, 16) to ±(48, 48) from the world origin.
Common Mistakes and How to Avoid Them
Even experienced players misuse or misunderstand chunk visualization. Here are frequent errors and corrections:
| Mistake | Why It’s Problematic | Solution |
|---|---|---|
| Confusing render distance with chunk loading | More chunks render visually than actually load entities/mobs | Use F3 to check actual loaded chunk count, not just visibility |
| Building across chunk edges without planning | Can cause lighting leaks or redstone lag at boundaries | Design large mechanisms to start/end within single chunks |
| Leaving chunk borders on indefinitely | Debug overlay adds visual clutter and slight performance cost | Toggle F3 + G only when needed; disable otherwise |
| Ignoring vertical chunk behavior | Height doesn’t affect horizontal chunk division | Remember: chunks are 16×16×256—borders only show horizontal limits |
Real-World Example: Mapping a Jungle Temple
Consider a player searching for a jungle temple in a dense biome where landmarks blend together. After teleporting via coordinates from a seed database, they land nearby but can't spot the structure. Turning on chunk borders (F3 + G), they notice the red lines form an unusually tight cluster—indicating they’re near a biome boundary where generation rules shift.
Walking northeast, they observe that after three full chunks (48 blocks), the terrain flattens abruptly. Following the chunk grid, they scan each corner and discover the temple tucked exactly at the junction of four chunks—an intentional design pattern used by the generator. Without visible borders, this clue would have been missed.
FAQ: Common Questions About Chunk Borders
Can I enable chunk borders in Minecraft Bedrock Edition?
No, Bedrock Edition does not support the debug screen or native chunk border rendering. However, some texture packs or external apps claim limited functionality, though these are unofficial and may violate terms of service.
Do chunk borders affect gameplay or performance?
They do not alter gameplay mechanics. However, keeping the debug screen open uses extra GPU resources, especially in complex biomes. Use sparingly to maintain optimal frame rates.
Why did my chunk borders disappear after relogging?
The F3 + G toggle resets when you exit the world. Simply press the keys again upon returning to restore the red outlines.
Final Thoughts: Master Your World One Chunk at a Time
Chunk borders are more than a debugging tool—they’re a precision instrument for navigating, building, and surviving smarter in Minecraft. Once you internalize the rhythm of 16-block increments, your spatial intuition sharpens dramatically. You'll find yourself estimating distances faster, placing farms more efficiently, and designing layouts with professional-grade accuracy.
Whether you're charting unexplored caverns or constructing a sprawling metropolis, take a moment to press F3 + G. Let those red lines guide you through the chaos of creation. The world isn’t just made of blocks—it’s built on chunks. And now, you can finally see them.


 浙公网安备
33010002000092号
浙公网安备
33010002000092号 浙B2-20120091-4
Comments
No comments yet. Why don't you start the discussion?