
Extracting still images from video footage is more than just pausing and saving a frame. Whether you're a filmmaker, marketer, content creator, or archivist, the ability to pull sharp, detailed, and usable stills from video can enhance your work significantly. High-quality stills are essential for storyboards, promotional materials, legal documentation, and social media assets. But not all exported frames are created equal—many suffer from compression artifacts, motion blur, or low resolution. The key lies in understanding the technical nuances behind video encoding, playback fidelity, and export settings.
This guide walks through proven methods, tools, and insider strategies to ensure every still you extract maintains maximum clarity and detail—regardless of source format.
Why Most Extracted Stills Look Blurry or Low Quality
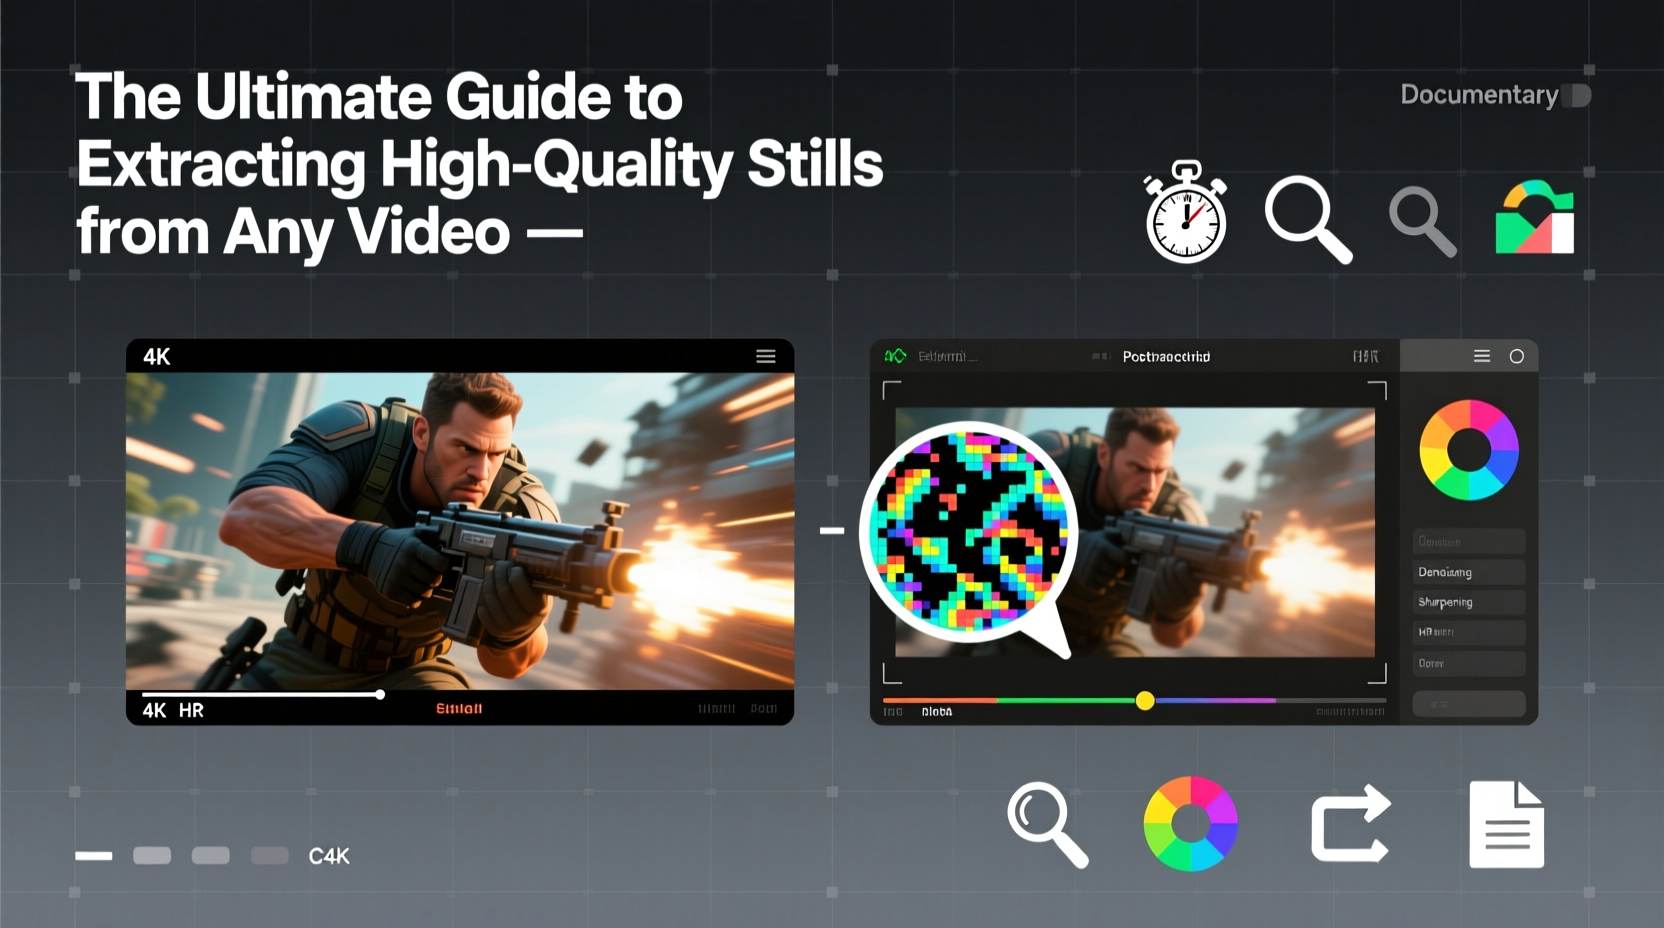
Many assume that any paused frame from a video can be saved as a high-resolution image. However, most consumer-grade players and editing software use decoded preview frames optimized for smooth playback, not image fidelity. These previews often undergo downscaling, chroma subsampling, or decompression that degrades quality before export.
Additionally, interlaced video formats, heavy compression (like H.264 or HEVC), and motion compensation algorithms can distort individual frames. Without proper handling, even 4K footage can yield pixelated or smeared stills.
Step-by-Step Guide to Extracting Crisp, High-Quality Stills
- Select the Right Frame Source: Use the original, highest-bitrate version of the video. Avoid re-encoded or streaming copies.
- Use Professional Software: Tools like FFmpeg, DaVinci Resolve, or Adobe Premiere Pro decode frames accurately without generational loss.
- Find the Optimal Frame: Scrub through the timeline slowly. Look for moments with minimal motion blur and clear focus.
- Export in Uncompressed Format: Save as PNG or TIFF instead of JPEG to preserve detail and avoid recompression.
- Avoid Upscaling Artificially: Never upscale a 720p frame expecting 4K quality. Resolution extraction has physical limits.
- Verify Bit Depth and Color Space: Ensure the extracted still retains the original color accuracy (e.g., Rec.709 for HD, Rec.2020 for UHD).
Recommended Export Settings
| Setting | Recommended Value |
|---|---|
| Format | PNG or TIFF |
| Color Profile | sRGB (web), Adobe RGB (print) |
| Bit Depth | 8-bit (standard), 16-bit (professional) |
| Resolution | Native video frame size (e.g., 3840×2160) |
| Compression | Lossless |
Best Tools for Frame Extraction
Different workflows demand different tools. Here’s a breakdown of top options across platforms and use cases:
- FFmpeg – Open-source command-line powerhouse. Ideal for batch processing and automation.
- DaVinci Resolve – Free professional-grade editor with precise frame grabbing and color management.
- Adobe Premiere Pro – Industry standard with seamless integration into creative suites.
- VLC Media Player – Limited but accessible option; requires enabling advanced snapshot settings.
- Shotstack or Frame.io – Cloud-based services for collaborative review and still export.
For automated workflows, FFmpeg offers unmatched flexibility. A simple command like:
ffmpeg -i input.mp4 -vf \"select=eq(n\\,150)\" -vframes 1 output.png
extracts frame 150 in full quality. Add -qscale:v 2 for JPEG at high quality, or use png:compression_level=9 for maximum PNG optimization.
Enhancing Extracted Stills for Maximum Clarity
Sometimes, even the cleanest extraction needs refinement. Post-processing can recover detail, reduce noise, and sharpen edges—when done carefully.
Use non-destructive editors like Adobe Photoshop or Affinity Photo. Apply these adjustments in order:
- Noise reduction (especially effective on low-light or highly compressed footage)
- Mild unsharp mask or smart sharpen (radius: 0.8–1.2 pixels)
- Contrast and levels adjustment to restore dynamic range
- Cropping to eliminate distorted edges or letterboxing
AI-powered tools such as Topaz Gigapixel AI or Adobe Super Resolution can intelligently upscale and denoise stills—but use them selectively. Overuse leads to unnatural textures and false detail.
“Frame extraction isn’t just about capturing a moment—it’s about preserving its integrity. The difference between a usable still and a blurry mess often comes down to decoding precision.” — Lena Torres, Digital Archivist & Motion Imaging Specialist
Mini Case Study: Recovering Stills from Archived Surveillance Footage
A local business needed promotional images from security camera footage of a community event. The video was recorded in 1080p at 15fps with heavy H.264 compression. Initial attempts using VLC produced muddy, artifact-ridden stills unsuitable for print.
The team switched to FFmpeg with custom decoding parameters:
ffmpeg -i surveillance.mkv -vf \"hqdn3d=4:3:6\" -ss 00:12:34 -vframes 1 -c png archive_still.png
This applied mild noise reduction (hqdn3d) and extracted a single frame at the target timestamp. The resulting still was then processed in Photoshop with targeted sharpening and contrast correction. After cleanup, the image was used in a local newspaper feature—proving that even low-bitrate sources can yield presentable results with the right workflow.
Checklist: Ensuring Every Still Is High Quality
- ✅ Use the original, uncompressed master file when possible
- ✅ Confirm the video’s native resolution and aspect ratio
- ✅ Choose a frame with minimal motion blur and good lighting
- ✅ Extract using a tool that supports lossless frame decoding
- ✅ Export in PNG or TIFF format for archival quality
- ✅ Retain embedded color profiles for accurate reproduction
- ✅ Avoid multiple re-encodes or repeated saves in lossy formats
- ✅ Review the still at 100% zoom to check for artifacts
Common Mistakes to Avoid
| Mistake | Why It Hurts Quality | Better Alternative |
|---|---|---|
| Using screen capture instead of frame export | Introduces display scaling, latency, and visual glitches | Use direct frame export from editing software |
| Exporting to JPEG at default quality | Causes blocky artifacts and color banding | Use PNG or set JPEG quality to 90+ if required |
| Upscaling heavily compressed footage | Amplifies noise and creates false details | Accept native resolution; enhance only subtly |
| Ignoring interlacing in older videos | Results in comb-like distortions on moving subjects | Deinterlace first using “yadif” or similar filter |
Frequently Asked Questions
Can I get a 4K still from a 1080p video?
No—not truly. While AI upscalers can generate higher-resolution outputs, they interpolate rather than recover real detail. A 1080p frame contains only two million pixels; any 4K version will be an intelligent guess, not a true high-res capture.
Is it better to extract stills during editing or from the final render?
Extract during editing whenever possible. Final renders may include compression, effects, or scaling that degrade source quality. Working from proxy files? Make sure your NLE is set to use full-resolution playback for export.
How do I extract multiple frames efficiently?
Use FFmpeg with time intervals. For example: ffmpeg -i input.mp4 -r 1 thumb_%04d.png captures one frame per second. Adjust -r to control frequency. Batch processing ensures consistency and saves hours of manual work.
Final Thoughts
High-quality still extraction is both a technical and artistic process. It demands attention to detail—from choosing the right frame to preserving bit depth and avoiding generational loss. With the right tools and disciplined workflow, you can transform fleeting moments in video into lasting, high-fidelity images.
Whether you're pulling hero shots for marketing, documenting critical scenes, or archiving visual history, mastering this skill adds immense value to your digital asset pipeline. Don’t settle for blurry snapshots. Invest in precision, and your stills will reflect the same professionalism as your source material.


 浙公网安备
33010002000092号
浙公网安备
33010002000092号 浙B2-20120091-4
Comments
No comments yet. Why don't you start the discussion?