
Replacing or installing window screens may seem like a minor home improvement task, but it plays a crucial role in comfort, ventilation, and pest control. A poorly fitted screen can sag, tear easily, or fail to keep insects out. On the other hand, a custom-fit, properly installed screen enhances airflow, visibility, and energy efficiency. Whether you're replacing worn-out models or upgrading to better materials, understanding how to measure, choose, and install window screens ensures long-term performance and peace of mind.
Why Custom Fit Matters More Than You Think
Prefabricated screens are often marketed as universal solutions, but windows vary widely in size, frame depth, and mounting style. Off-the-shelf options rarely accommodate these differences, leading to gaps, wobbling, or difficulty closing. A custom-fit screen eliminates these issues by conforming precisely to your window’s dimensions and structure.
Custom sizing also allows you to match the aesthetic of your home. Whether you have historic casement windows or modern sliders, a tailored screen maintains clean lines and proportions. Additionally, a snug fit reduces stress on the frame during operation, extending both the screen’s life and the window’s functionality.
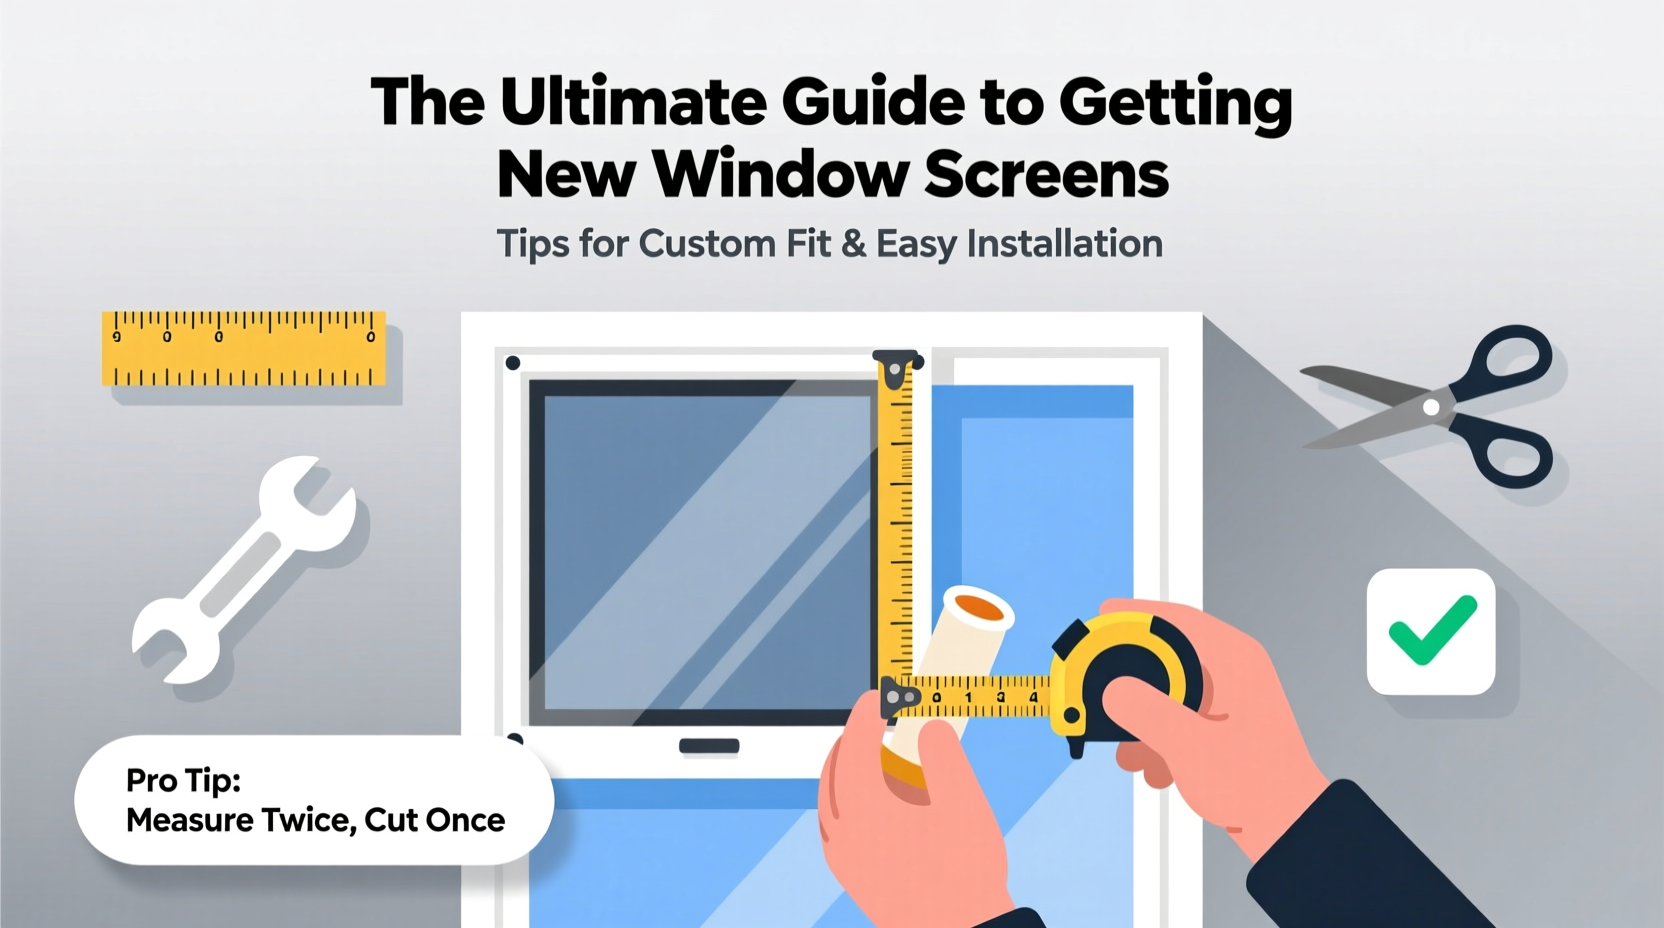
Step-by-Step Guide to Measuring for a Perfect Fit
Accurate measurements are the foundation of any successful screen replacement. Follow this timeline to ensure precision:
- Remove the existing screen (if present) gently using a flathead screwdriver to release spring-loaded clips or tabs.
- Clean the track thoroughly to remove dust, debris, and old adhesive that could interfere with measurement.
- Measure width at three points: top, middle, and bottom of the frame. Record the smallest measurement to avoid binding.
- Measure height at three points: left, center, and right. Again, use the smallest number.
- Note frame depth, especially if replacing spline or mesh type—typically ranges from 5/16” to 7/16”.
- Check for squareness by measuring diagonals; if they differ by more than 1/8”, your frame may be warped and require professional attention.
For non-rectangular windows—such as arches or trapezoids—use cardboard templates traced directly onto the opening. Cut and label each piece clearly before ordering.
Choosing the Right Screen Material and Frame Type
Not all screens are created equal. The best choice depends on climate, usage, pet presence, and personal preference. Below is a comparison of common options:
| Material | Durability | Airflow | Pet Resistance | Ideal For |
|---|---|---|---|---|
| Fiberglass | Medium | High | Low | Standard homes, mild climates |
| Aluminum | High | Medium | Medium | Coastal areas, humid regions |
| PetScreen (Vinyl-Coated Polyester) | Very High | Medium | Very High | Homes with pets or active kids |
| Solar/Phantom Screen | Medium | Low-Medium | Low | Sunrooms, glare reduction |
Fiberglass remains the most popular due to its affordability and clarity, but aluminum resists corrosion better in salty air. PetScreen costs more but withstands claws and jumping without tearing. Solar screens reduce heat gain by up to 65%, making them ideal for sun-facing rooms.
“Investing in high-tensile screening materials pays off in reduced maintenance and longer intervals between replacements.” — Carlos Mendez, Residential Window Systems Specialist
DIY Installation: Tools, Techniques, and Troubleshooting
Installing a new screen doesn’t require advanced skills, but having the right tools makes the process smoother and more precise. Here’s what you’ll need:
- Rubber roller tool (for spline insertion)
- Utility knife or scissors
- Tape measure
- Flathead screwdriver
- Cleaning cloth and mild detergent
Follow these steps for a secure installation:
- Lay the frame face-down on a soft surface to avoid scratching.
- Place the new mesh over the frame, leaving an even overlap on all sides.
- Starting at the center of one side, press the spline into the groove using the roller, working outward toward corners.
- Repeat on the opposite side, then the remaining two sides, pulling gently to maintain tension without stretching.
- Cut excess mesh with a utility knife, gliding along the outer edge of the spline.
- Reinstall the screen into the window track, ensuring it slides smoothly or seats securely in retaining clips.
Common Issues and Fixes
- Sagging mesh: Likely caused by uneven tension. Remove and re-roll, starting from the center each time.
- Difficulty fitting into track: Check for debris or bent edges. Sand down minor protrusions carefully.
- Gaps around edges: Indicates incorrect measurement. Double-check specs and consider professional fabrication.
Real Example: A Homeowner’s Upgrade Success Story
Sarah Thompson, a homeowner in Portland, Oregon, struggled with flimsy fiberglass screens that tore every summer during gardening season. Her screened porch was unusable due to gaps and sagging panels. After researching alternatives, she opted for custom-cut aluminum frames with PetScreen mesh—despite the higher upfront cost.
She measured each of her six openings meticulously, noting slight variations due to aging wood framing. The supplier built the screens to her exact specs, including reinforced corners. Installation took less than two hours using basic tools. Two years later, the screens remain taut and intact, even with frequent use and exposure to wind and rain.
“I wish I’d done this sooner,” Sarah said. “Now I can leave the doors open all evening without worrying about bugs or damage.”
Checklist: Preparing for Your Window Screen Project
- ☐ Identify all windows needing new screens
- ☐ Remove old screens safely and inspect tracks
- ☐ Measure width, height, and depth accurately
- ☐ Choose appropriate material based on environment and use
- ☐ Order custom screens or purchase DIY kits
- ☐ Gather necessary tools before starting
- ☐ Install during dry weather to prevent warping
- ☐ Test operation and adjust if needed
Frequently Asked Questions
Can I reuse my old frame with new mesh?
Yes, if the frame is undamaged and made of durable material like aluminum or vinyl. Wooden frames may warp over time and should be replaced if cracked or loose.
How tight should the screen mesh be?
The mesh should be drum-tight but not stretched to the point of distortion. It should rebound slightly when pressed and show no visible sagging.
Are custom screens significantly more expensive?
They typically cost 20–40% more than standard sizes, but the improved fit, longevity, and performance justify the investment, especially for irregular or older windows.
Take Control of Comfort and Quality Today
Replacing your window screens isn’t just about keeping bugs out—it’s about reclaiming usable space, improving indoor air quality, and enhancing your home’s overall functionality. With accurate measurements, smart material choices, and careful installation, you can achieve professional-grade results without hiring a contractor. Don’t settle for ill-fitting, flimsy replacements that compromise comfort. Take the time to get it right the first time, and enjoy fresh breezes through flawless, custom-fit screens for years to come.


 浙公网安备
33010002000092号
浙公网安备
33010002000092号 浙B2-20120091-4
Comments
No comments yet. Why don't you start the discussion?