
Installing a dash cam is one of the smartest moves a driver can make for safety and accountability on the road. But leaving it plugged into the 12V socket limits functionality—especially when using parking mode. Hardwiring your dash cam directly to your vehicle’s electrical system unlocks continuous monitoring without draining your battery or cluttering your cabin. Done correctly, it's invisible, reliable, and secure. Done incorrectly, it risks short circuits, blown fuses, or even fire. This guide walks you through every critical step to hardwire your dash cam safely and efficiently—without guesswork.
Why Hardwire Your Dash Cam?
Most dash cams come with a cigarette lighter power cord, which works fine while driving. However, if you want your camera to record when parked—such as during a hit-and-run or vandalism incident—you need constant power. Plugging in continuously isn’t practical, and running the engine just to charge drains fuel and causes wear.
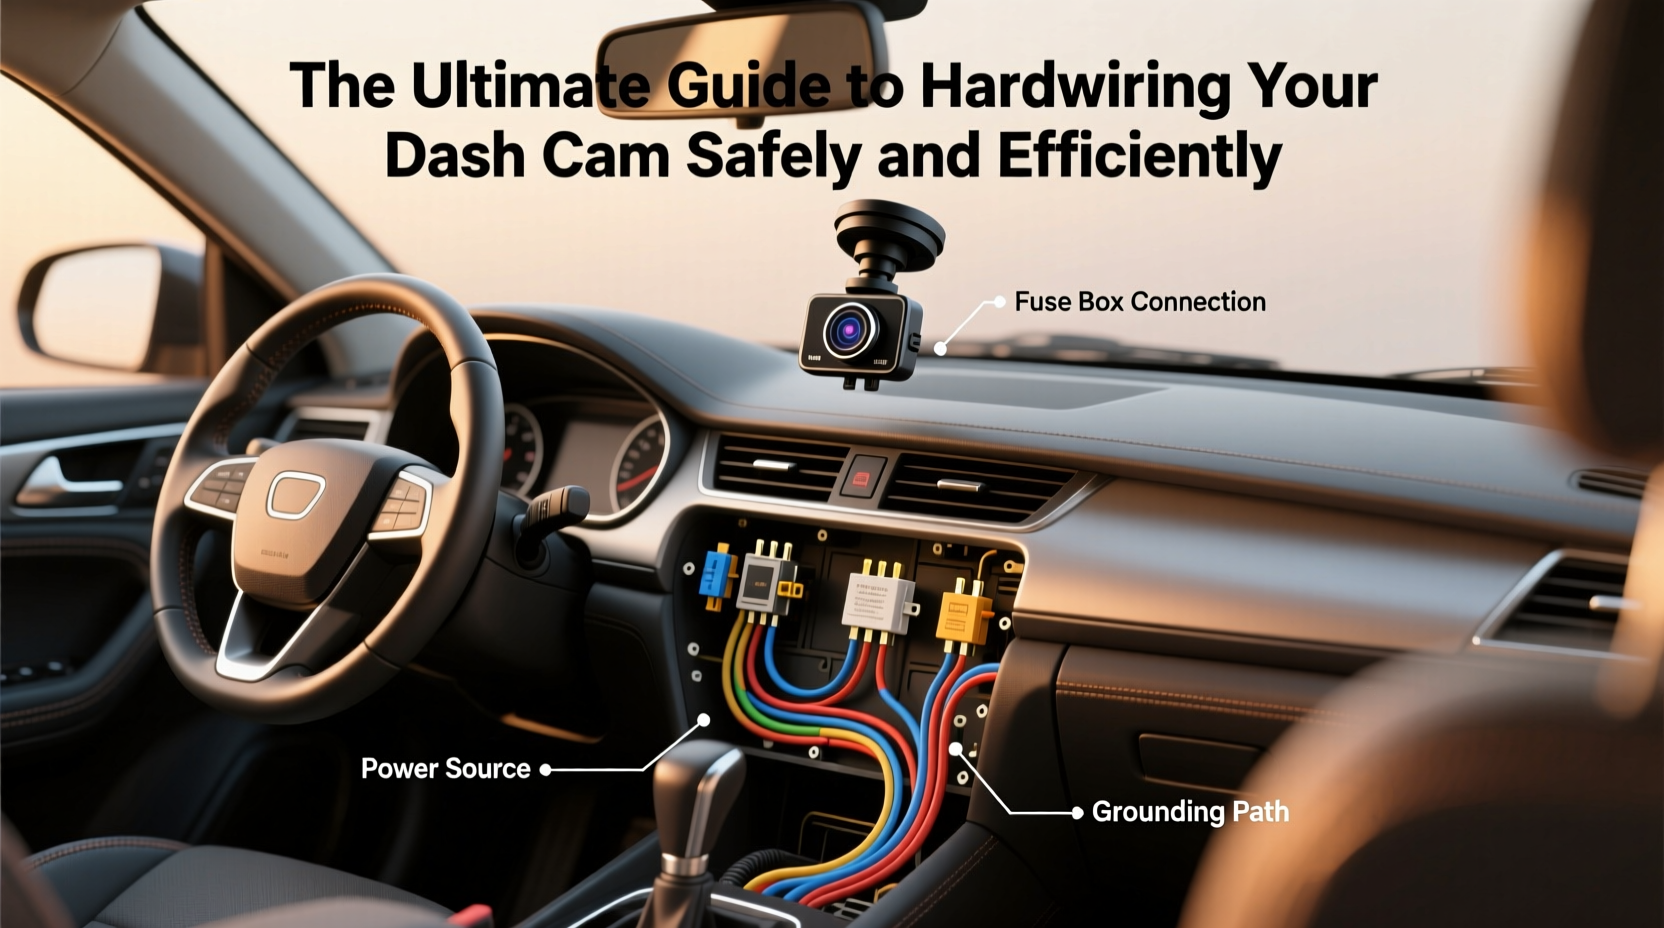
Hardwiring bypasses the accessory socket by connecting the dash cam directly to a switched or constant power source in your fuse box. Using a fused tap or direct wire connection, the camera receives power only when appropriate: either when the ignition is on (driving mode) or in low-power standby (parking mode), depending on how it's configured.
Understanding Your Vehicle’s Electrical System
Before touching any tools, understand what you’re working with. Modern vehicles have complex fuse boxes that distribute power across dozens of circuits. Each circuit serves specific components—like headlights, radio, or power windows—and operates under different conditions: some are live only when the ignition is on, others remain active after shutdown.
To hardwire effectively, identify two key circuits:
- Switched Power (ACC): Powers devices only when the ignition is on. Ideal for standard dash cam operation.
- Constant Power (BAT): Always live, even when the car is off. Required for parking mode but must be managed carefully to avoid battery drain.
A hardwire kit typically splits the input, drawing from both sources so the dash cam records while driving and switches to motion- or voltage-triggered recording when parked.
“Improper tapping into high-load circuits like fuel pumps or ABS systems can overload connections. Stick to low-current accessories.” — Carlos Mendez, Automotive Electronics Technician with 15 years of experience
Step-by-Step Guide to Safe Installation
Follow this sequence to install your dash cam permanently and safely. Allow 1–2 hours for completion, depending on vehicle layout.
- Gather Tools and Materials: Hardwire kit (with micro-fuses), fuse puller, multimeter or test light, zip ties, trim removal tools, and gloves.
- Locate the Fuse Box: Usually under the dashboard near the steering column or in the engine compartment. Consult your owner’s manual for exact location and diagram.
- Identify Correct Fuses: Use the fuse chart to find an ACC (ignition-switched) and BAT (constant) circuit rated at 10A or less. Common choices: interior lights, rearview mirror, or infotainment system.
- Test Circuits: With the multimeter set to DC voltage, check that the chosen ACC fuse reads ~12V when the key is on and 0V when off. The BAT fuse should read ~12V at all times.
- Install the Hardwire Kit: Clip the provided fuse taps onto the selected fuses. Ensure they click securely and don’t interfere with adjacent fuses.
- Route the Cable: Feed the power cable along the A-pillar, behind trim panels, across the headliner, and down to the dash cam mount. Avoid sharp edges and moving parts.
- Connect to the Dash Cam: Plug the hardwire cable into the dash cam’s power port. Most models auto-detect power states and switch modes accordingly.
- Secure All Components: Use zip ties to fasten loose cables and snap trim pieces back into place.
- Test Operation: Start the car—camera should boot automatically. Turn off the engine and wait 5 minutes; verify it shuts down or enters parking mode as expected.
Do’s and Don’ts: Wiring Best Practices
| Do’s | Don’ts |
|---|---|
| Use a hardwire kit with inline fuses (3–5A) | Splice directly into wires without fuse protection |
| Choose low-draw circuits (<10A) | Tap into critical systems like ECU, airbags, or brake lights |
| Double-check polarity before connecting | Cut factory wires—always use fuse taps |
| Test voltage before and after installation | Leave exposed wires dangling near metal surfaces |
| Route cables away from pedals and seat tracks | Over-tighten zip ties, which can damage insulation |
Real-World Example: Sarah’s Parking Mode Setup
Sarah, a rideshare driver in Chicago, wanted her dash cam to capture incidents overnight while parked curbside. She purchased a dual-channel camera with parking mode and a 3A-rated hardwire kit. After consulting her Honda CR-V manual, she identified the “Radio” fuse (ACC) and “Dome Light” fuse (BAT) as suitable targets.
Using a fuse tap, she connected the kit without cutting wires. She routed the cable up the passenger-side A-pillar, across the headliner, and down behind the rearview mirror. After testing, the camera powered on with the engine and entered parking mode within three minutes of shutdown. Two weeks later, footage captured a shopping cart rolling into her door—an incident her insurance accepted thanks to clear timestamped video.
No battery issues arose because the camera was set to stop recording when system voltage dropped below 12.2V, preventing deep discharge.
Frequently Asked Questions
Will hardwiring my dash cam void my warranty?
No. As long as no permanent modifications are made to factory wiring (i.e., you use fuse taps, not cuts), dealerships cannot legally deny warranty coverage for unrelated systems. This is protected under the Magnuson-Moss Warranty Act in the U.S.
How do I prevent battery drain in parking mode?
Ensure your dash cam has low-voltage cutoff settings (typically 12.0V–12.6V). Pair it with a high-efficiency model that uses minimal power in standby. For older or smaller batteries, limit parking mode duration or disable it entirely.
Can I install this myself if I’m not technically skilled?
Yes—with caution. If you're uncomfortable reading fuse diagrams or handling electrical components, consider professional installation. Many auto shops offer this service for $75–$150. Alternatively, practice with a dummy circuit first using a spare fuse and multimeter.
Final Checklist Before You Begin
- ☑️ Read your vehicle’s owner manual and locate the fuse box
- ☑️ Purchase a quality hardwire kit with fused taps
- ☑️ Identify compatible ACC and BAT circuits under 10A draw
- ☑️ Test all circuits with a multimeter before connecting
- ☑️ Plan your cable routing path from fuse box to camera
- ☑️ Double-check all connections and secure loose ends
- ☑️ Test full power cycle: ignition on → off → parking mode
Conclusion: Drive Smarter, Record Always
Hardwiring your dash cam transforms it from a basic recorder into a 24/7 security system. When installed correctly, it operates invisibly, powers reliably, and protects your vehicle around the clock. The process demands attention to detail and respect for automotive electronics—but it’s well within reach of most DIYers armed with the right knowledge.


 浙公网安备
33010002000092号
浙公网安备
33010002000092号 浙B2-20120091-4
Comments
No comments yet. Why don't you start the discussion?