
Making creamy instant pudding at home may sound like a contradiction—after all, “instant” implies minimal effort and no cooking. But crafting your own version from scratch gives you full control over flavor, sweetness, texture, and ingredients. No artificial thickeners, no preservatives, just pure, velvety dessert satisfaction. Whether you're avoiding store-bought mixes due to allergens or simply want a fresher taste, this guide walks through every detail needed to create restaurant-quality pudding in minutes.
The Science Behind Creamy Pudding Texture
Creaminess in pudding comes from a balance of thickening agents, fat content, temperature control, and emulsification. Most commercial instant puddings rely on modified cornstarch and gelatinized starches that hydrate quickly when mixed with cold milk. Replicating this at home requires understanding how natural thickeners behave.
Cornstarch is the most accessible and effective thickener for homemade instant-style pudding. When heated, it swells and traps liquid, creating a smooth gel. However, overheating or undercooking leads to lumps or a rubbery texture. The key is gradual hydration and controlled heat.
Egg yolks add richness and act as natural emulsifiers, helping blend fat and liquid smoothly. For a vegan alternative, arrowroot powder or tapioca starch can replace cornstarch, while coconut milk boosts creaminess without dairy.
“Texture is everything in pudding. A well-balanced ratio of starch to liquid, combined with proper cooling time, creates that signature spoonable silkiness.” — Chef Lila Nguyen, Pastry Instructor at Midwest Culinary Institute
Essential Ingredients and Substitutions
Creating pudding from scratch doesn’t require exotic items, but choosing quality ingredients makes a noticeable difference. Below is a breakdown of core components and their alternatives:
| Ingredient | Purpose | Common Substitutes |
|---|---|---|
| Cornstarch | Primary thickener | Arrowroot, tapioca starch (use 1:1 ratio) |
| Granulated sugar | Sweetness and texture stabilization | Coconut sugar, maple syrup (adjust liquid if using syrup) |
| Whole milk | Base liquid for creaminess | Oat milk, almond milk, soy milk (choose barista blends for better thickness) |
| Egg yolks (optional) | Richness and stability | None (for egg-free); increase starch by 1 tsp per yolk omitted |
| Butter | Enhances mouthfeel and shine | Coconut oil, vegan butter |
| Vanilla extract | Flavor base | Almond extract, citrus zest, cocoa powder |
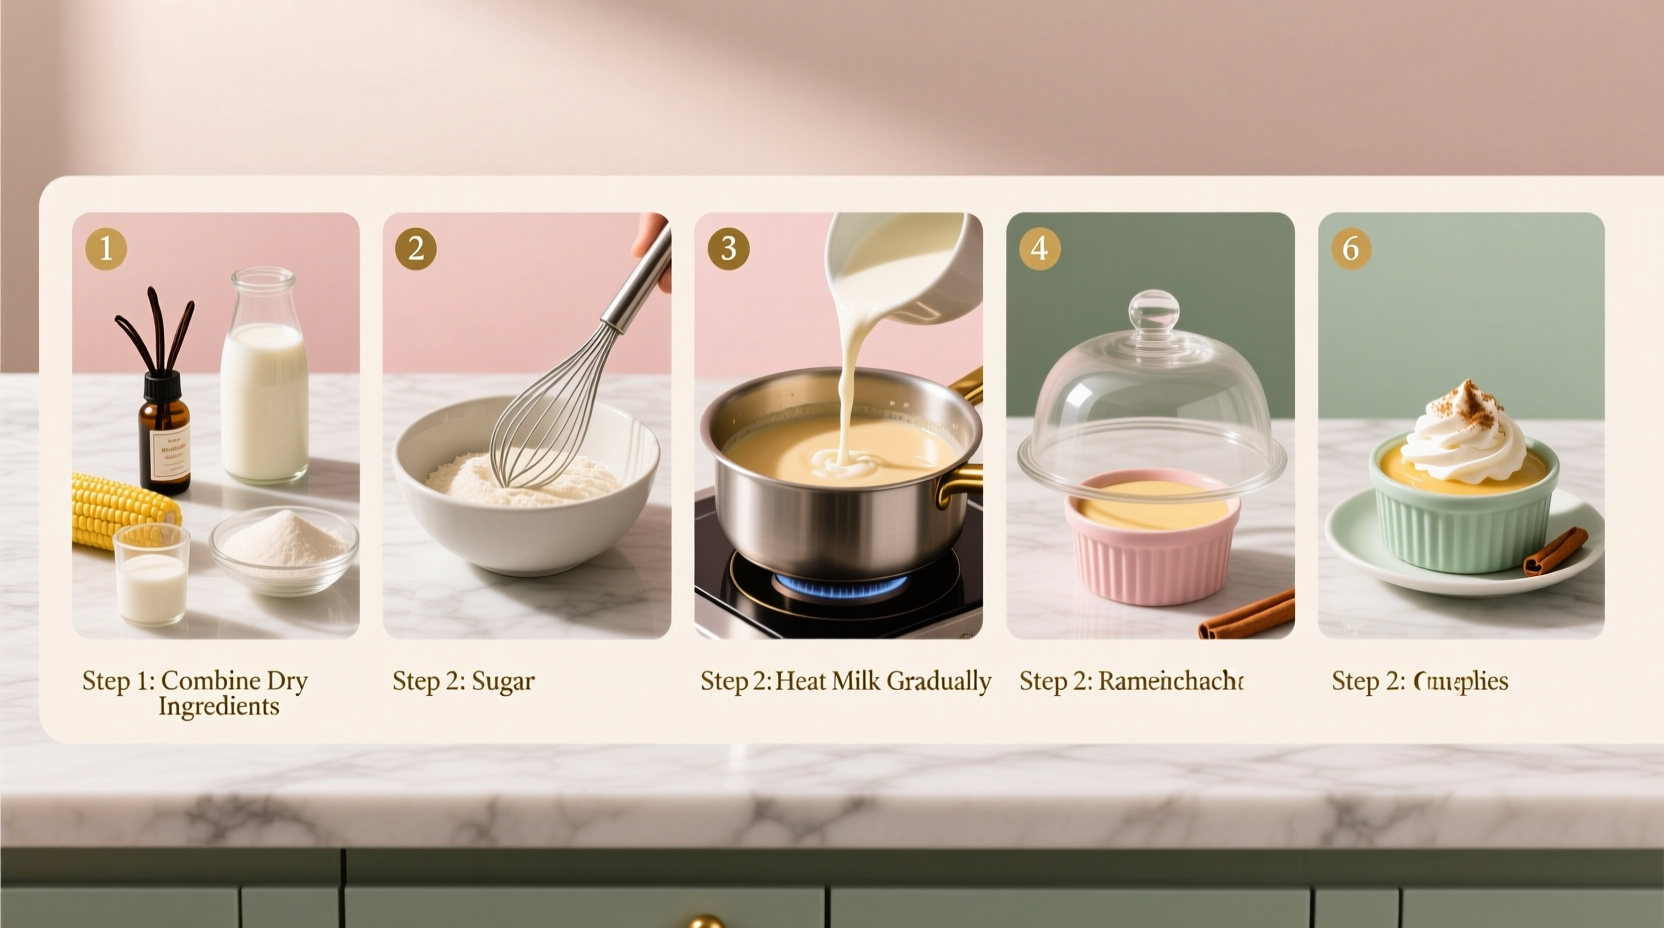
Step-by-Step Guide to Homemade Creamy Pudding
This method yields a smooth, rich vanilla pudding ready in under 15 minutes. Once mastered, you can adapt it for chocolate, butterscotch, or lemon variations.
- Prepare the slurry: In a small bowl, whisk together 3 tablespoons cornstarch, 1/4 cup granulated sugar, and a pinch of salt. Gradually stir in 1/2 cup cold milk until completely smooth. If using egg yolks, beat them into the slurry now.
- Heat the remaining milk: Pour 1 1/2 cups milk into a saucepan and warm over medium heat until steaming (do not boil).
- Combine and cook: Slowly pour the hot milk into the slurry while whisking constantly. Return the mixture to the saucepan and cook over medium-low heat, stirring continuously.
- Thicken carefully: Cook for 3–5 minutes until the mixture thickens and bubbles form across the surface. Keep stirring to avoid scorching on the bottom.
- Finish with flavor: Remove from heat. Stir in 2 tablespoons butter and 1 teaspoon pure vanilla extract until fully melted and incorporated.
- Cool properly: Transfer pudding to individual serving dishes or a large bowl. Press plastic wrap directly onto the surface to prevent a skin from forming. Chill for at least 2 hours before serving.
Avoiding Common Mistakes
Even experienced cooks can run into issues when making pudding. Here’s what to watch for:
- Lumpy pudding: Caused by adding hot liquid too quickly or not whisking during cooking. Always temper the slurry first and maintain constant agitation.
- Runny consistency: Often due to undercooking or incorrect starch-to-liquid ratios. Ensure the pudding simmers gently for at least 2 minutes after thickening begins.
- Bland flavor: Relying solely on vanilla? Boost depth with a touch of sea salt, cinnamon, or a splash of bourbon in vanilla pudding.
- Skin formation: Prevents a smooth top layer. Always cover the surface with wax paper or plastic wrap immediately after cooking.
Real-World Example: Reviving a Family Recipe
Sarah M., a home baker from Portland, struggled for years to replicate her grandmother’s banana cream pie filling. Store-bought pudding felt artificial, and early attempts at homemade versions turned out grainy or watery. After learning about cornstarch gelatinization and proper cooling times, she adjusted her method: she began tempering egg yolks into the slurry, cooking the mixture to a full boil for 90 seconds, and chilling it under direct plastic wrap. The result was a silky, stable filling that held its shape when sliced. Her pie won second place at the county fair—and became a holiday staple.
Flavor Variations and Creative Twists
Once you’ve mastered the base recipe, experimenting with flavors is simple and rewarding. Here are three popular variations:
- Chocolate Pudding: Add 1/3 cup unsweetened cocoa powder to the dry ingredients and increase sugar by 2 tablespoons. Optional: mix in 1/2 cup melted dark chocolate off-heat for extra richness.
- Lemon Pudding: Replace vanilla with 2 tablespoons fresh lemon juice and 1 teaspoon zest. Reduce milk by 2 tablespoons to balance acidity.
- Butterscotch: Substitute brown sugar for granulated sugar and add 1 tablespoon melted butter to the dry mix. Use whole milk for best results.
Storage and Shelf Life
Homemade pudding lasts 4–5 days in the refrigerator when stored in airtight containers with surface covering. It should not be frozen, as the texture breaks down upon thawing. For meal prep, portion into jars or ramekins for grab-and-go desserts.
Frequently Asked Questions
Can I make instant pudding without cooking?
Traditional \"instant\" behavior relies on pre-gelatinized starches not available at home. While no-heat methods exist using instant tapioca or powdered gelatin, they lack the depth and texture of cooked pudding. For true creaminess, gentle heating is essential.
Why does my pudding separate when I chill it?
Slight syneresis (water pooling) can occur if the pudding wasn’t cooked long enough or cooled too rapidly. To fix, whisk gently before serving. Increasing cornstarch by 1/2 teaspoon per cup of milk helps stabilize longer storage.
Is homemade pudding healthier than boxed mixes?
Yes, when made with real ingredients. You avoid artificial flavors, hydrogenated oils, and excess sodium. Using natural sweeteners and plant-based milks further enhances nutritional value.
Final Checklist for Perfect Pudding
- ✅ Gather ingredients:
- Cornstarch, sugar, milk, flavoring, optional egg yolks and butter.
- ✅ Mix slurry first:
- Always combine starch and cold liquid before adding heat.
- ✅ Cook until bubbling:
- Don’t stop early—full gelatinization happens at boiling point.
- ✅ Cool with surface contact barrier:
- Plastic wrap directly on pudding prevents skin.
- ✅ Chill at least 2 hours:
- Patience ensures optimal set and creaminess.
Conclusion
Creating creamy instant pudding from scratch is neither complicated nor time-consuming—just intentional. With the right ratios, attention to technique, and a few pro tips, you can produce desserts that surpass anything from a box. The result is richer, cleaner tasting, and infinitely customizable. Whether layered in parfaits, used as pie filling, or served in a vintage glass with whipped cream, homemade pudding brings comfort with authenticity.


 浙公网安备
33010002000092号
浙公网安备
33010002000092号 浙B2-20120091-4
Comments
No comments yet. Why don't you start the discussion?