
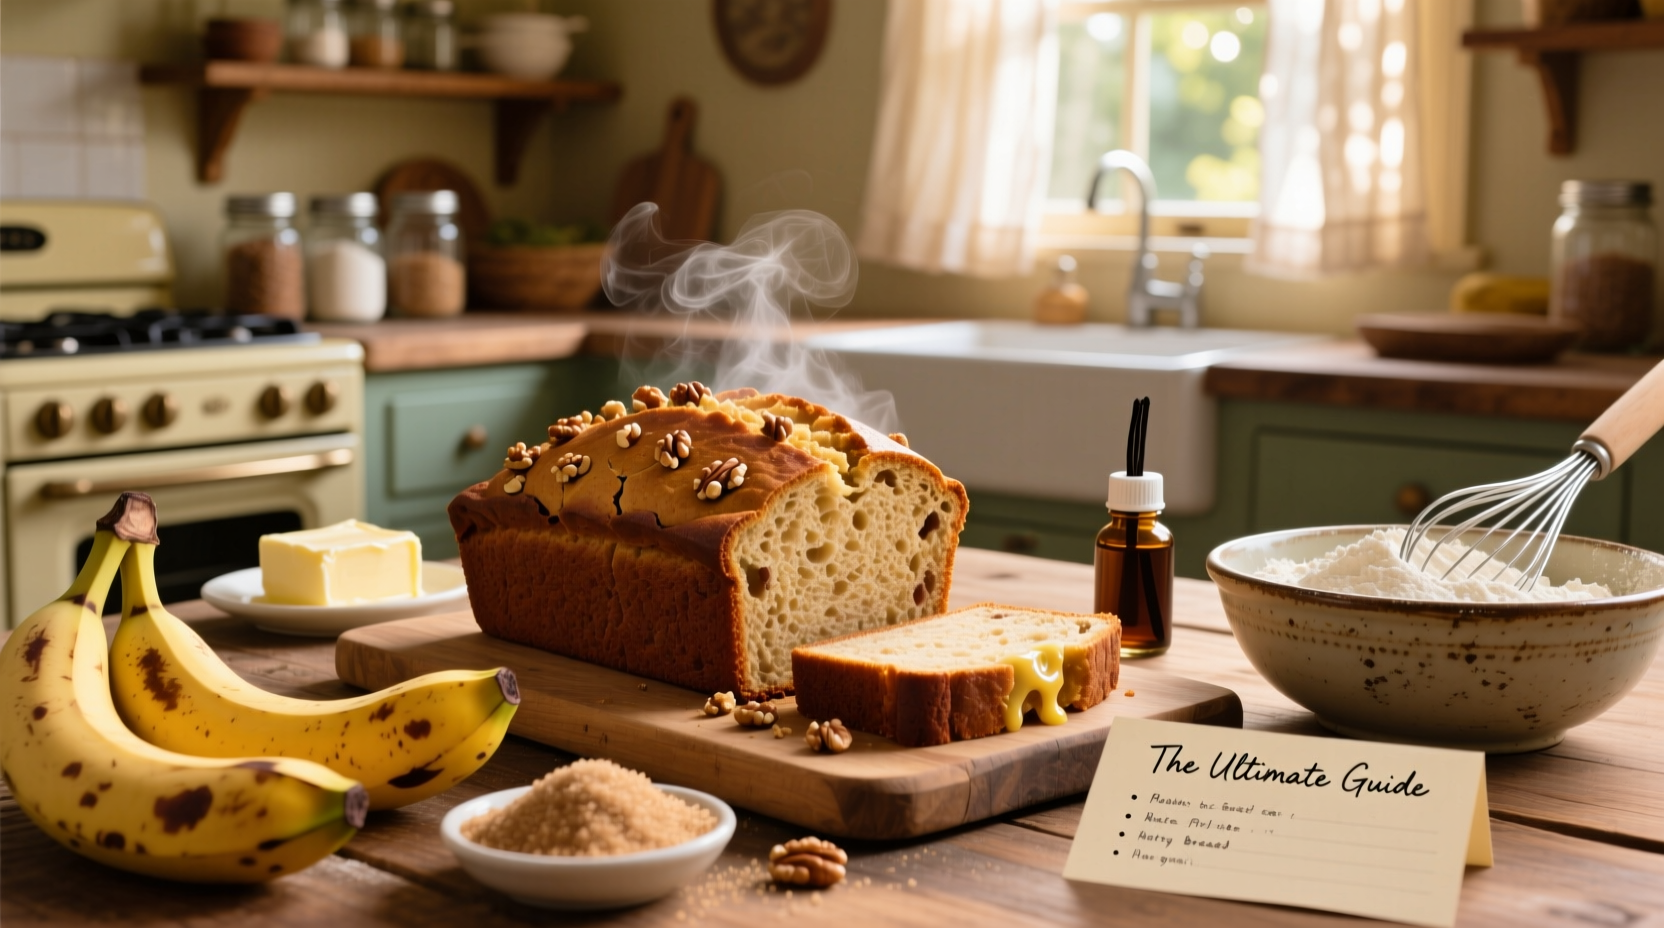
Banana bread is more than just a quick bake—it’s a celebration of simplicity, flavor, and comfort. When done right, it delivers a tender crumb, deep caramelized sweetness from ripe bananas, and a satisfying crunch from toasted nuts. Yet many home bakers struggle with dryness, uneven texture, or bland flavor. The secret isn’t luck; it’s understanding the science behind moisture retention, ingredient balance, and baking precision. This guide breaks down every step to help you create a consistently perfect loaf—one that stays moist for days and bursts with nutty richness.
The Foundation: Why Moisture Matters
Moisture in banana bread comes from a combination of ripe fruit, fat, eggs, and careful mixing. Overmixing or incorrect ratios can lead to toughness or dryness. Ripe bananas are essential—they contain more natural sugars and moisture than underripe ones. As they ripen, their starches convert into sugars, enhancing both sweetness and softness. The best bananas for banana bread are those with deep brown speckles or even fully brown peels. They mash easily and blend seamlessly into the batter.
Fat plays a crucial role too. Butter adds flavor and tenderness, while oil contributes to a finer crumb and longer shelf life. Many professional bakers use a blend of both: butter for taste and oil for moisture retention. Eggs act as emulsifiers, binding the wet and dry ingredients while adding structure without stiffness.
Choosing the Right Nuts for Maximum Flavor
Nuts elevate banana bread from simple to sophisticated. Their oils enrich the dough, and their crunch contrasts beautifully with the soft crumb. Not all nuts perform equally, though. Some hold up better during baking, while others release more flavor when toasted.
- Walnuts – The classic choice. Earthy, slightly bitter, and rich in omega-3s, they pair perfectly with banana’s sweetness.
- Pecans – Buttery and aromatic, pecans caramelize beautifully in the oven, adding depth and luxury.
- Almonds – Sliced or slivered almonds offer a milder crunch and work well if you prefer a subtler nut presence.
- Hazelnuts – Less common but exceptional when finely chopped and toasted, lending a roasted, almost chocolate-like note.
“Toasting nuts before folding them into the batter unlocks their full aroma and prevents sogginess,” says Chef Marcus Lin, pastry instructor at the Pacific Culinary Institute. “A quick 8-minute toast at 350°F transforms their flavor profile entirely.”
Step-by-Step Guide to Baking the Perfect Loaf
- Preheat & Prep: Set your oven to 350°F (175°C). Grease a 9x5-inch loaf pan and line it with parchment paper for easy removal.
- Mash Bananas: Use 3 large overripe bananas (about 1½ cups mashed). Mash until mostly smooth with a few small lumps for texture.
- Cream Wet Ingredients: In a large bowl, beat ½ cup softened butter and ¾ cup brown sugar until fluffy. Add ¼ cup neutral oil, 2 eggs (one at a time), 1 tsp vanilla, and the mashed bananas. Mix until fully combined.
- Combine Dry Ingredients: In a separate bowl, whisk 1¾ cups all-purpose flour, 1 tsp baking soda, ½ tsp salt, ½ tsp cinnamon, and ¼ tsp nutmeg.
- Fold Together: Gradually add dry ingredients to wet, mixing just until no flour streaks remain. Do not overmix. Gently fold in 1 cup toasted, chopped nuts.
- Pour & Bake: Transfer batter to the loaf pan. Optional: Sprinkle coarse sugar or extra nuts on top for crunch. Bake for 55–65 minutes, until a toothpick inserted in the center comes out clean or with a few moist crumbs.
- Cool Completely: Let the loaf rest in the pan for 10 minutes, then transfer to a wire rack. Cooling prevents collapse and allows the crumb to set.
Do’s and Don’ts: Avoiding Common Banana Bread Mistakes
| Do’s | Don’ts |
|---|---|
| Use very ripe bananas with dark spots | Use firm, yellow bananas—they lack moisture and sweetness |
| Toast nuts before adding | Add raw nuts directly—they won’t deliver full flavor |
| Cool the loaf fully before slicing | Cut while hot—it will tear and appear gummy |
| Store in an airtight container at room temperature | Refrigerate—it dries out the bread quickly |
| Wrap cooled loaf in foil and freeze for up to 3 months | Leave it uncovered—it absorbs odors and loses moisture |
A Real Kitchen Story: From Dry Loaves to Family Favorite
Sarah Thompson, a home baker from Portland, spent years making banana bread that turned out dense or dry. She followed recipes to the letter but never achieved the soft, bakery-style texture she wanted. Then she started tracking her banana ripeness and switched from all-butter to a butter-oil blend. She also began toasting her walnuts and letting the loaf cool completely before slicing. The difference was immediate. Her husband, who once called her banana bread “edible brick,” now requests it weekly. “It wasn’t one change,” she says. “It was treating each step with attention—especially not rushing the cooling.” Today, her recipe is a staple at school bake sales and family gatherings.
Enhancing Texture and Shelf Life
Moisture retention doesn’t end at baking. How you store your banana bread determines how long it stays fresh. At room temperature, properly wrapped banana bread lasts 3–4 days. For longer storage, freezing is ideal. Slice the loaf before freezing so you can thaw individual portions.
To revive a day-old loaf, wrap a slice in a damp paper towel and microwave for 15–20 seconds. It restores softness and warmth, mimicking fresh-from-the-oven quality.
For variation, consider folding in ⅓ cup of dark chocolate chips or swirls of almond butter before baking. These additions complement the nuttiness without overpowering the banana base.
FAQ: Answering Your Top Banana Bread Questions
Can I make banana bread gluten-free?
Yes. Substitute all-purpose flour with a high-quality 1:1 gluten-free baking blend that includes xanthan gum. Some blends produce a grittier texture, so test a half-batch first. Adding an extra tablespoon of liquid (milk or yogurt) can help maintain moisture.
Why did my banana bread sink in the middle?
This usually happens due to underbaking, too much leavening, or opening the oven too early. Ensure your baking soda is fresh (replace every 6 months), avoid overmixing, and don’t open the oven door during the first 40 minutes of baking.
Can I reduce the sugar?
You can reduce granulated or brown sugar by up to ¼ cup without major impact. However, sugar contributes to moisture and browning. Reducing beyond that may result in a drier, paler loaf. Consider using ripe bananas to naturally boost sweetness instead.
Final Tips for Consistent Success
Beyond ingredients and technique, consistency comes from mindfulness. Measure flour correctly (spoon and level, don’t scoop), use room-temperature eggs and butter, and always preheat your oven. An oven thermometer ensures accuracy—many built-in thermostats run hot or cold.
- Double the batch and freeze one loaf for later.
- Use a digital scale for precise measurements, especially for flour.
- Add a pinch of espresso powder to deepen flavor without making it taste like coffee.
Conclusion
Perfectly moist and nutty banana bread isn’t reserved for bakeries or special occasions. With the right ingredients, proper technique, and a little patience, it’s achievable in any home kitchen. Every element—from selecting blackened bananas to toasting pecans—adds up to a loaf that’s rich, tender, and deeply satisfying. Whether you’re baking for breakfast, sharing with neighbors, or enjoying a slice with afternoon tea, this version will become your go-to.


 浙公网安备
33010002000092号
浙公网安备
33010002000092号 浙B2-20120091-4
Comments
No comments yet. Why don't you start the discussion?