
Creating your own scented candles at home is more than a craft—it’s an experience. The flicker of a flame, the gentle diffusion of fragrance through the air, and the satisfaction of knowing you made it yourself combine into something deeply personal. Whether you're aiming to fill your home with calming lavender or crafting thoughtful gifts with signature blends, mastering the art of candle-making empowers creativity and mindfulness. This guide walks you through every step: from choosing the right wax and wick to designing custom fragrances that linger beautifully without fading.
Selecting the Right Materials for Quality Candles
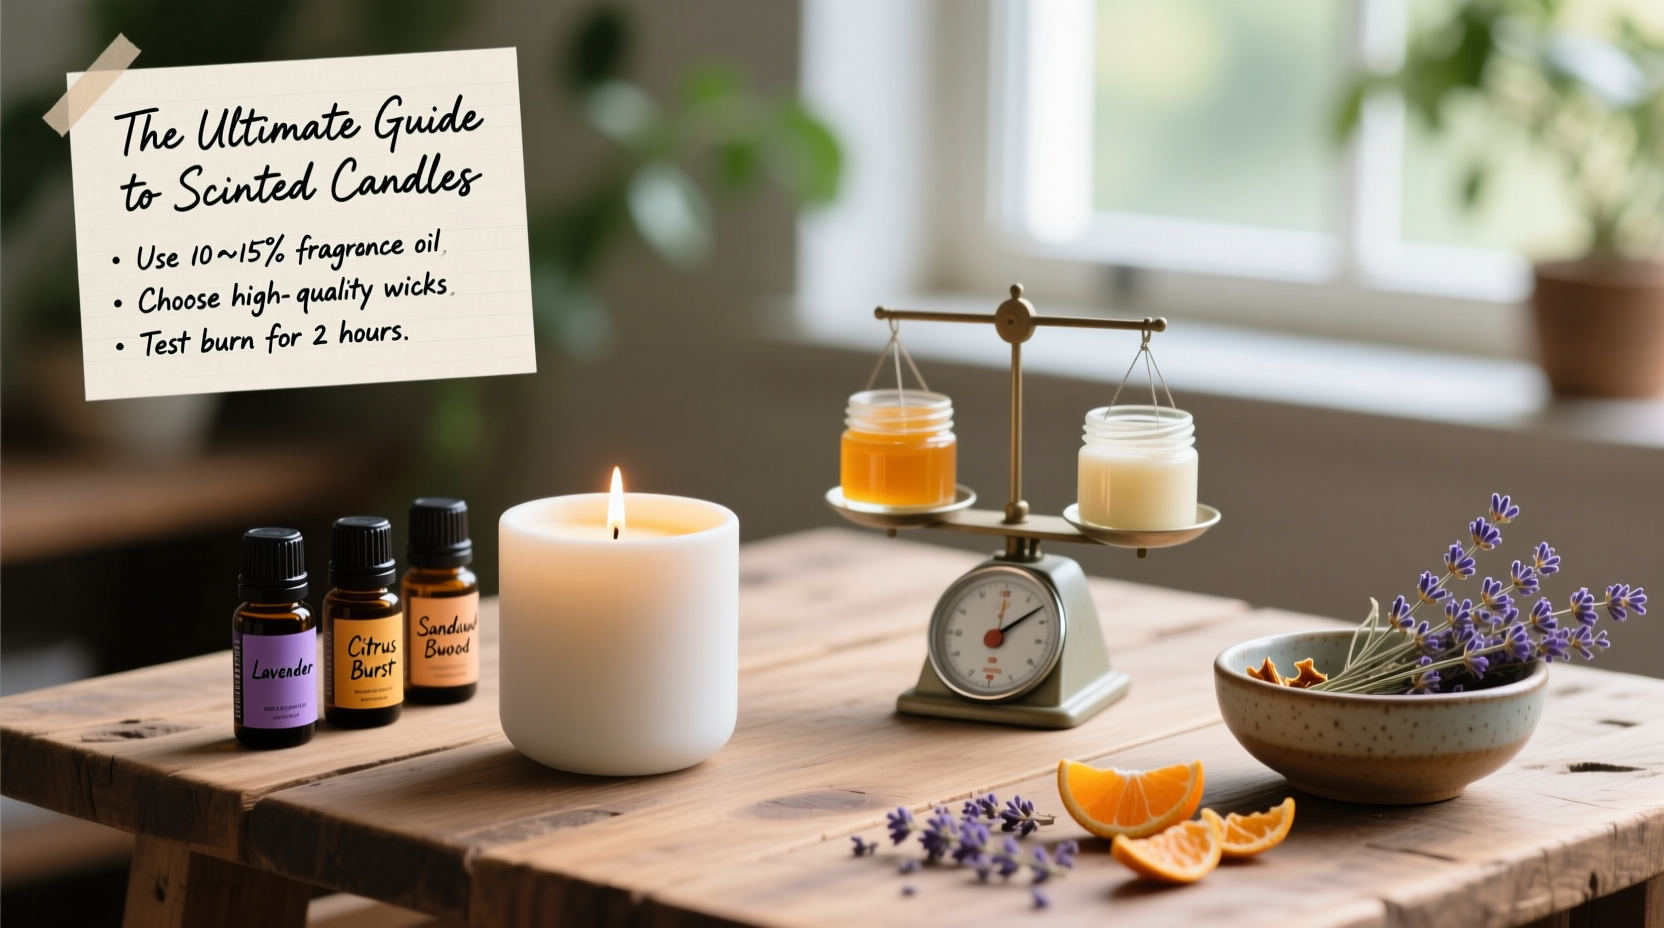
The foundation of any great scented candle lies in its materials. Using high-quality components ensures clean burns, consistent scent throw, and longer lifespan. Start with three essentials: wax, wicks, and fragrance oils.
Wax types vary in burn time, texture, and compatibility with fragrances. Popular options include:
- Soy wax: Natural, biodegradable, and excellent at holding fragrance. Ideal for container candles.
- Paraffin wax: Holds color and scent well but is petroleum-based. Best for pillar candles.
- Coconut-soy blend: Offers superior scent throw and smooth finish, though slightly more expensive.
- Beeswax: Naturally aromatic and dripless, but less receptive to added fragrance.
For beginners, a soy-coconut blend often strikes the best balance between performance and ease of use.
Step-by-Step Guide to Making Scented Candles
Follow this proven process to create professional-quality candles at home.
- Prepare your workspace: Cover surfaces with newspaper or silicone mats. Have all tools ready—thermometer, scale, pouring pitcher, stirrer.
- Measure the wax: Use a digital scale. A general rule: fill your container, then double that weight in wax flakes (since wax melts down).
- Melt the wax: Use a double boiler. Heat slowly to avoid scorching. For soy wax, aim for 170–185°F (77–85°C).
- Add fragrance oil: Once melted, cool wax to 160–170°F (71–77°C), then add fragrance at 6–10% concentration (e.g., 1 oz per pound of wax).
- Stir gently for 2 minutes: Ensures even distribution without introducing bubbles.
- Secure the wick: Center it using a wick holder or chopsticks laid across the container.
- Pour slowly: Avoid disturbing the wick. Leave about ½ inch at the top.
- Cure the candle: Let it sit undisturbed for 24–72 hours. For optimal scent throw, cure for up to two weeks.
Rushing the curing process is one of the most common mistakes. Patience allows the fragrance molecules to fully bind with the wax matrix.
Designing Custom Fragrances That Last
Creating unique scent profiles elevates homemade candles from simple decor to personalized ambiance. Fragrance blending follows a structure similar to perfumery: top, middle (heart), and base notes.
| Note Type | Characteristics | Common Examples |
|---|---|---|
| Top Notes | First impression, evaporate quickly | Lemon, bergamot, eucalyptus |
| Middle (Heart) Notes | Core of the fragrance, emerge after burning begins | Lavender, rose, geranium |
| Base Notes | Deep, long-lasting, anchor the scent | Sandalwood, vanilla, patchouli |
To build a balanced blend, start with a base note (40%), add heart (35%), and finish with top notes (25%). Test small batches by mixing drops in a glass vial before committing to a full candle.
“Fragrance longevity isn’t just about strength—it’s about harmony. A well-layered scent unfolds over time, creating a dynamic experience.” — Lena Torres, Master Candle Artisan & Scent Designer
Avoiding Common Mistakes: Do’s and Don’ts
Even experienced crafters make errors that affect burn quality and scent projection. Refer to this checklist to stay on track.
| Do’s | Don’ts |
|---|---|
| Use a thermometer to monitor wax temperature | Don’t add fragrance above 185°F—can cause scent degradation |
| Center and secure the wick properly | Don’t pour wax too fast—creates sinkholes and air pockets |
| Cure candles for at least 48 hours | Don’t use food-grade or reed diffuser oils—they aren’t heat-stable |
| Trim wick to ¼ inch before each burn | Don’t burn for less than 1 hour—leads to tunneling |
One of the most overlooked factors is wick size. Too small, and the candle won’t melt evenly; too large, and it produces soot. Match wick gauge to container diameter and wax type. Cotton braided wicks work well with soy, while wooden wicks suit coconut blends.
Real Example: Crafting a Signature \"Forest Rain\" Scent
Jessica, a hobbyist in Portland, wanted to capture the feeling of walking through a damp pine forest after rainfall. She started with a base of cedarwood and vetiver (base notes), added crushed pine needle and ozone (middle), and finished with a hint of lemon zest (top). After testing multiple ratios, she settled on 5 parts cedarwood, 3 parts pine, 2 parts ozone, and 1 part lemon.
She poured her blend into amber jars using a coconut-soy wax and tested burn performance over five days. The final product delivered a crisp, earthy aroma that filled her living room within 20 minutes. Neighbors began requesting bottles after receiving them as housewarming gifts. What began as a weekend project turned into a small local business.
Frequently Asked Questions
How much fragrance oil should I use?
Most candle makers use 6–10% fragrance load. For example, 1 pound (16 oz) of wax typically holds 0.96 to 1.6 oz of fragrance oil. Exceeding 10% can cause poor burn quality or oil separation.
Why does my candle smell weak after burning?
This often results from under-curing, incorrect pouring temperature, or low-quality fragrance oil. Ensure you’re using candle-safe fragrance oils and allowing at least 48–72 hours of cure time. Some waxes, like soy, benefit from up to two weeks of curing for maximum scent throw.
Can I mix essential oils with fragrance oils?
You can, but with caution. Essential oils have lower flash points and may not bind well with wax. They also tend to fade faster. If combining, keep total fragrance load under 10% and test thoroughly. Lavender, tea tree, and citrus oils are among the more stable choices.
Final Tips for Long-Lasting, Beautifully Scented Candles
Consistency, precision, and patience define successful candle-making. Invest in reliable tools—a digital scale, thermometer, and heat-resistant pitcher make a noticeable difference. Label your creations with ingredients and dates. Store unused fragrance oils in dark glass bottles away from sunlight to preserve potency.
As you gain confidence, experiment with layering scents, embedding natural elements like dried flowers (ensure they’re placed safely away from the flame), or using decorative molds. Each candle becomes a reflection of your journey—one that blends science, artistry, and sensory pleasure.


 浙公网安备
33010002000092号
浙公网安备
33010002000092号 浙B2-20120091-4
Comments
No comments yet. Why don't you start the discussion?