
Choosing the right tissue box cover can elevate the look of any room—from a living room side table to a guest bathroom counter. But no matter how stylish the design, a poorly fitting cover ruins both function and aesthetics. A cover that’s too tight won’t slide on smoothly; one that’s too loose will sag or fall off. The key to a perfect fit? Accurate measurement. This guide walks you through every step of measuring your tissue box correctly, ensuring your cover fits like it was made just for it.
Why Proper Measurement Matters
Tissue boxes may seem standardized, but dimensions vary significantly across brands, styles, and even countries. While many assume all tissue boxes are 5” x 9” x 4.5”, real-world variations mean this isn't always true. Even a quarter-inch difference can result in a cover that doesn’t sit flush or is difficult to remove.
A well-fitted cover protects the box from dust, hides unattractive packaging, and adds a decorative touch. More importantly, it should allow easy access to tissues without tearing or misalignment. Measuring before purchasing—or crafting—a cover eliminates guesswork and ensures seamless integration into your space.
“Precision in measurement is the foundation of functional home decor. One millimeter can make the difference between elegant and awkward.” — Clara Bennett, Interior Stylist & Home Organization Consultant
Step-by-Step Guide to Measuring Your Tissue Box
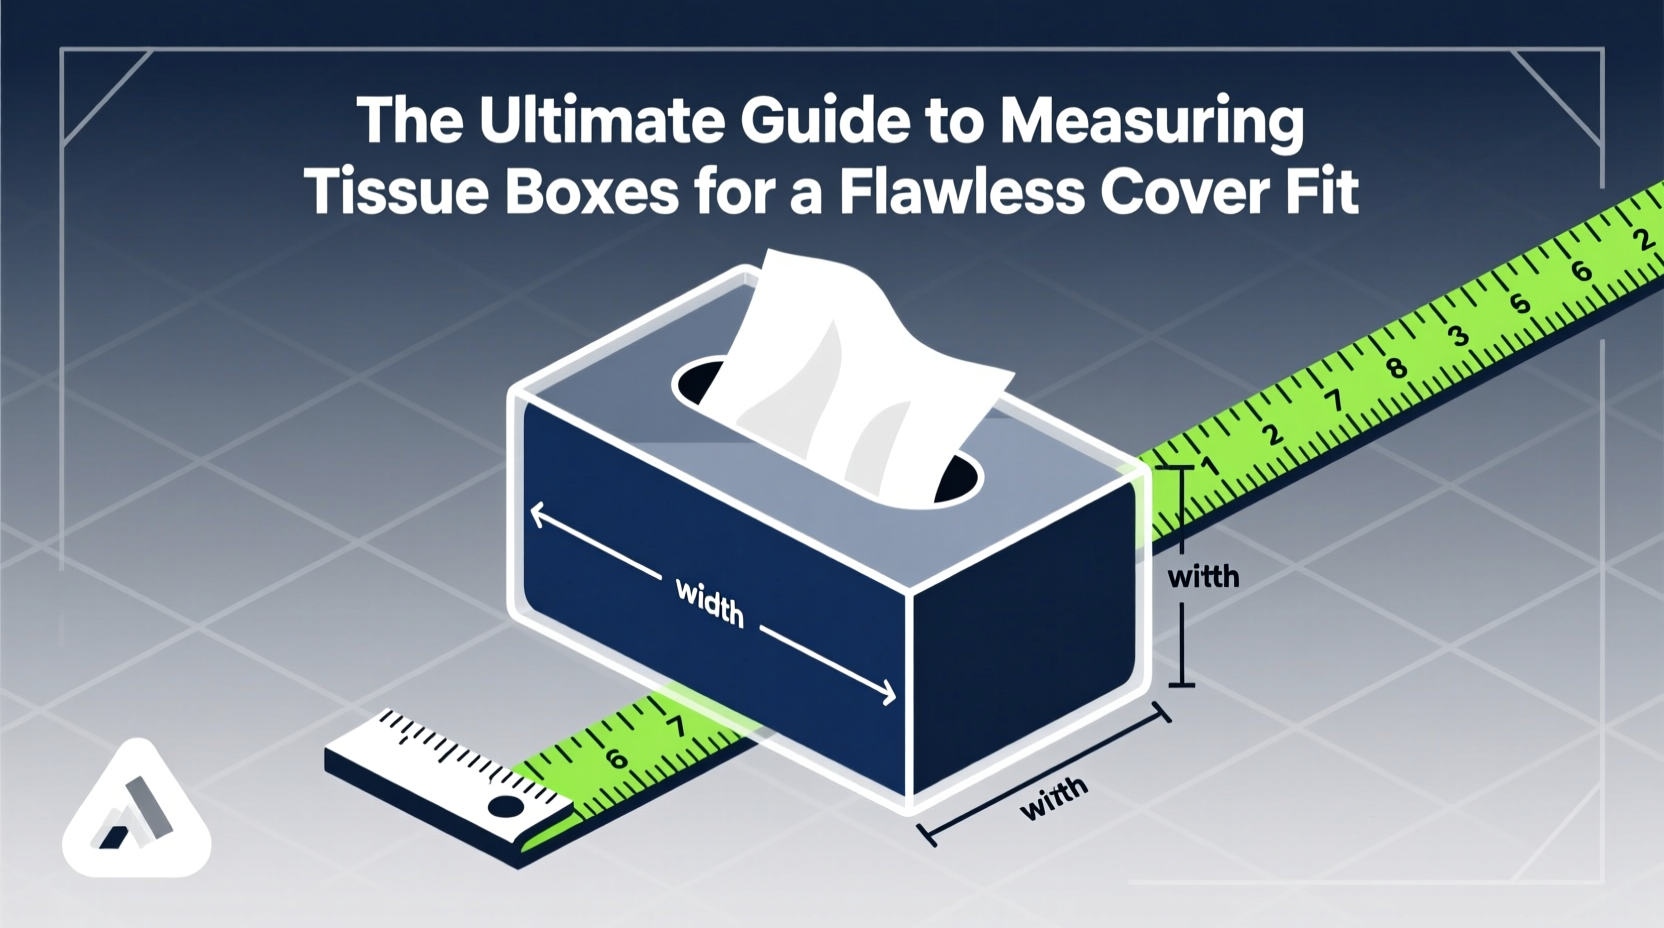
To get accurate measurements, follow this methodical process using a flexible tape measure or ruler. Ensure the tissue box is full and closed to reflect its true size when in use.
- Measure the Length (Longest Side): Place the tape measure along the longest edge of the top surface. Record the dimension in inches or centimeters.
- Measure the Width (Shorter Side): Measure the shorter edge of the top. This is typically perpendicular to the length.
- Measure the Height (Depth): From the bottom to the top of the box, measure vertically. Be sure to include the full height—even if the cover only goes partway down, knowing total height helps determine coverage style.
- Check for Tapering: Some tissue boxes narrow slightly toward the bottom. To confirm, measure the length and width at both the top and bottom edges. If there's a difference, note both values.
- Account for the Opening: Measure the cut-out area where tissues dispense. Most covers replicate this opening, so knowing its size and position ensures proper alignment.
Common Tissue Box Sizes and Their Covers
While sizes vary, most household tissue boxes fall within a few standard ranges. Knowing these can help you shop smarter or adjust DIY patterns accordingly.
| Type of Tissue Box | Average Dimensions (L x W x H) | Cover Fit Notes |
|---|---|---|
| Standard Household Box | 8.8\" x 5.3\" x 4.7\" | Most commercial covers are designed for this size. Check tapering. |
| Compact Travel Box | 5.5\" x 3.2\" x 2.8\" | Often overlooked—requires specialty or custom covers. |
| Luxury Oversized Box | 9.5\" x 6.0\" x 5.0\" | May not fit standard covers; verify before purchase. |
| Kitchen Towel Box (for sheet towels) | 11.0\" x 6.5\" x 3.0\" | Different proportions—covers must accommodate longer length. |
When shopping online, always cross-reference product descriptions with your own measurements. Don’t rely solely on labels like “fits standard box”—what’s standard in one region may differ in another.
DIY Cover Creators: Adjusting Patterns for Precision
If you’re sewing, knitting, or crafting a cover, precise measurements are non-negotiable. Follow these adjustments to ensure your handmade cover fits flawlessly.
- Add ¼ inch to both length and width for seam allowance if sewing.
- For stretchy fabrics (like knit), reduce the base dimensions by 5–7% to account for elasticity.
- If the box tapers, create a trapezoidal pattern or use darts to shape the fabric.
- Mark the tissue opening location on your material before cutting—typically centered, 1.5” from the top edge, and about 3” x 2” in size.
Mini Case Study: Sarah’s Living Room Makeover
Sarah wanted to refresh her living room with custom crocheted tissue box covers. She ordered a popular “universal fit” cover online and bought yarn to match. When it arrived, the cover was too loose—slipping off with each tissue pull.
She decided to measure her brand-name tissue box carefully and discovered it was 0.6 inches longer than average. Using those exact specs, she adjusted her crochet pattern, adding slight tapering at the base. The new cover fit snugly, stayed in place, and complemented her décor perfectly. Her mistake? Assuming “standard” meant universal. Her fix? Measuring first, creating second.
Do’s and Don’ts of Tissue Box Measuring
| Do’s | Don’ts |
|---|---|
| Measure a full, sealed tissue box | Estimate based on memory or packaging |
| Double-check all three dimensions | Ignore tapering or rounded corners |
| Write down measurements before shopping | Rely on “one-size-fits-all” claims |
| Test the cover before finalizing placement | Force a tight cover onto the box—it may tear |
Frequently Asked Questions
Can I use the same cover for different tissue brands?
Only if they share identical dimensions. Many brands vary slightly in size. Test each new box with your cover—if it feels strained or loose, it’s best to find a better match.
What if my tissue box is tapered?
Tapered boxes require covers with shaping. Look for designs labeled “tapered fit” or create your own using a pattern that narrows at the base. Stretchy materials often conform better to angled sides.
How much extra room should a cover have?
Aim for a snug but removable fit. Typically, 1/8 to 1/4 inch of total extra width and length is sufficient. Too much extra causes sagging; too little makes removal difficult.
Final Checklist Before Buying or Making a Cover
- Have I measured the actual tissue box I’ll be using?
- Did I record length, width, and height accurately?
- Is the box tapered? If so, do I need a shaped or stretchable cover?
- Have I checked the tissue opening size and position?
- Am I accounting for fabric thickness or stretch in my design?
- Have I tested a prototype or tried the cover on the box before finalizing?
Conclusion
A perfectly fitted tissue box cover blends utility with elegance. Whether you're selecting a ready-made design or crafting one by hand, accurate measurement is the first and most crucial step. By taking just a few minutes to measure carefully, you avoid frustration, waste, and poor aesthetics. Now that you know how to measure like a pro, apply this knowledge to elevate even the smallest details in your space.


 浙公网安备
33010002000092号
浙公网安备
33010002000092号 浙B2-20120091-4
Comments
No comments yet. Why don't you start the discussion?