
Ankle wrap sandals are a summer wardrobe staple—stylish, breathable, and versatile enough to pair with everything from flowy dresses to tailored shorts. But their intricate straps often lead to one common frustration: an ill-fitting design that slips, pinches, or rubs. The solution isn’t in discarding them but in mastering how to adjust them properly. A well-adjusted ankle wrap sandal should feel like a second skin—secure without constriction, supportive without pressure points. This guide breaks down the anatomy of these sandals, walks through precise adjustment techniques, and shares expert-backed strategies to ensure all-day comfort.
Understanding Ankle Wrap Sandal Anatomy
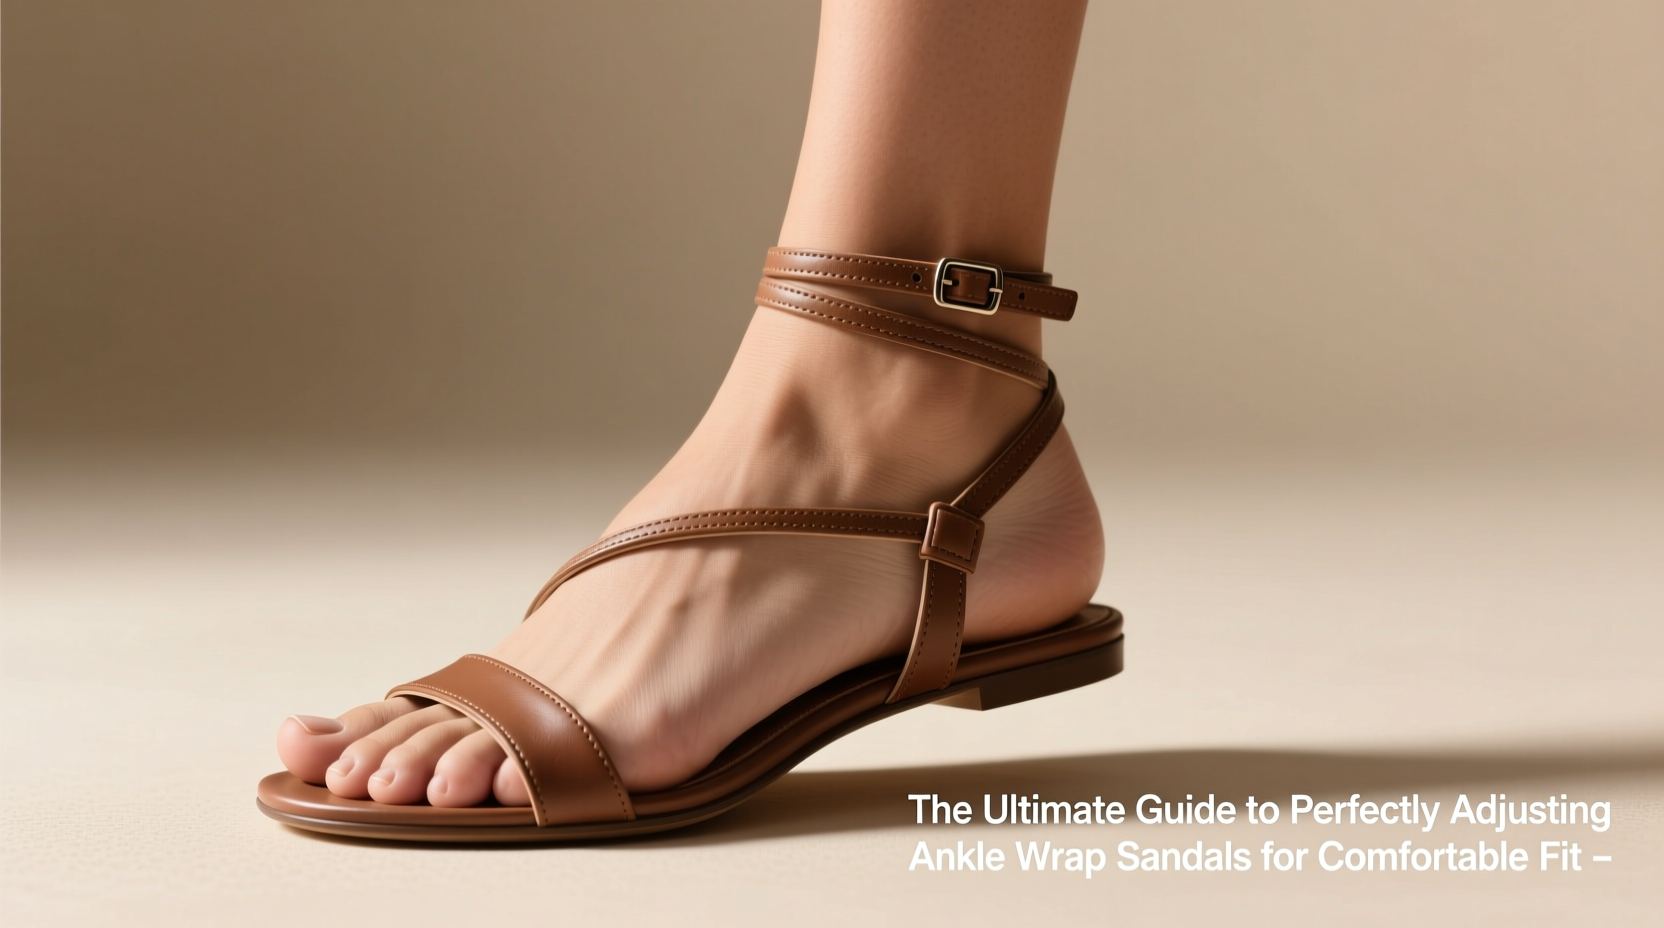
Ankle wrap sandals differ significantly from simple slide or flip-flop styles due to their multi-strap construction. Each component plays a role in support, stability, and aesthetic appeal. Knowing what each part does helps you make informed adjustments:
- Toe loop or front strap: Anchors the foot at the forefoot and prevents forward sliding.
- Mid-foot strap: Secures the arch area and stabilizes lateral movement.
- Ankle strap(s): Wraps around the ankle to prevent heel lift and provide overall lockdown.
- Buckle or tie closure: Allows customization of tightness; buckles offer precision, while ties allow flexible tensioning.
- Sole and footbed: Provide cushioning and arch support—critical for long-term wear comfort.
When any of these elements are misaligned or improperly tightened, discomfort follows. For example, over-tightening the ankle strap can restrict circulation, while a loose toe loop leads to friction and blisters.
Step-by-Step Guide to Adjusting Your Sandals
Proper adjustment is not a one-size-fits-all process. It requires attention to body posture, foot shape, and activity level. Follow this sequence to achieve optimal fit:
- Loosen all straps completely before putting the sandal on. This prevents uneven tension and allows you to build from a neutral position.
- Slide your foot into the sandal and position your heel fully against the back of the footbed. Ensure your toes aren’t cramped or hanging off the edge.
- Secure the toe loop first. It should sit snugly behind the ball of your foot—not cutting into the skin, but not so loose that your foot shifts forward.
- Fasten the mid-foot strap, if present. This strap should gently hug the arch without pressing down. If it digs in, consider adjusting its angle or loosening slightly.
- Wrap and tighten the ankle strap. Cross the strap smoothly around the ankle bone, avoiding twisting. Buckle or tie it so there’s no more than a finger’s width of slack.
- Walk in place for 30 seconds. Check for slippage, pinching, or pressure spots. Make micro-adjustments as needed.
- Reassess after five minutes of walking. Feet swell slightly during movement, especially in heat—your initial fit may need slight loosening later.
This method ensures balanced tension across all contact points, minimizing hotspots and maximizing stability.
Do’s and Don’ts of Strap Adjustment
Mistakes in tightening are common—even experienced wearers fall into habits that compromise comfort. Refer to this table to avoid frequent pitfalls:
| Do’s | Don’ts |
|---|---|
| Tighten straps gradually, starting from the front | Pull the ankle strap extremely tight to stop slipping |
| Ensure straps lie flat without twisting | Leave excess strap dangling (can catch on surfaces) |
| Adjust based on activity (tighter for walking, looser for lounging) | Wear sandals that cause immediate red marks |
| Use a small clear elastic to secure loose ends discreetly | Ignore swelling—recheck fit after prolonged standing |
| Break in new sandals gradually over several short wears | Assume all sandals fit the same—sizes vary by brand |
Real-Life Fit Fix: A Case Study
Claire, a travel blogger based in Barcelona, purchased a pair of trendy crisscross gladiator sandals for a Mediterranean tour. On her first full day of sightseeing, she developed painful blisters behind her ankles and noticed constant heel lift. After returning to her hotel, she followed the step-by-step adjustment process outlined above. She realized the toe loop was too loose, causing her foot to slide forward and increase friction at the ankle. By repositioning the front strap and slightly loosening the upper wrap to relieve pressure on her Achilles tendon, she achieved a stable, irritation-free fit. Over the next week, she wore the same sandals for eight-hour days with no further issues.
Her experience underscores a key truth: discomfort is rarely inherent to the design—it’s usually a symptom of improper adjustment.
“Most foot fatigue from sandals comes not from the shoe itself, but from incorrect strap tension. A quarter-inch difference in fit can mean hours of pain—or all-day comfort.” — Dr. Lena Ruiz, Podiatrist & Footwear Consultant
Expert Tips for Long-Term Comfort and Fit Maintenance
Even perfectly adjusted sandals can lose effectiveness over time. Materials stretch, feet change shape, and environmental factors affect performance. Incorporate these advanced practices to maintain ideal fit:
- Rotate your footwear: Wearing ankle wraps daily causes material fatigue. Allow at least 24 hours between wears for straps to regain elasticity.
- Condition leather straps monthly with a light cream to prevent drying and cracking, which alters flexibility and fit.
- Check buckle integrity regularly. Loose or worn buckles reduce control over tension and can lead to sudden slippage.
- Consider orthotic-friendly designs if you have high arches or flat feet. Some models accommodate custom insoles without compromising strap alignment.
- Trim frayed fabric ends on tie-style sandals to prevent unraveling. Seal cut edges with a dab of clear nail polish.
Frequently Asked Questions
Why do my ankle wrap sandals always slip off?
Slipping is typically caused by inadequate front strap tension or an overly loose ankle closure. Start by tightening the toe loop to anchor your foot, then secure the ankle strap with minimal vertical play. Also, check if the sole has sufficient grip—worn treads contribute to instability.
Can I make my ankle straps shorter if they’re too long?
If excess length affects aesthetics or function, many brands allow strap shortening. Use a fabric marker to indicate the new hole position, then punch it using a leather awl. For permanent reduction, consult a cobbler to trim and refinish the end safely.
How tight should ankle straps be?
The ideal fit allows one finger to slide between the strap and your skin. It should hold your heel firmly without leaving indentations or restricting blood flow. Test by walking briskly and climbing a few stairs—if your foot stays locked in place, the tension is correct.
Final Checklist: Achieving Perfect Fit in 7 Steps
- Start with all straps fully loosened.
- Place foot fully into the sandal, heel seated.
- Secure the toe loop snugly behind the ball of the foot.
- Fasten mid-foot strap without arch compression.
- Wrap ankle strap smoothly, no twisting.
- Close buckle or tie with one finger’s clearance.
- Walk test for 5 minutes, then fine-tune as needed.
Conclusion
Ankle wrap sandals don’t have to be synonymous with discomfort. With a thoughtful approach to adjustment, understanding of fit mechanics, and awareness of your foot’s needs, you can transform even the most delicate-looking pair into reliable, all-day companions. Comfort isn’t just about cushioning—it’s about precision, balance, and respect for how your body moves. Apply these techniques consistently, and you’ll not only protect your feet but also extend the life and enjoyment of your favorite footwear.


 浙公网安备
33010002000092号
浙公网安备
33010002000092号 浙B2-20120091-4
Comments
No comments yet. Why don't you start the discussion?