
Upgrading to a new iPad starts with letting go of the old one—and doing it right. A well-prepared device not only protects your personal information but also maximizes its trade-in value. Whether you're switching models, downsizing, or simply refreshing your tech, following a structured preparation process ensures a seamless transition. This guide walks you through every essential step, from backing up your data to finalizing the sale, so you can trade in with confidence.
Why Proper Preparation Matters
Many users assume that deleting apps or signing out of accounts is enough before trading in an iPad. It’s not. Residual data, forgotten iCloud connections, and overlooked accessories can lead to privacy risks, lower offers, or even rejected trade-ins. Apple and third-party recyclers evaluate devices based on condition, functionality, and whether they’re truly ready for resale. A clean, reset, and fully documented iPad earns higher valuations and faster processing.
“Over 40% of trade-in rejections stem from incomplete resets or activation locks.” — TechRecycle Insights, 2023 Device Return Report
Step-by-Step Guide to Prepare Your iPad for Trade-In
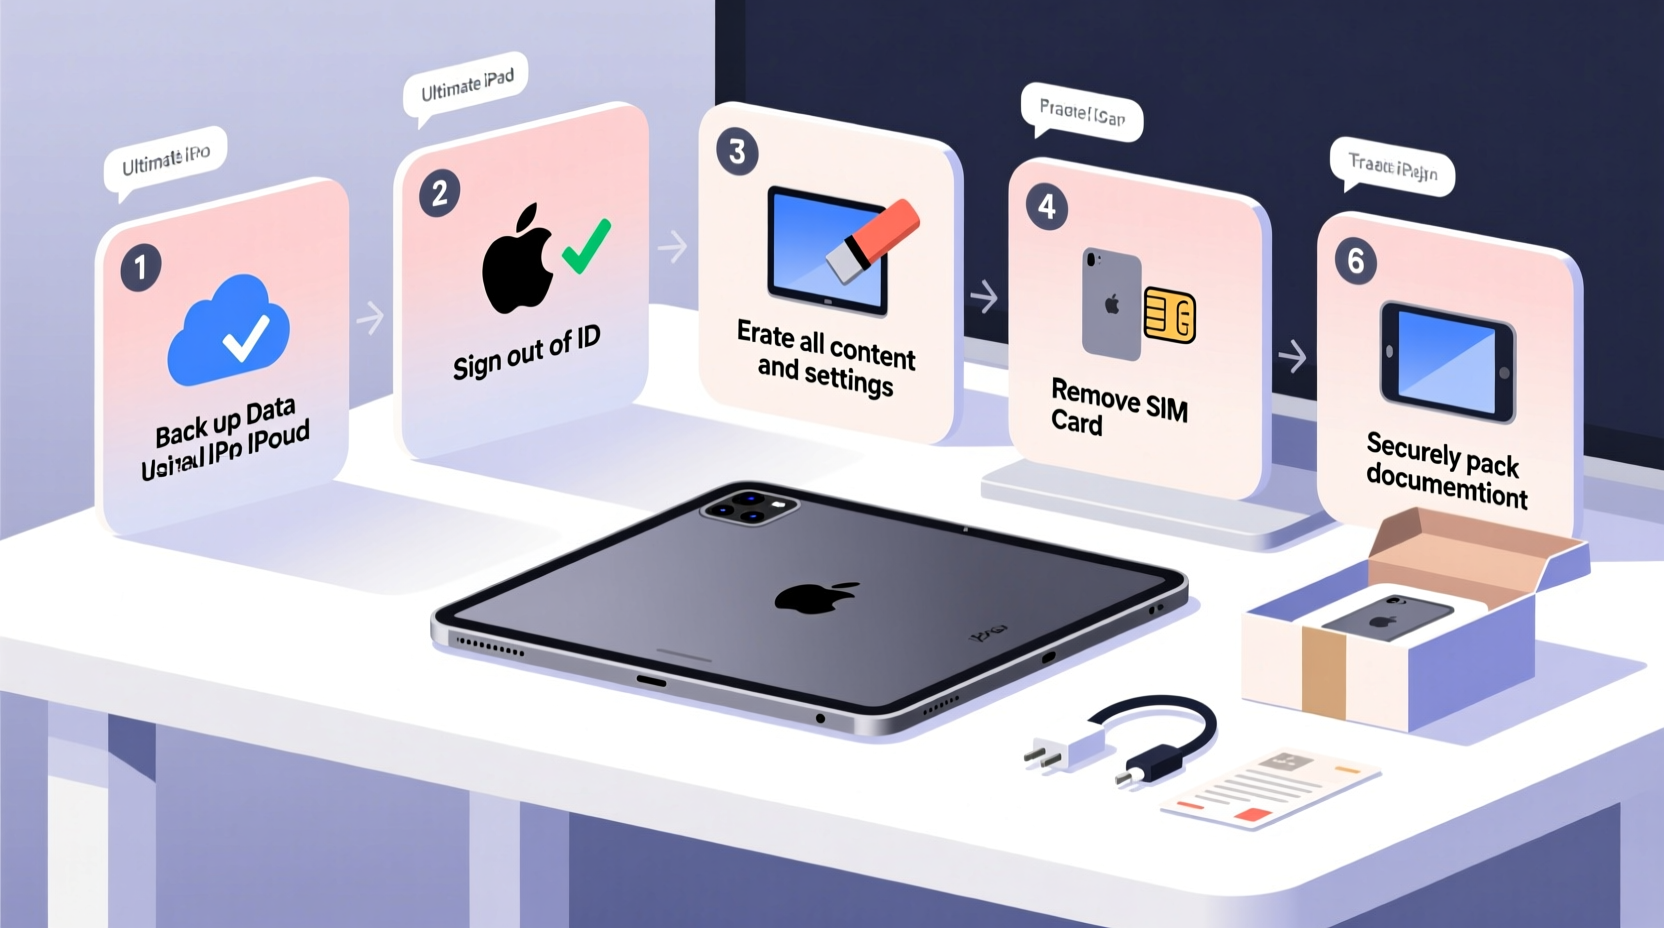
Follow this chronological checklist to ensure nothing is missed. Each action builds on the last, minimizing risk and maximizing return.
- Back up your data – Use iCloud or a computer via Finder (macOS) or iTunes (Windows) to save all photos, messages, app data, and settings.
- Sign out of iCloud and other accounts – Go to Settings > [Your Name] > Sign Out. Confirm removal of data from the device.
- Turn off Find My iPad – This must be disabled before wiping the device. Navigate to Settings > [Your Name] > Find My > Find My iPad and toggle it off.
- Erase all content and settings – Go to Settings > General > Transfer or Reset iPad > Erase All Content and Settings.
- Remove SIM card (if applicable) – For cellular models, eject the tray and keep the SIM for reuse or proper disposal.
- Clean the device physically – Use a microfiber cloth to remove fingerprints, smudges, and dust. Avoid liquids near ports.
- Gather original accessories – Chargers, cables, and boxes increase perceived value, especially with premium buyers.
- Verify the reset was successful – Power the iPad back on. If setup screens appear, the erase was complete.
What Happens If You Skip a Step?
Failing to turn off Find My iPad results in an Activation Lock, rendering the device unusable to the next owner. Most trade-in programs will reject such devices outright. Similarly, leaving accounts logged in—especially email, banking, or social media apps—poses serious security risks.
Do’s and Don’ts When Preparing Your iPad
| Do | Don't |
|---|---|
| Use encrypted iCloud or computer backup | Assume everything is saved without verification |
| Disable Find My iPad while signed in | Wipe the device before turning off Find My |
| Clean the screen and case gently | Use household cleaners or abrasive cloths |
| Include original charging cable and adapter | Send damaged or counterfeit accessories |
| Check for cracks, battery swelling, or water damage | Hide physical defects—they’ll be discovered during inspection |
Real Example: Sarah’s Smooth Trade-In Experience
Sarah wanted to upgrade from her iPad Air (4th gen) to the newer M2 model. She followed the full prep process: backed up to her Mac, signed out of iCloud, disabled Find My iPad, erased all data, and cleaned the device. She included the original box and USB-C charger. When she submitted her iPad through Apple’s Trade In program, it was accepted immediately, and she received credit within two days. Her attention to detail saved time and earned her $175—$30 more than initial estimates from third-party sites that required shipping first.
In contrast, her friend James skipped disabling Find My iPad. His trade-in was delayed for five days while he verified ownership online. The extra steps frustrated him and nearly caused him to abandon the process.
Maximizing Your Trade-In Value
The condition of your iPad directly impacts how much you’ll receive. Buyers assess screen quality, body wear, battery health, and functionality. Even minor scratches can reduce offers if not properly disclosed.
- Screen protection: If you used a screen protector, leave it on—it hides micro-scratches.
- Battery health: Check Settings > Battery > Battery Health. Devices above 80% capacity qualify for better returns.
- Functionality test: Ensure speakers, microphone, camera, and buttons work before submission.
- Honest grading: Be accurate when describing cosmetic condition—most platforms have photo-based grading tools.
“Devices presented as ‘like new’ but arriving with heavy scuffs lose up to 35% in valuation due to trust gaps.” — Lisa Tran, Senior Evaluator at BuyBackTech
Frequently Asked Questions
Can I trade in an iPad with a cracked screen?
Yes, most programs accept iPads with screen damage, but the offer will be significantly reduced. Apple, for example, still accepts broken devices but adjusts value accordingly. Disclose the damage upfront to avoid disputes.
What happens to my data after I erase the iPad?
When you use “Erase All Content and Settings,” the encryption keys are destroyed, making data recovery virtually impossible. For added peace of mind, encrypt your backup and store it securely.
Should I remove the case before sending it in?
No—keep the case on unless it’s damaged or non-original. A protective case adds to the overall presentation and may improve cosmetic grading.
Final Checklist Before Shipping
📋 **Trade-In Readiness Checklist**- ✅ Backed up to iCloud or computer
- ✅ Signed out of iCloud, iTunes, and App Store
- ✅ Find My iPad turned off
- ✅ All content and settings erased
- ✅ SIM card removed (cellular models)
- ✅ Screen and body cleaned
- ✅ Charging cable included (original preferred)
- ✅ No personal stickers or engravings visible
- ✅ Confirmed device powers on and reaches setup screen
Conclusion: Make Your Upgrade Effortless
Preparing your iPad for trade-in isn’t just about wiping data—it’s about protecting your privacy, respecting the resale ecosystem, and getting fair value for your device. By following these detailed steps, you eliminate common pitfalls and position yourself for a fast, secure, and rewarding upgrade. Whether you're moving to a new model or stepping away from Apple’s ecosystem, a properly prepared iPad reflects smart digital habits. Take the time now to do it right, and your next tech purchase will feel that much more earned.


 浙公网安备
33010002000092号
浙公网安备
33010002000092号 浙B2-20120091-4
Comments
No comments yet. Why don't you start the discussion?