
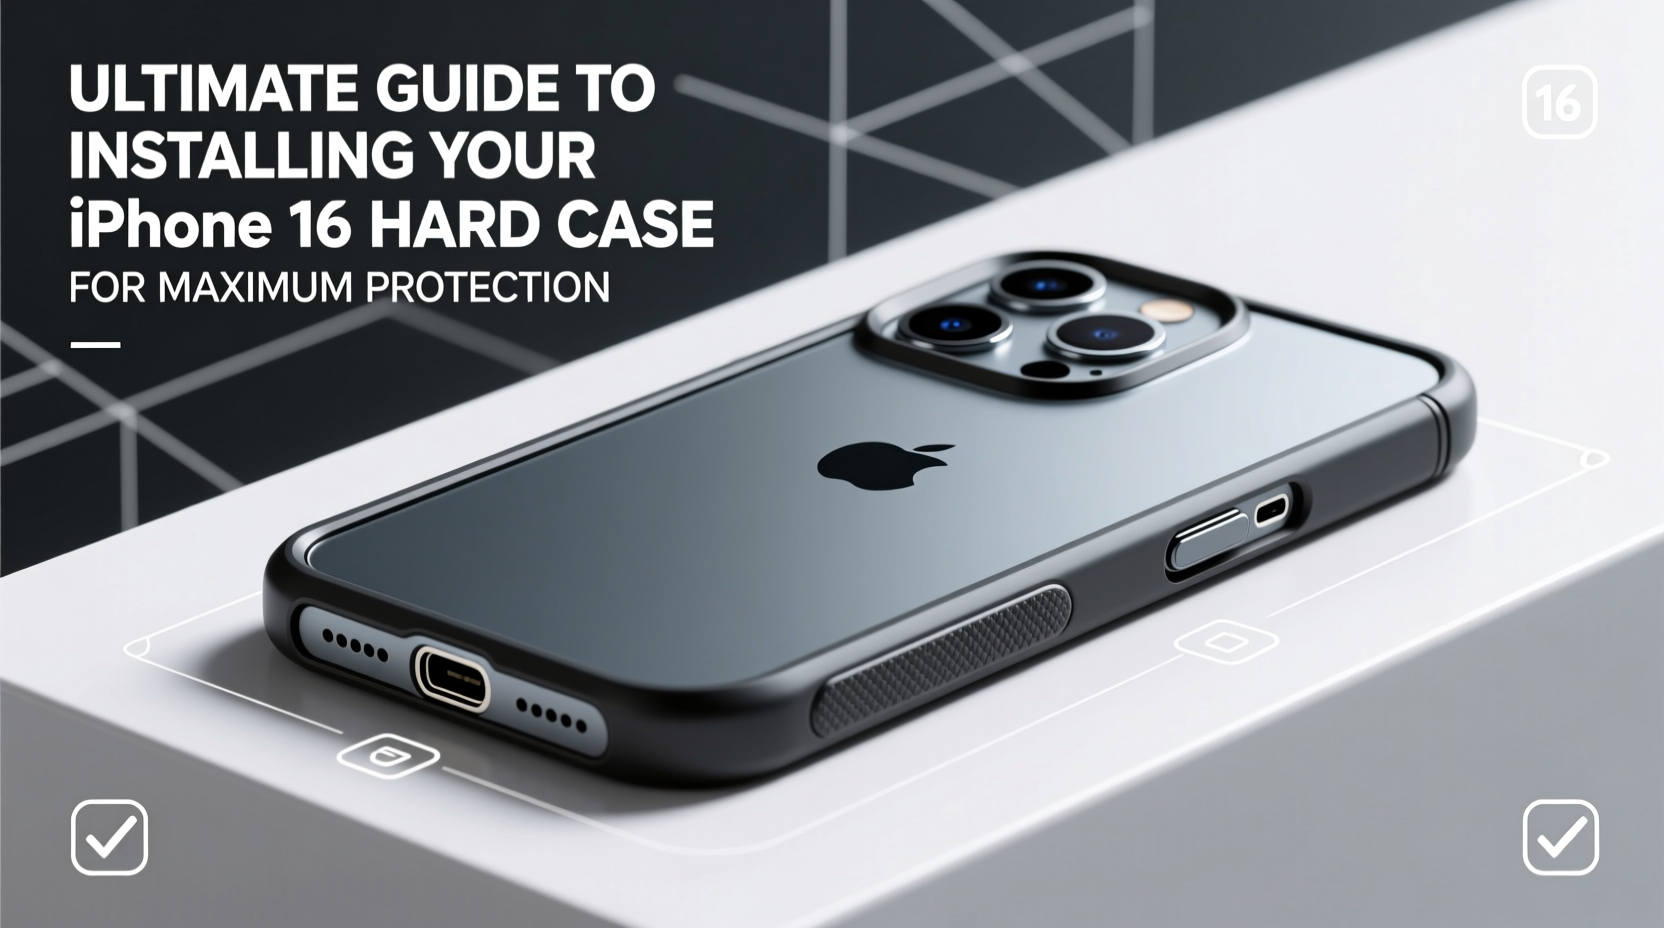
As the latest flagship in Apple’s smartphone lineup, the iPhone 16 combines cutting-edge technology with a sleek, minimalist design. However, its advanced features and premium materials demand careful handling. One of the most effective ways to safeguard your investment is by using a high-quality hard case. But simply owning a protective case isn’t enough—how you install it matters just as much as the case itself. A poorly installed case can compromise shock absorption, leave gaps at critical seams, or even interfere with functionality. This guide walks you through every step of correctly installing your iPhone 16 hard case to ensure optimal protection, precise fit, and long-term durability.
Why Proper Installation Matters
A hard case does more than shield your phone from scratches—it acts as the first line of defense against drops, impacts, and everyday wear. However, many users overlook the importance of correct installation. Misaligned cases can create weak points where impact forces concentrate, potentially leading to cracked screens or damaged ports. Even slight misplacement around buttons or camera cutouts can reduce responsiveness or block sensors.
The iPhone 16’s refined dimensions and tighter tolerances mean that case alignment must be exact. Unlike bulkier models, modern iPhones rely on precision engineering, so any deviation during installation could affect performance. Additionally, dust or debris trapped beneath the case during setup may cause micro-abrasions over time, degrading both aesthetics and structural integrity.
“Proper case installation isn’t just about appearance—it directly influences how well your device survives real-world accidents.” — Dr. Lena Park, Mobile Durability Researcher at TechShield Labs
Step-by-Step Guide to Installing Your iPhone 16 Hard Case
Follow this detailed process to ensure your hard case fits perfectly and delivers full protection without compromising usability.
- Clean Your iPhone Thoroughly
Use a lint-free cloth slightly dampened with isopropyl alcohol (70%) to wipe down the entire surface of your iPhone 16. Pay special attention to edges, corners, and areas around ports and speakers. Allow it to air dry completely before proceeding. - Inspect the Case Interior
Check the inner lining of the hard case for dust, manufacturing residue, or small plastic burrs. Use compressed air or a soft brush to clean it if needed. Avoid touching the interior with bare fingers to prevent oil transfer. - Align the Bottom First
Hold the case with the charging port opening facing downward. Gently guide the bottom edge of the iPhone into the corresponding slot of the case. Ensure the Lightning port (or USB-C, depending on model) aligns precisely with the cutout. - Secure the Sides Gradually
Once the bottom is seated, press one side gently into place, then the other. Do not force the case. If resistance occurs, recheck alignment rather than applying pressure. - Seat the Top Edge Carefully
With the sides and bottom secured, press the top edge down until it clicks into place. Verify that the front-facing speaker, proximity sensor, and TrueDepth camera array are fully unobstructed. - Test All Components
Power on the phone and test volume buttons, side switch (if applicable), charging function, speaker clarity, and Face ID responsiveness. Make sure no part of the case impedes these functions.
Do’s and Don’ts When Installing a Hard Case
| Do’s | Don’ts |
|---|---|
| Wipe both phone and case with a microfiber cloth before installation | Force the phone into the case if it doesn’t slide easily |
| Double-check alignment of all ports and sensors | Install the case while your hands are wet or greasy |
| Use gentle, even pressure when snapping the case closed | Leave screen protectors or adhesive residues on the phone |
| Verify button responsiveness after installation | Stack multiple cases for extra protection (can trap heat and moisture) |
| Remove and reseat the case monthly to clean trapped debris | Use sharp tools to pry the case open |
Real-World Example: How Improper Installation Led to Damage
Mark, a freelance photographer based in Seattle, purchased a polycarbonate hard case shortly after getting his iPhone 16 Pro. Eager to use it during an outdoor shoot, he installed the case quickly on a café table without cleaning either device. Unbeknownst to him, a tiny grain of sand had lodged between the phone’s back panel and the case interior.
Over the next few weeks, repeated minor vibrations from being placed on uneven surfaces caused microscopic abrasion. After two months, Mark noticed a faint but persistent scratch near the camera bump. Upon removing the case, he discovered significant micro-scratching across the lower third of the phone’s back glass—damage that voided his accidental coverage under AppleCare+ due to “external factors.”
This scenario highlights how seemingly minor oversights during installation can lead to costly consequences. Had Mark taken five minutes to clean both surfaces and inspect the fit, he could have avoided permanent cosmetic damage.
Essential Checklist Before Finalizing Installation
- ✅ Phone surface is free of fingerprints, oils, and debris
- ✅ Case interior is clean and undamaged
- ✅ Charging port aligns perfectly with case opening
- ✅ Speaker grilles and microphone holes are fully exposed
- ✅ Volume and power buttons move freely within case cutouts
- ✅ Camera lens sits flush within its bezel, no obstruction
- ✅ No visible gaps along edges or corners
- ✅ Face ID works reliably with the case on
- ✅ Case snaps securely without excessive flexing
- ✅ Back of phone lies flat when placed on a level surface
Frequently Asked Questions
Can I install my iPhone 16 hard case with a screen protector already on?
Yes, most high-quality hard cases are designed to accommodate standard screen protectors. However, ultra-thick or poorly applied protectors may cause the case to press against the screen, increasing the risk of cracking. Ensure your screen protector is bubble-free and trimmed correctly before installing the case.
Should I remove the case periodically for cleaning?
Absolutely. Experts recommend removing the case every 2–3 weeks to clean both the phone and the inside of the case. Trapped sweat, dust, and pocket lint can degrade materials over time and promote discoloration, especially on matte-finish phones.
What if my case feels too tight or too loose?
If the case requires excessive force to install, it may not be designed for the iPhone 16’s exact dimensions—consider returning it. Conversely, a loose case indicates poor manufacturing tolerance and won’t provide adequate drop protection. Look for brands certified under Apple’s MFi (Made for iPhone) program or those with verified compatibility testing.
Conclusion: Protect Your Investment the Right Way
Your iPhone 16 represents a significant financial and technological investment. While a hard case plays a crucial role in preserving its condition, its effectiveness hinges entirely on proper installation. Taking a few extra minutes to clean, align, and verify every component ensures that your device remains protected against drops, scratches, and daily hazards. Whether you're upgrading from an older model or replacing a worn-out case, approach the installation process with care and precision. A well-fitted case doesn’t just enhance durability—it preserves resale value, maintains performance, and gives you peace of mind.


 浙公网安备
33010002000092号
浙公网安备
33010002000092号 浙B2-20120091-4
Comments
No comments yet. Why don't you start the discussion?