
Converting images into PDFs is a common need across industries—from students compiling scanned notes to designers sharing portfolios, or professionals submitting documentation. While the task seems simple, many struggle with quality loss, disorganized layouts, or software limitations. The good news: turning images into PDFs doesn’t require advanced skills or expensive tools. With the right approach, you can create clean, professional, and universally compatible PDFs in minutes.
This guide walks through proven methods, compares tools, and delivers practical steps to help you convert images into PDFs efficiently—whether you're using Windows, macOS, iOS, Android, or web-based platforms.
Why Convert Images to PDF?
Before diving into techniques, it’s important to understand why PDF is often the preferred format over standalone image files like JPEG or PNG.
- Universal compatibility: PDFs open on nearly every device and operating system without formatting issues.
- Multi-page support: Combine multiple images into a single organized document.
- Security features: Add passwords, watermarks, or restrict editing permissions.
- Smaller file sizes (when optimized): Properly compressed PDFs take up less space than raw image collections.
- Professional presentation: Ideal for resumes, reports, contracts, and photo albums.
“PDF remains the gold standard for document exchange because of its consistency and reliability.” — David Lin, Digital Workflow Consultant
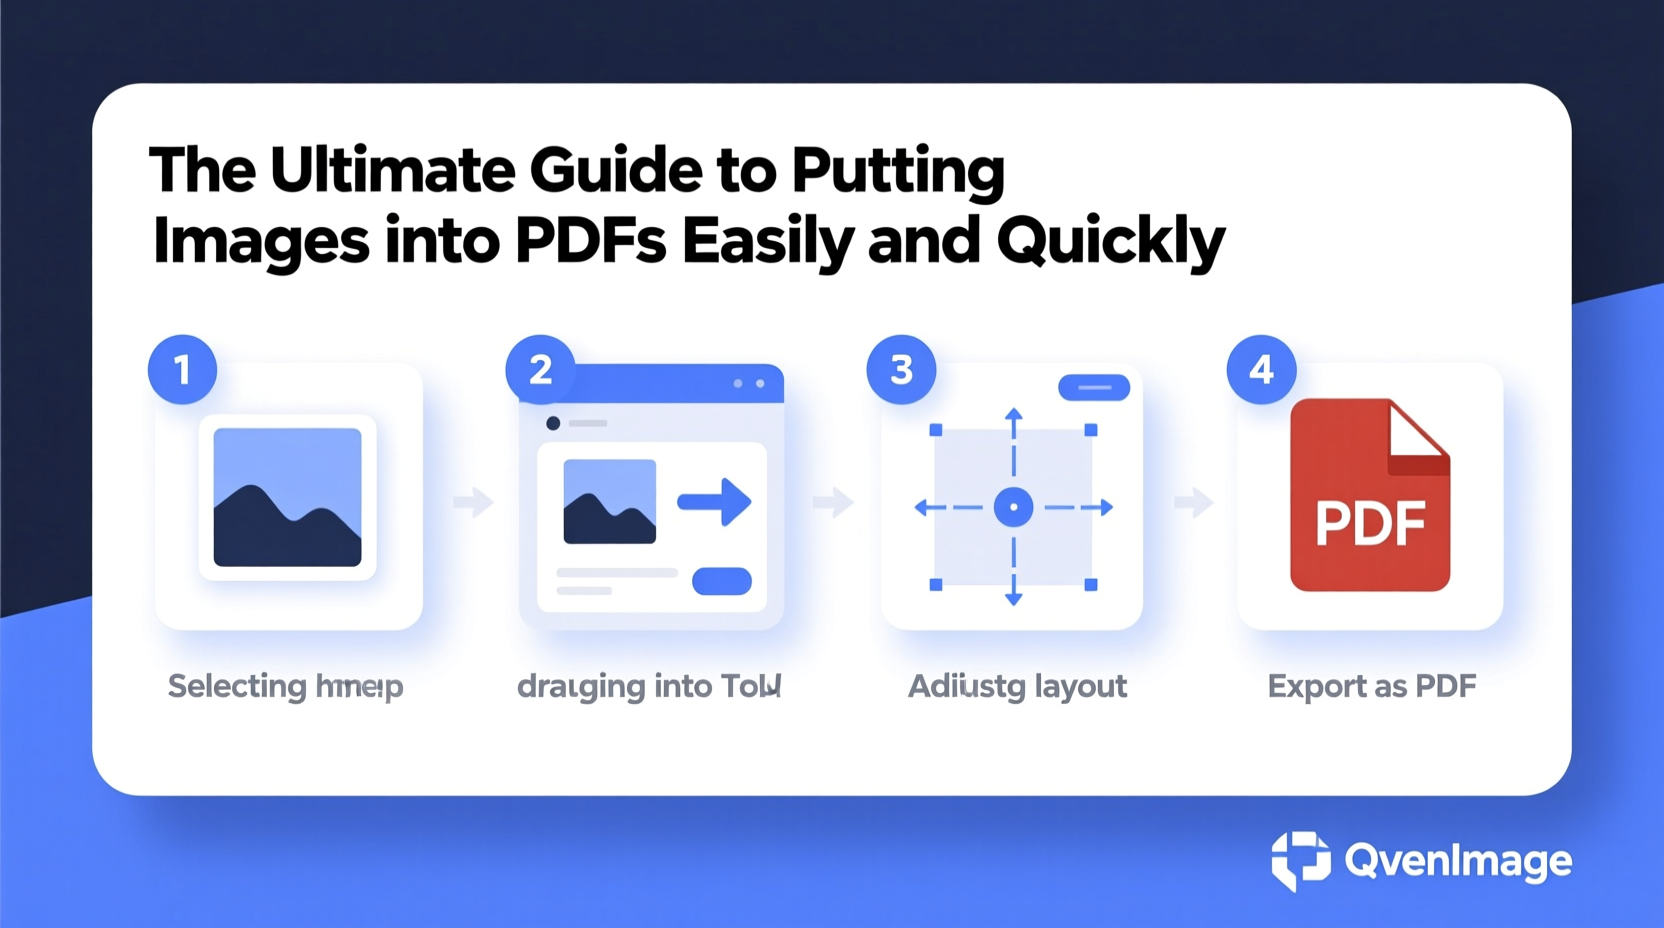
Step-by-Step: How to Put Images into a PDF
Follow this universal process regardless of your chosen tool. These steps ensure clarity, organization, and optimal output quality.
- Gather and organize your images: Place all images in one folder, sorted in the order you want them to appear.
- Check image resolution: Aim for at least 150 DPI for decent quality; 300 DPI for print-ready documents.
- Choose your conversion method: Use built-in OS tools, online converters, or desktop software based on your needs.
- Convert and preview: Generate the PDF and review page order, orientation, and image clarity.
- Optimize and save: Reduce file size if needed and save under a clear filename.
Best Methods to Insert Images into PDFs
Different situations call for different tools. Below are five reliable methods, each suited to specific use cases.
1. Using Built-in OS Features (Free & Fast)
Both Windows and macOS offer native ways to create PDFs from images without installing extra software.
On Windows:
Right-click selected images > Print > Choose “Microsoft Print to PDF” as printer > Click Print > Save as PDF.
On macOS:
Open any image in Preview > Click File > Export as PDF > Repeat for multiple images or use the \"Combine Files into a Single PDF\" option under Quick Actions.
2. Online Tools (Ideal for Quick One-Time Use)
Websites like ILovePDF, Smallpdf, and PDF24 allow drag-and-drop image uploads and instant conversion.
- Support JPG, PNG, GIF, and more.
- Offer layout options (portrait/landscape, margins).
- Allow reordering before merging.
3. Adobe Acrobat Pro (Professional-Grade Control)
For full control over layout, compression, metadata, and security settings, Adobe Acrobat remains unmatched.
To add images: Open Acrobat > Tools > Create PDF > Select Image > Adjust settings > Combine multiple files via \"Create PDF Portfolio.\"
You can also insert images into existing PDFs using the Edit PDF tool, positioning them precisely on pages.
4. Mobile Apps (iOS & Android)
Scan apps like Adobe Scan, CamScanner, or Microsoft Lens automatically capture images and compile them into a single PDF.
These are ideal for converting paper documents, whiteboards, or receipts on the go. Most include OCR (text recognition), cloud sync, and sharing options.
5. Command Line & Automation (For Power Users)
Using tools like ImageMagick or Ghostscript, tech-savvy users can automate batch conversions.
Example command with ImageMagick:
convert *.jpg output.pdf
This converts all JPG files in a directory into a single PDF—perfect for recurring tasks.
Comparison of Top Tools for Adding Images to PDFs
| Tool | Platform | Cost | Best For | Limits |
|---|---|---|---|---|
| Windows Print to PDF | Windows | Free | Quick single or multi-image PDFs | Limited layout control |
| macOS Preview | macOS | Free | Simple merging and exporting | No mobile version |
| Smallpdf | Web, iOS, Android | Freemium | Easy interface, cloud access | File size limits on free tier |
| Adobe Acrobat Pro | Windows, macOS, Web | Paid | Precision editing and security | Expensive subscription |
| Adobe Scan | iOS, Android | Free (with premium options) | Scanning physical documents | Ads in free version |
Mini Case Study: Creating a Photo Portfolio PDF
Sophie, a freelance photographer, needed to send a curated portfolio to a client. She had 12 high-resolution images but was told the submission must be a single PDF under 10MB.
Instead of sending scattered files or risking compression in email, she used Adobe Acrobat Pro. She imported her images, resized them to 72 DPI for screen viewing, adjusted page dimensions to match aspect ratios, and applied light compression. The final PDF was 8.2MB, visually crisp, and opened flawlessly on the client’s tablet.
The key? Choosing the right tool for quality control and file optimization—something free online tools couldn’t offer at the same level.
Checklist: Preparing Images for PDF Conversion
Ensure your output looks professional by following these essential steps before conversion:
- ✅ Organize images in correct sequence
- ✅ Crop or resize oversized images
- ✅ Check for duplicates or blurry shots
- ✅ Standardize orientation (rotate if needed)
- ✅ Name files clearly and sequentially
- ✅ Confirm color mode (RGB for digital, CMYK for print)
- ✅ Backup originals before batch processing
Frequently Asked Questions
Can I edit images after they’re in a PDF?
Yes, but only with advanced editors like Adobe Acrobat Pro. You can replace, move, or crop embedded images. Free tools like Preview or online converters typically don’t support post-conversion editing.
Will converting images to PDF reduce quality?
Not necessarily. If you preserve original resolution and avoid aggressive compression, quality remains intact. Some tools automatically downscale—always check settings before exporting.
How do I combine images and text in one PDF?
Use word processors like Microsoft Word or Google Docs. Insert images, add captions or descriptions, then export the entire document as a PDF. This maintains layout and readability better than raw image merges.
Final Tips for Best Results
When combining images into a PDF, consistency matters. Stick to the same page size, margin spacing, and image alignment. If you’re creating a document for print, include bleed areas and higher DPI. For digital sharing, prioritize smaller file sizes and fast loading.
And remember: while automation speeds things up, taking two extra minutes to review your file can prevent embarrassing errors—like reversed page order or cropped heads.
Conclusion: Turn Images into Polished PDFs with Confidence
Putting images into a PDF doesn’t have to be complicated or time-consuming. Whether you're using a smartphone app during a meeting or fine-tuning a portfolio on your desktop, the right method exists for your workflow. From free OS tools to powerful professional software, the options are flexible and accessible.
Now that you know how to convert images efficiently, maintain quality, and avoid common pitfalls, it’s time to put these strategies into action. Start organizing your visuals today and create PDFs that look professional, load fast, and communicate clearly.


 浙公网安备
33010002000092号
浙公网安备
33010002000092号 浙B2-20120091-4
Comments
No comments yet. Why don't you start the discussion?