
Updating your kitchen doesn’t always require a full-scale renovation. Cabinet refacing offers an affordable, efficient way to transform the look and feel of your space while preserving the existing cabinet boxes. Unlike complete replacements, which involve removing and discarding old units, refacing reuses the structural framework and simply updates the visible surfaces. This process can breathe new life into outdated kitchens with minimal disruption, cost, and waste.
Whether you're preparing your home for resale or simply craving a fresh aesthetic, refacing is a smart investment. With careful planning and execution, you can achieve results that rival a full remodel—often at half the price and time.
Why Reface Instead of Replace?
Cabinet replacement typically costs between $5,000 and $15,000 for an average kitchen, depending on materials and labor. In contrast, refacing averages $2,500 to $6,000, making it one of the most cost-effective kitchen upgrades available. Beyond financial savings, refacing is also more sustainable—by retaining the cabinet boxes, you reduce landfill waste and conserve resources.
Refacing involves replacing doors, drawer fronts, and hardware, then applying a new veneer or paint to the exposed cabinet faces. The core structure remains intact, meaning no plumbing or electrical adjustments are needed, and countertops don’t have to be removed.
“Refacing is ideal for homeowners who love their cabinet layout but want a modern finish. It’s faster, greener, and often indistinguishable from a full remodel.” — Daniel Ruiz, Kitchen Design Consultant with 18 years of experience
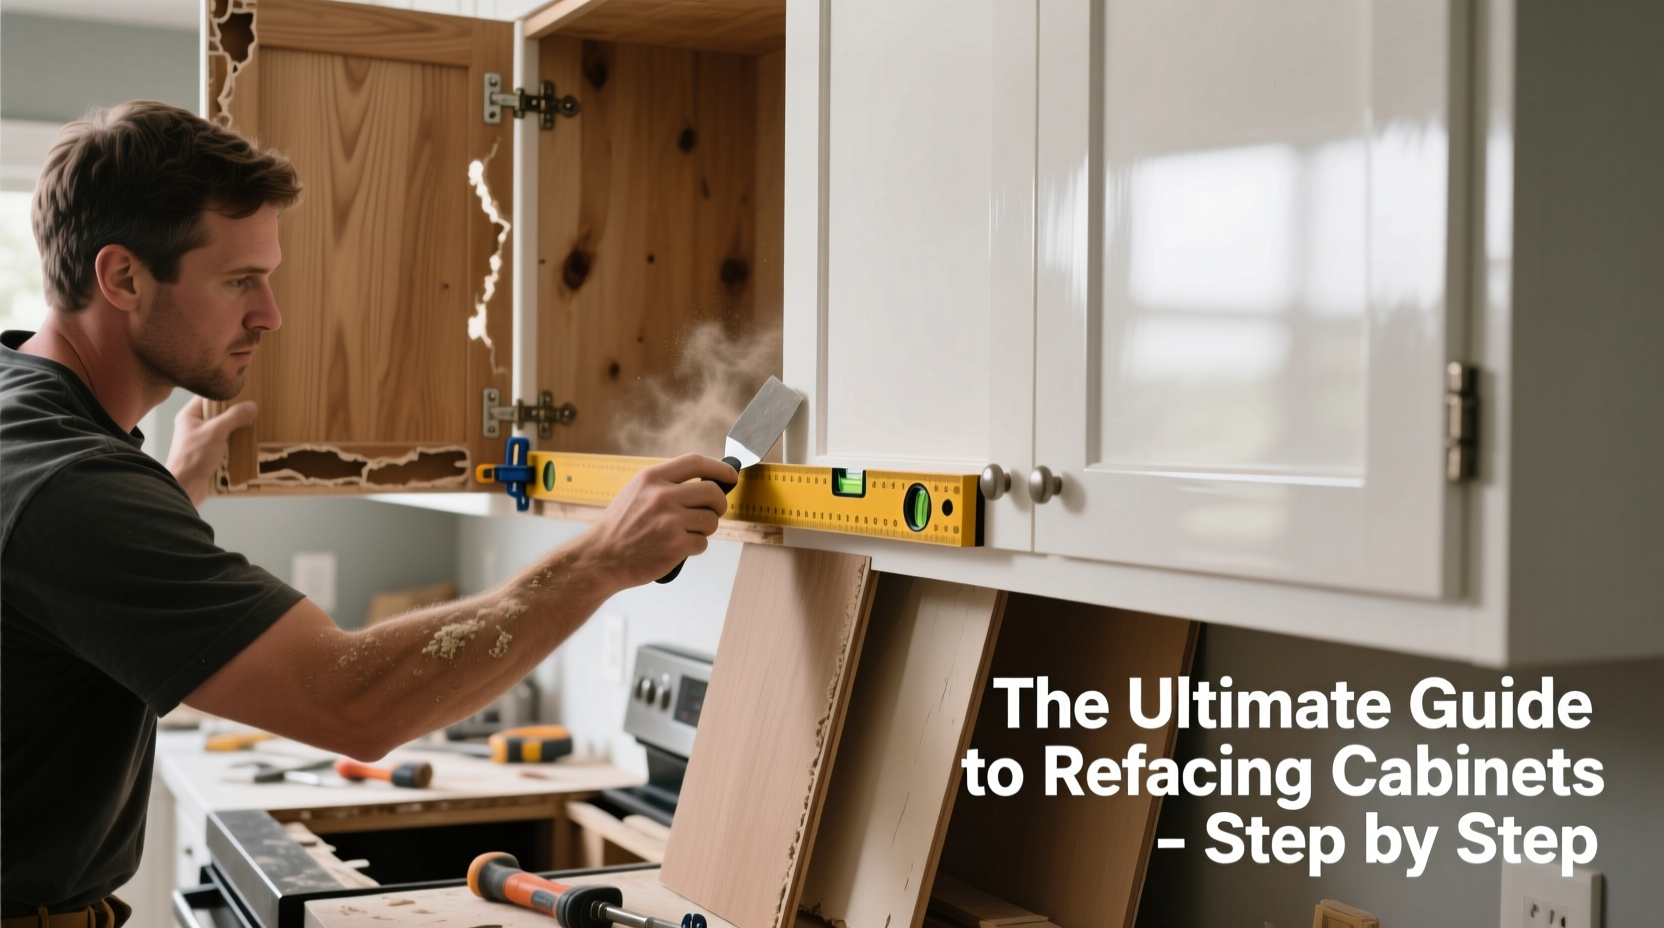
Step-by-Step Guide to Refacing Cabinets
A successful refacing project follows a logical sequence. Skipping steps or rushing the process can lead to uneven finishes, misaligned doors, or premature wear. Follow this detailed timeline to ensure professional-grade results.
- Assessment & Planning: Inspect each cabinet box for damage, warping, or moisture issues. Repair any loose joints or hinges. Decide whether to keep the existing layout or modify drawer/door configurations.
- Measure & Order Materials: Accurately measure all doors, drawer fronts, and stiles. Order new doors, drawers, and veneer or paint based on your chosen style and finish.
- Remove Hardware and Doors: Take off all knobs, pulls, hinges, and doors. Label each piece with its location using masking tape to simplify reinstallation.
- Prepare Cabinet Faces: Lightly sand the exposed frames to promote adhesion. Clean thoroughly with a degreaser to remove grease and grime, especially around cooking areas.
- Apply Veneer or Paint: If using peel-and-stick veneer, align carefully and smooth out air bubbles with a plastic scraper. For painting, apply a bonding primer first, followed by two coats of durable semi-gloss or satin paint.
- Install New Doors and Drawers: Rehang doors using original hinge locations or adjust for better alignment. Install new drawer fronts over existing boxes or replace entire drawer units if needed.
- Add New Hardware: Choose modern knobs or pulls that complement your new style. Use a jig or template to ensure consistent hole placement.
- Final Inspection: Check door alignment, opening clearance, and soft-close mechanisms. Make micro-adjustments as necessary.
Choosing the Right Materials and Finishes
The longevity and visual impact of your refaced cabinets depend heavily on material choices. Solid wood doors offer durability and a premium look but come at a higher price. Thermofoil or laminate options are budget-friendly and resist moisture well, making them ideal for humid kitchens.
Veneer types vary in grain pattern and application method. Real wood veneers provide authenticity and can be stained, while synthetic options offer consistency and are easier to install. For painting, use cabinet-specific paint like Benjamin Moore Advance or Sherwin-Williams ProClassic for a hard, washable finish.
| Material | Pros | Cons | Best For |
|---|---|---|---|
| Solid Wood | Durable, stainable, high-end look | Expensive, sensitive to humidity | Traditional or custom kitchens |
| Thermofoil | Moisture-resistant, affordable, low maintenance | Can peel over time, limited styles | Rental properties, busy households |
| Laminate | Scratch-resistant, wide color range | Hard to repair if chipped | Modern, minimalist designs |
| Peel-and-Stick Veneer | Easy DIY application, low cost | Less durable, not for high-moisture zones | Renters or short-term updates |
Real-Life Example: A Mid-Century Kitchen Transformation
Sarah Thompson, a homeowner in Portland, OR, wanted to update her 1970s oak kitchen without disrupting her family’s routine. She opted for refacing instead of replacement due to budget constraints and a tight timeline. After researching options, she chose painted MDF doors in matte white and brushed nickel hardware to create a clean, transitional look.
She used a peel-and-stick walnut veneer on the cabinet faces, carefully applying it over sanded and cleaned frames. The entire project took five weekends, including drying time between paint coats. Total cost: $3,200, compared to an estimated $12,000 for full replacement.
“I’m amazed at how fresh the kitchen feels,” Sarah said. “Guests assume we did a full remodel. The best part? We never had to eat takeout for weeks while construction dragged on.”
Essential Checklist for a Successful Cabinet Refacing Project
- ☐ Inspect cabinet boxes for structural integrity
- ☐ Measure all doors, drawers, and face frames accurately
- ☐ Choose a cohesive style and finish for doors and hardware
- ☐ Purchase high-adhesion primer and durable paint or veneer
- ☐ Label all removed parts with their original locations
- ☐ Sand and clean all surfaces before finishing
- ☐ Use a door alignment jig during reinstallation
- ☐ Test soft-close mechanisms and make adjustments
- ☐ Clean up residue and polish new hardware
- ☐ Schedule a final walkthrough to catch imperfections
Frequently Asked Questions
How long does a refaced cabinet last?
With quality materials and proper care, refaced cabinets can last 10–15 years or more. Painted finishes may require touch-ups every few years, especially in high-use areas. Veneers generally hold up well if not exposed to excessive moisture.
Can I reface laminate cabinets?
Yes, but surface preparation is critical. Laminate must be lightly sanded and cleaned to remove gloss before applying paint or adhesive-backed veneer. Use a bonding primer designed for slick surfaces to ensure adhesion.
Is cabinet refacing worth it for resale?
Absolutely. A refreshed kitchen improves perceived value and appeal. According to the 2023 Remodeling Impact Report, minor kitchen updates recoup up to 80% of their cost at resale. Refacing falls into this category and significantly enhances curb appeal without major investment.
Final Thoughts: Transform Your Kitchen with Confidence
Refacing cabinets is more than a cosmetic fix—it's a strategic upgrade that combines affordability, sustainability, and dramatic visual impact. By following a structured approach, selecting durable materials, and paying attention to detail, you can achieve a high-end kitchen transformation without the stress and expense of demolition.
Whether you're a seasoned DIYer or working with a contractor, the principles remain the same: plan thoroughly, prepare meticulously, and execute with precision. The result will be a kitchen that reflects your taste, functions beautifully, and stands the test of time.


 浙公网安备
33010002000092号
浙公网安备
33010002000092号 浙B2-20120091-4
Comments
No comments yet. Why don't you start the discussion?