
Photos on Facebook can linger long after they’ve served their purpose—sometimes longer than you’d like. Whether it’s an outdated profile picture, a cringe-worthy throwback, or a post that no longer aligns with your digital footprint, knowing how to remove photos efficiently and securely is essential. With growing concerns about data privacy and online reputation, taking control of your visual content isn’t just smart—it’s necessary. This guide walks you through every method available, highlights hidden risks, and provides actionable steps to ensure your photo removal is both fast and thorough.
Why Removing Photos Matters for Digital Privacy
Every photo uploaded to Facebook contributes to your digital identity. Even if a picture seems harmless, metadata, facial recognition algorithms, and tagging features mean your images can be used in ways you didn’t anticipate. Third-party apps, advertisers, and even data brokers may access or infer information from old posts. Removing unwanted photos reduces your exposure and limits the data trail linked to your name.
Facebook retains deleted content internally for a short period before permanent erasure. However, once you delete a photo, it stops appearing on your timeline, in albums, and in tagged sections visible to others. Friends who were tagged may still receive notifications, but they won’t be able to view the image once it’s gone.
“Your digital footprint is cumulative. One forgotten photo can resurface years later during job screenings or personal searches.” — Dr. Lena Torres, Digital Privacy Researcher at CyberEthics Institute
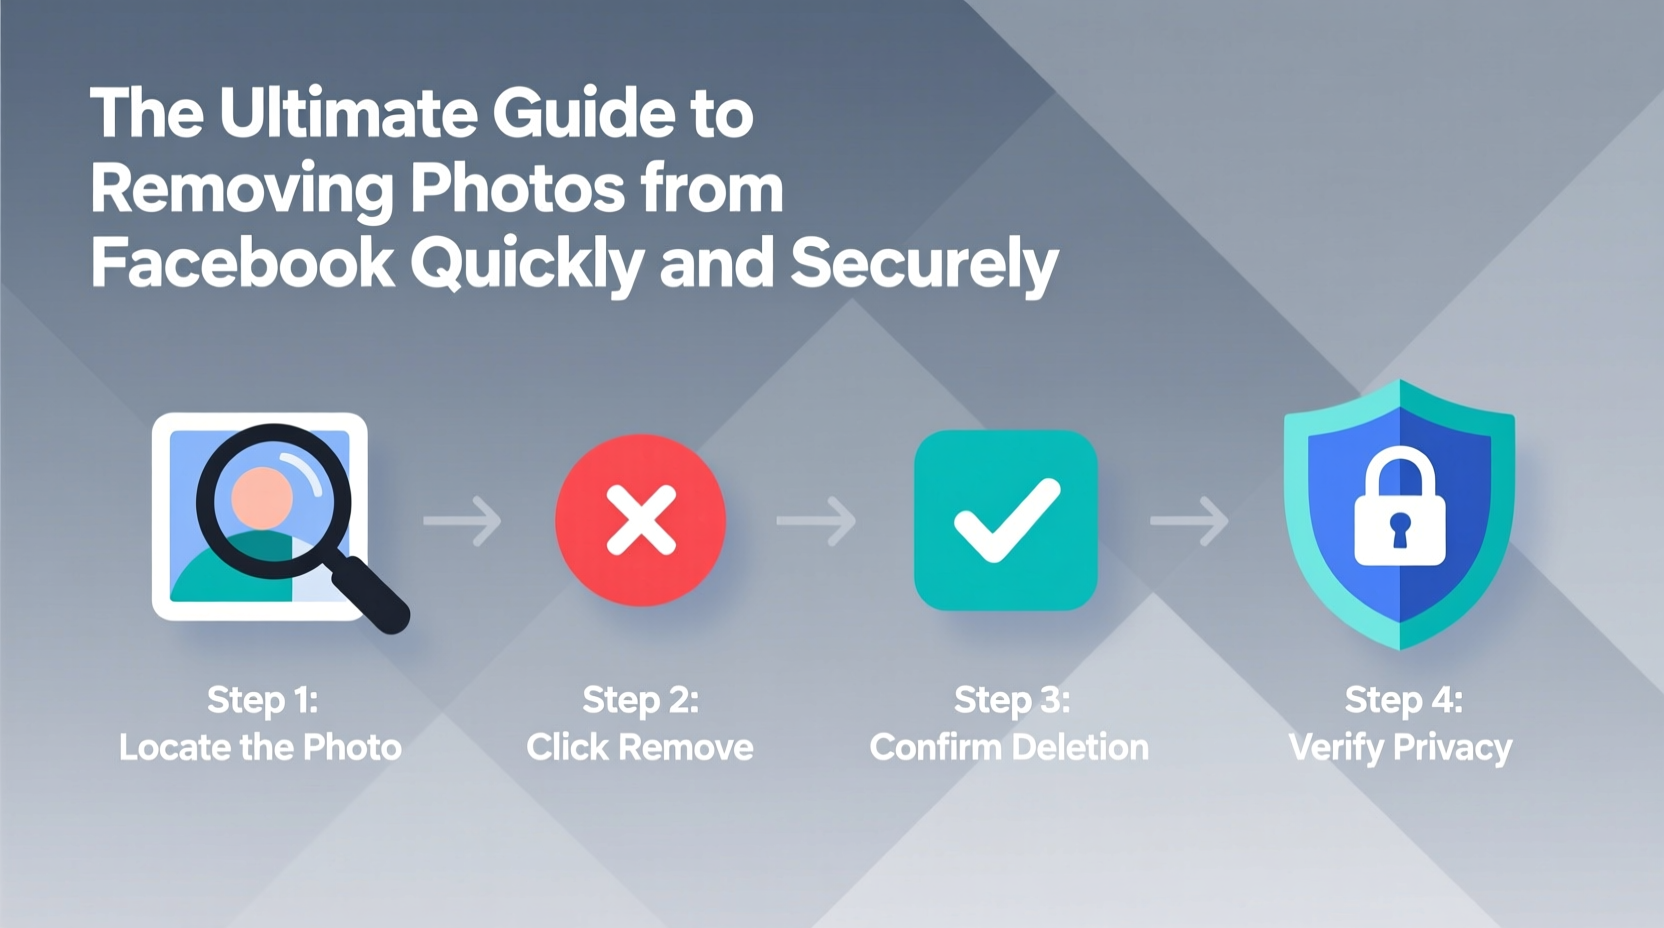
Step-by-Step: How to Delete Photos from Your Timeline
If you’re the original uploader, deleting your own photos is straightforward. Follow this sequence to remove them quickly:
- Log into your Facebook account via browser or the mobile app.
- Navigate to your profile and click on the “Photos” tab.
- Select “Your Photos” to view all images you’ve uploaded.
- Click on the photo you want to delete.
- In the top-right corner (desktop) or under the three-dot menu (mobile), select “Options.”
- Choose “Delete This Photo” and confirm when prompted.
This action removes the photo from public view, detaches it from any posts, and unlinks it from albums. If the photo was shared in a post, the entire post will be removed unless other media remains.
Removing Tagged Photos You Don’t Own
You can’t delete photos posted by others, but you can remove your presence from them. If someone tags you in a photo you’d rather not be associated with, here’s how to act:
- Go to the photo where you’re tagged.
- Click the three dots below or beside the image.
- Select “Report/Remove Tag.”
- Choose “I don’t want to be in this photo” and click “Continue.”
- Confirm the request.
Once approved, your name and tag disappear. The photo stays online, but it no longer appears on your profile or in your activity log. Note: The original poster will receive a notification that you removed your tag.
What If the Owner Refuses to Remove the Photo?
In cases where the photo is inappropriate or violates your consent, you can report it directly to Facebook. Under Community Standards, you have the right to request removal of non-consensual imagery, including private or altered photos. Reporting options include:
- Impersonation
- Harassment or bullying
- Privacy violations (e.g., nude or sensitive content)
Facebook typically reviews such reports within 24–48 hours and may take down the content even if the uploader disagrees.
Batch Deletion: Clearing Multiple Photos Fast
Manually deleting dozens or hundreds of photos is time-consuming. While Facebook doesn’t offer a native “select all” feature for photo deletion, there are workarounds to speed up the process.
Using Activity Log for Bulk Management
- Click your profile picture and go to “Settings & Privacy,” then “Activity Log.”
- On the left sidebar, click “Filter” and select “Photos and Videos.”
- Browse through your uploads chronologically.
- Hover over each entry and click the pencil icon or three dots to delete individual items.
Though not fully automated, this method centralizes all your media for easier review. Sort by year or month to focus on outdated content.
Do’s and Don’ts of Facebook Photo Removal
| Do’s | Don’ts |
|---|---|
| Delete photos containing personal info (addresses, IDs, license plates) | Assume deletion means instant erasure from Facebook’s servers |
| Remove tags from photos you’re uncomfortable with | Forget to check who else was tagged—coordinate deletions if needed |
| Use Activity Log to audit old uploads regularly | Post revenge deletions during emotional moments—review calmly |
| Download memories you want to keep before deleting | Ignore photo backups stored in Facebook’s “Archive” folder |
Real Example: Recovering Control After a Data Leak
Sophie, a marketing professional in Chicago, discovered that a private beach photo she thought was shared only with friends had been downloaded and reposted in a third-party group without her knowledge. Though she hadn’t posted it herself, a friend had uploaded it and tagged her. Embarrassed and concerned about professionalism, Sophie took immediate action.
She first removed her tag, then messaged the friend to request deletion. When the friend didn’t respond, she reported the photo to Facebook under “privacy violation.” Within a day, the post was removed. She then reviewed her entire photo history, deleting over 70 outdated images and adjusting her future privacy settings to “Friends Only.” Her proactive cleanup restored her confidence in using the platform safely.
Securing Your Account During and After Deletion
Deleting photos is only part of the process. To ensure true security, follow these additional measures:
- Review App Permissions: Third-party apps may have access to your photo library. Go to Settings → Apps and Websites, and remove any unfamiliar or outdated connections.
- Enable Login Alerts: Get notified if someone logs into your account from a new device.
- Download a Copy First: Before deleting, use Facebook’s “Access Your Information” tool to download photos you want to preserve privately.
- Clear Search Indexes: Google may cache old Facebook images. Use Google’s removal tool to request deindexing of deleted URLs.
“Deletion on social media is not always irreversible on the internet. Always assume screenshots or archives exist.” — Marcus Reed, Cybersecurity Consultant
Frequently Asked Questions
Does deleting a photo remove it from everyone’s newsfeed history?
No. Once deleted, the photo disappears from future views, but anyone who saw it when it was live may still remember or have saved it. Facebook does not notify users when a post is deleted.
Can I recover a photo after deleting it?
Not directly. If you deleted a photo and later regret it, you can only restore it if you have a backup. Facebook does not provide a trash or recovery bin for photos.
How long does Facebook keep deleted photos on its servers?
According to Facebook’s Data Policy, deleted content is removed from active systems within days but may remain in backup systems for up to 90 days before full erasure.
Final Checklist: Secure Photo Removal in 5 Steps
- Identify all photos you want to remove—uploaded and tagged.
- Download copies of any you wish to keep offline.
- Delete your own photos via Profile → Photos → Your Photos.
- Remove tags from photos posted by others using “Report/Remove Tag.”
- Report violating content and audit app permissions for added security.
Take Charge of Your Digital Presence Today
Your online image is shaped by more than your words—it’s defined by what you allow to remain visible. Removing photos from Facebook isn’t just about cleaning up your timeline; it’s about reclaiming control over your personal narrative. With the tools and strategies outlined here, you can act decisively, protect your privacy, and maintain a digital presence that reflects who you are now—not who you were years ago. Start today: review one album, remove one tag, secure one setting. Small actions lead to lasting digital freedom.


 浙公网安备
33010002000092号
浙公网安备
33010002000092号 浙B2-20120091-4
Comments
No comments yet. Why don't you start the discussion?