
3D printed models bring a unique blend of artistry and engineering into homes, offices, and collections. Among the most popular are intricate figures like Godzilla—iconic, detailed, and often painstakingly printed over hours or even days. However, once your model is off the build plate, dust, fingerprints, and residual printing debris can dull its presence. Cleaning it improperly risks warping, cracking, or losing fine textures. This guide delivers a comprehensive, step-by-step approach to cleaning your 3D printed Godzilla model safely, preserving both its structural integrity and visual impact.
Understanding Your Model’s Material
The first rule of safe cleaning: know what you're working with. Most consumer-grade 3D printed models use one of three materials—PLA, ABS, or resin—each with distinct properties and vulnerabilities.
- PLA (Polylactic Acid): Biodegradable, easy to print, but sensitive to heat and certain solvents. It’s rigid but can become brittle over time.
- ABS (Acrylonitrile Butadiene Styrene): Tougher than PLA and more heat-resistant, but prone to warping if exposed to high temperatures during cleaning.
- Resin (Photopolymer): Used in SLA/DLP printers, offers ultra-fine detail but requires careful post-processing. Uncured resin is toxic, and cured prints can degrade under UV exposure or harsh chemicals.
Cleaning methods must align with these material traits. Using isopropyl alcohol on a PLA model might not cause immediate damage, but repeated exposure weakens layer adhesion. Similarly, soaking an unpainted resin model in water for too long can lead to micro-cracking.
“Many collectors ruin their prints within weeks because they treat all 3D models the same. The material defines the method.” — Dr. Lena Torres, Additive Manufacturing Researcher at MIT
Essential Tools and Supplies
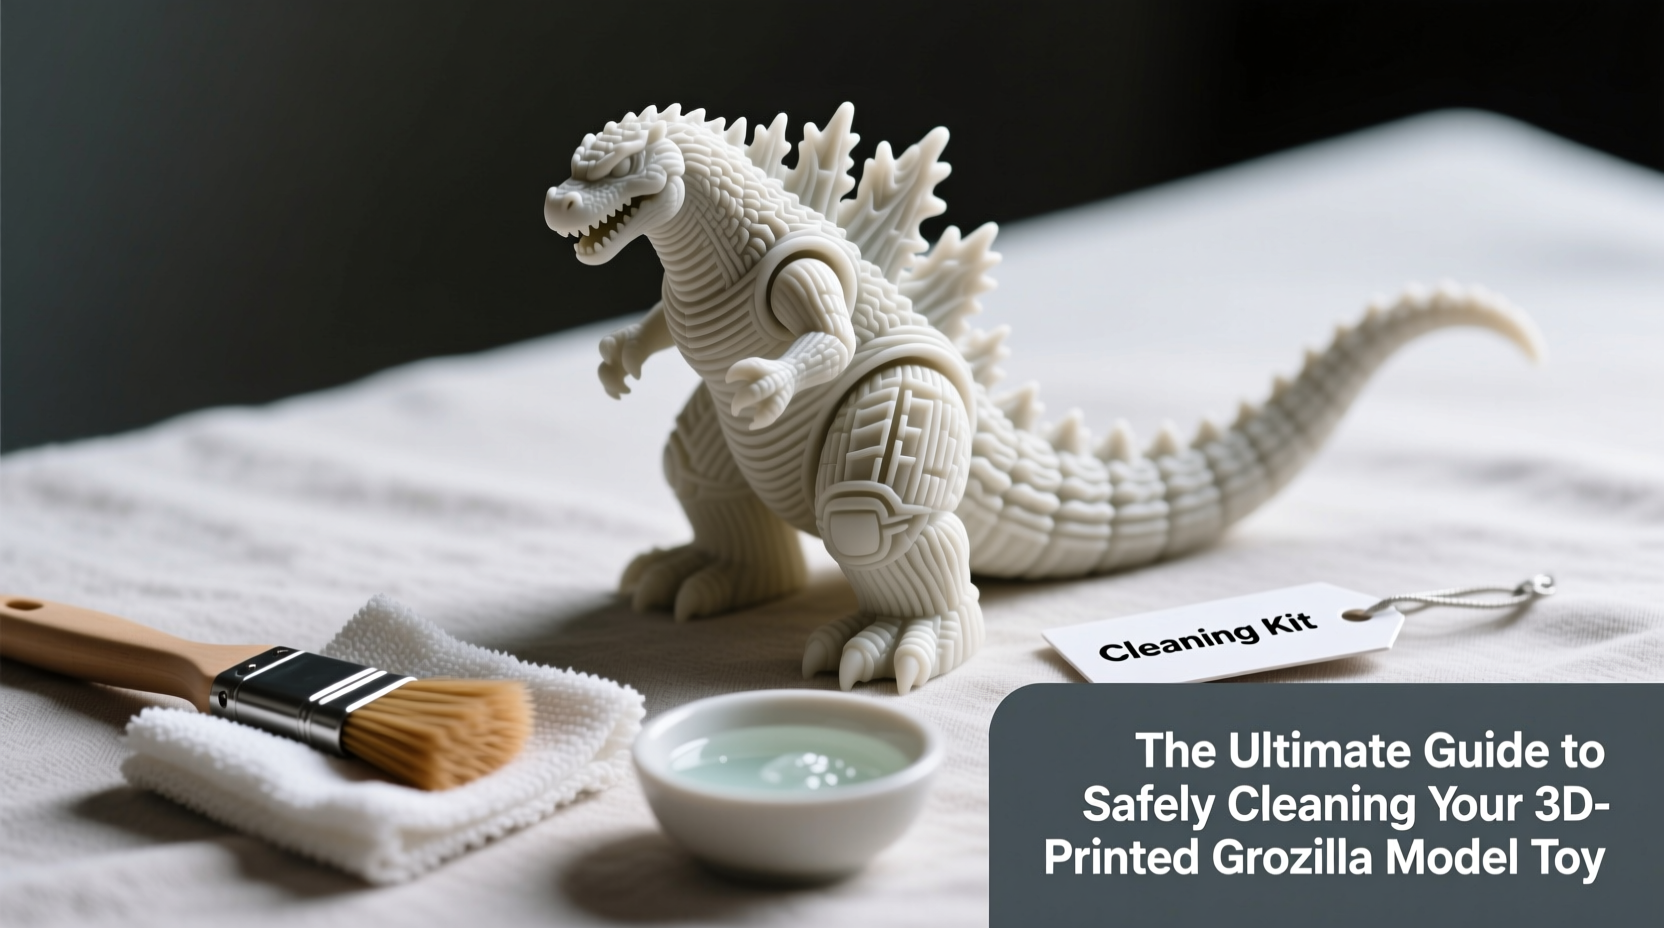
Before beginning, gather the right tools. Avoid household cleaners or abrasive cloths. Instead, use precision instruments designed for delicate objects.
| Tool/Supply | Use Case | Material Suitability |
|---|---|---|
| Soft-bristle brush (e.g., makeup or paintbrush) | Removing dust from crevices | All materials |
| Microfiber cloth | Wiping smooth surfaces gently | All materials |
| Compressed air (canned) | Blowing out embedded dust | All, but avoid excessive pressure |
| Isopropyl alcohol (70% or less) | Spot cleaning resin prints (if fully cured) | Resin only; avoid on PLA/ABS |
| Distilled water + mild dish soap | Hand-washing non-resin models | PLA, ABS (not resin unless sealed) |
| Tweezers or dental picks | Removing stubborn support fragments | All (use with care) |
Step-by-Step Cleaning Process
Cleaning a 3D printed model isn’t just about wiping it down. It’s a sequence of stages tailored to remove debris while protecting fragile parts like claws, spines, and facial features.
- Dry Dusting (All Models): Start with a soft brush or compressed air. Hold the can upright and spray in short bursts from 6–8 inches away. Focus on ridges along the back, between toes, and around the jawline where dust accumulates.
- Inspect for Residue: Look closely for leftover support structures or stringing. Use tweezers or a dental pick at a shallow angle to lift fragments without gouging the surface.
- Surface Wipe (Non-Resin Models): Dampen a microfiber cloth with distilled water mixed with one drop of mild dish soap. Gently wipe larger flat areas like the torso or limbs. Do not soak the model.
- Rinse and Dry: If washed, rinse briefly under lukewarm running water (avoid high pressure). Pat dry immediately with a clean microfiber cloth, then air-dry for 2–3 hours in a dust-free area.
- Resin-Specific Care: For resin models, ensure full curing before handling. Spot-clean with 70% isopropyl alcohol using a cotton swab. Never submerge unless the model is fully sealed with a protective coat.
- Final Detail Check: Once dry, re-examine under bright light. Use a magnifying glass if needed to confirm no moisture remains in deep grooves.
Common Mistakes That Damage Prints
Even well-intentioned cleaning can backfire. These errors are common among new model owners:
- Using tap water: Minerals in tap water can leave spots or accelerate degradation in porous prints.
- Soaking PLA or ABS: Prolonged water exposure causes swelling and delamination.
- Applying household cleaners: Products like Windex or bleach break down plastic polymers and strip color.
- Scrubbing with stiff brushes: Nylon or metal bristles scratch surfaces and blur fine details.
- Ignoring ventilation when using alcohol: IPA fumes are flammable and harmful in enclosed spaces.
“We had a client mail in a discolored Godzilla print thinking it was defective. It turned out they’d cleaned it with window cleaner. One swipe erased months of work.” — Marco Lin, Owner of PrintRevive Restoration Lab
Care Checklist for Long-Term Preservation
To keep your 3D printed Godzilla looking museum-quality, follow this monthly maintenance checklist:
- ✅ Inspect for dust accumulation in joints and spine segments
- ✅ Use compressed air or soft brush to remove loose particles
- ✅ Check base or stand for stability and debris
- ✅ Wipe base platform with damp microfiber cloth (if non-print part)
- ✅ Store in display case or cover when not in use
- ✅ Avoid direct sunlight to prevent UV fading and warping
- ✅ Reapply matte sealant every 6–12 months if painted
Real Example: Restoring a Neglected Print
James, a hobbyist from Portland, received a large-scale Godzilla model as a gift. After displaying it on a windowsill for two months, he noticed yellowing on the left side and a chalky film across the chest. He assumed it was mold. Upon inspection, we determined the discoloration came from UV exposure, and the film was oxidized dust combined with fingerprint oils.
The restoration process began with dry brushing using a zero-residue nylon brush. We followed with a distilled water bath (for the PLA body) and spot-treated the discolored areas with a UV-neutralizing polish suitable for plastics. After drying, James applied a UV-resistant matte sealant. The model regained its original depth, and now resides in a shadow box away from direct light. His mistake was common—but entirely preventable with proper placement and routine care.
Frequently Asked Questions
Can I use a dishwasher or ultrasonic cleaner?
No. Dishwashers expose prints to high heat and strong detergents that cause warping and layer separation. Ultrasonic cleaners, while effective for metal parts, can fracture delicate 3D printed features due to vibration intensity.
How do I clean painted 3D prints?
Avoid water entirely. Use a dry microfiber cloth or a specialized display duster. If necessary, lightly dampen a corner of the cloth with distilled water and dab—not rub—the area. Always test on a hidden section first.
What should I do if my model gets sticky?
A sticky surface usually indicates uncured resin residue. For resin prints, rinse with isopropyl alcohol and re-cure under UV light for 10–15 minutes. For non-resin models, stickiness may come from environmental pollutants—wipe gently with a barely damp microfiber cloth and allow to air dry.
Final Thoughts
Your 3D printed Godzilla is more than a toy—it’s a testament to design, patience, and craftsmanship. Whether it took 10 hours or 40 to print, its value lies not just in creation but in preservation. By following material-specific cleaning practices, avoiding common pitfalls, and performing regular maintenance, you ensure that your model remains a centerpiece for years to come.


 浙公网安备
33010002000092号
浙公网安备
33010002000092号 浙B2-20120091-4
Comments
No comments yet. Why don't you start the discussion?