
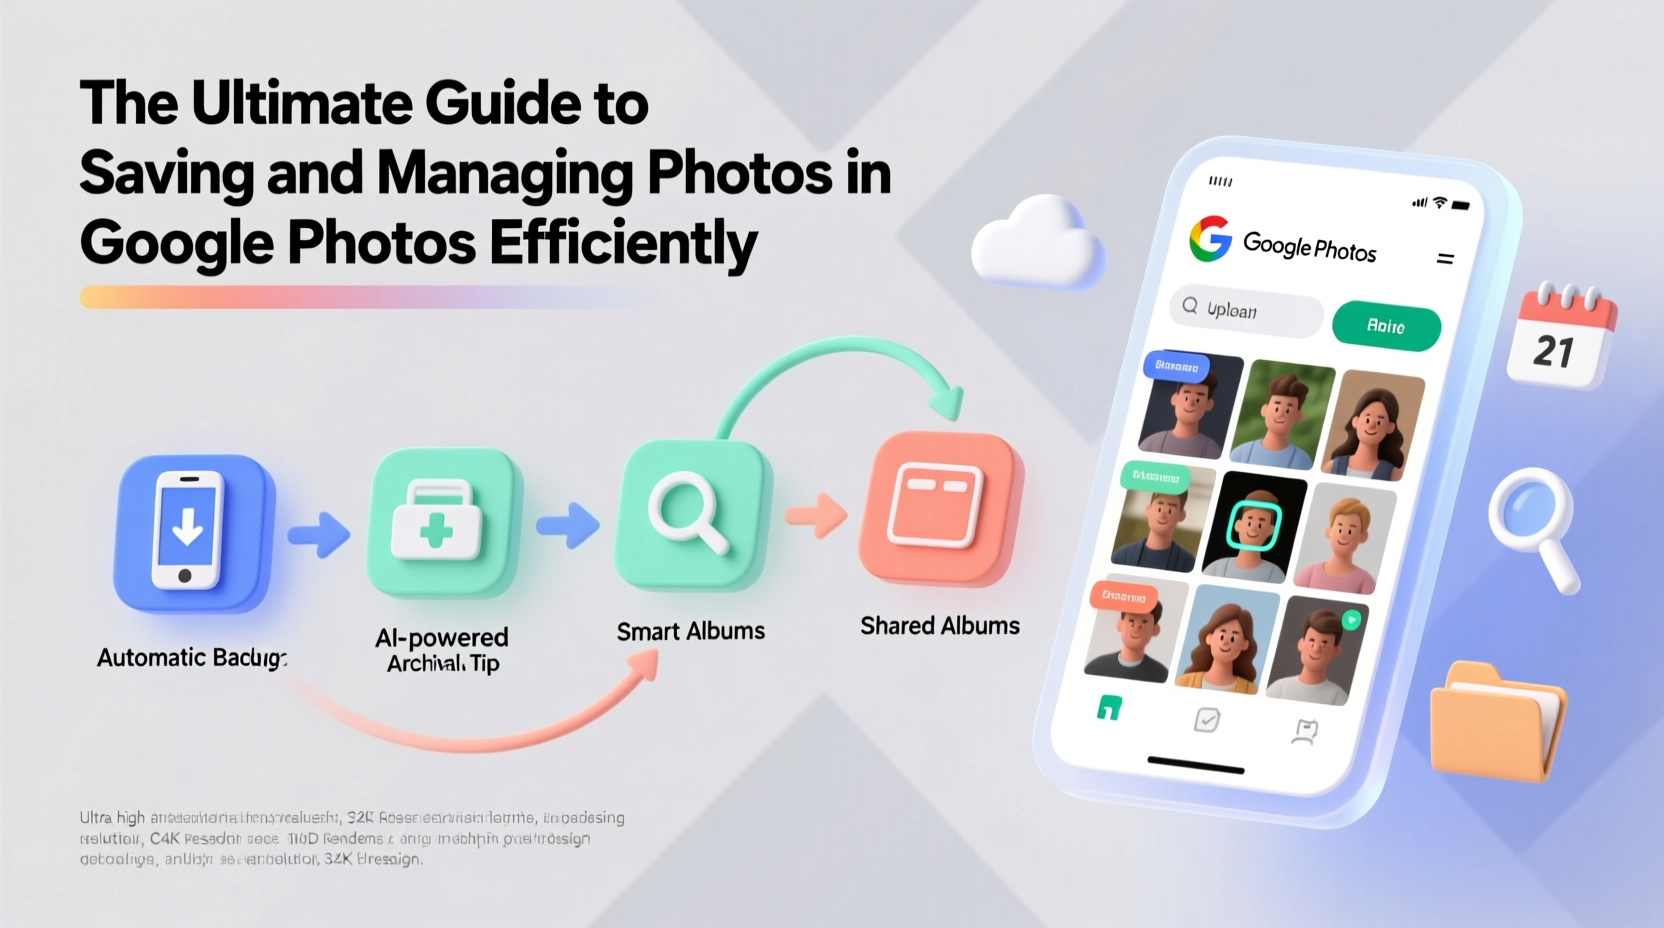
In an era where we capture thousands of moments annually—from family gatherings to scenic travels—managing digital photos has become as essential as taking them. Google Photos offers a powerful, cloud-based solution for storing, organizing, and retrieving images across devices. But without a deliberate strategy, even the best tools can become cluttered and inefficient. This guide walks through proven methods to save, categorize, and manage your photo library so it remains fast, searchable, and secure.
1. Optimize Your Backup Settings for Efficiency
The foundation of efficient photo management begins at the point of saving. Google Photos automatically backs up images when enabled, but default settings may not suit every user’s needs. Adjusting backup preferences ensures you maintain quality while managing storage use.
By default, Google Photos offers two quality tiers: “High Quality” (now called “Storage saver”) and “Original quality.” The former compresses images slightly to save space, while the latter stores files at full resolution—counting against your Google Account storage limit.
To adjust backup settings:
- Open the Google Photos app or website.
- Navigate to Settings > Backup & sync.
- Select “Storage saver” for unlimited free backups (as of current policy).
- Enable “Backup over Wi-Fi only” to avoid data usage on mobile.
- Turn on “Charge required” to prevent battery drain during syncs.
For users with large libraries, consider scheduling backups during off-peak hours or overnight charging periods. This prevents interruptions and maintains device performance.
2. Organize Photos with Albums, Labels, and Structure
Google Photos uses AI to group similar images, but manual organization amplifies control and retrieval speed. Creating a consistent system using albums, labels, and naming conventions turns chaos into clarity.
Start by identifying recurring themes: trips, events, family members, pets, or projects. Then create albums accordingly. Avoid overly broad names like “Photos 2024”—instead, use descriptive titles such as “Italy Trip – June 2024” or “Emma’s Graduation – May 15.”
| Purpose | Recommended Format | Avoid |
|---|---|---|
| Travel | Destination – Month Year (e.g., Tokyo – March 2024) | Vague names like “Vacation Pics” |
| Family Events | Event Type – Name – Date (e.g., Birthday – James – Aug 3) | Generic terms like “Party” |
| Projects or Hobbies | Category – Subcategory (e.g., Gardening – Spring Planting) | Overlapping or redundant categories |
Use shared albums strategically. Instead of sending dozens of photos via text, create a shared album and invite family or friends. Contributors can add their own shots, creating a collaborative memory archive.
“Organization isn’t about perfection—it’s about intention. A well-labeled album saves more time than you realize when searching years later.” — Lena Park, Digital Archivist & Tech Educator
3. Leverage Search and AI Features for Instant Retrieval
One of Google Photos’ strongest advantages is its intelligent search capability. Thanks to machine learning, you can find photos by people, pets, places, objects, dates, and even colors—without tagging anything manually.
Try typing keywords like “beach,” “dog,” “birthday cake,” or “mountains” into the search bar. Google Photos scans image content and returns relevant results instantly. You can also search by date ranges (“June 2023”), locations (“Paris”), or combinations (“Mom and beach”).
For better accuracy, ensure face grouping is enabled:
- Go to Settings > Group similar faces.
- Review and confirm detected faces under the “People & Pets” section.
- Name individuals to improve future recognition.
Real Example: Finding Lost Memories
Sarah hadn’t seen a photo of her late grandfather in years. She remembered he was wearing a blue sweater at a winter gathering, but couldn’t recall the year. Instead of scrolling for hours, she typed “grandpa blue sweater winter” into Google Photos. Within seconds, three matching images appeared—one from December 2019. The AI recognized facial features, clothing color, and seasonal cues to deliver precise results.
4. Maintain a Clean, Clutter-Free Library
Over time, duplicates, screenshots, and blurry test shots accumulate. These unnecessary files bloat your library and slow down searches. Regular cleanup keeps Google Photos running smoothly.
Begin by reviewing these categories:
- Duplicate images (common after multiple device backups)
- Screenshots (often irrelevant long-term)
- Blurred or misframed photos
- Temporary files (scanned documents, QR codes)
Use the “Assistant” tab in the app to identify suggested cleanups. Google often flags duplicates or bundles of screenshots for quick deletion.
Step-by-Step Monthly Cleanup Routine
- Open Google Photos and tap the Assistant icon.
- Review suggestions: delete duplicate clusters or outdated screenshot batches.
- Search “screenshots” and sort by oldest first—archive or delete non-essential ones.
- Check the “Trash” folder and permanently remove items older than 30 days.
- Run a search for “blurry” to detect low-quality images.
5. Protect Privacy and Ensure Long-Term Access
While convenience is key, security and longevity matter just as much. Google Photos is generally secure, but users should take proactive steps to safeguard personal data.
First, review who has access to your shared albums. Remove inactive members or those who no longer need viewing rights. Second, enable two-factor authentication (2FA) on your Google account to prevent unauthorized access.
Consider downloading a local copy of your entire library annually. Despite cloud reliability, hardware failures, account breaches, or policy changes can happen. Google Takeout allows full export of your photos and videos in customizable formats.
Essential Security Checklist
- ✅ Enable two-factor authentication on your Google account
- ✅ Review shared album permissions monthly
- ✅ Avoid public sharing links with “Anyone with the link” unless necessary
- ✅ Use strong, unique passwords for your primary email account
- ✅ Download annual backups using Google Takeout
Frequently Asked Questions
Does Google Photos compress my photos?
Yes, if you choose “Storage saver” mode, photos are optimized for web viewing with minimal visible loss. Original quality uploads remain uncompressed but count toward your Google storage quota (15 GB free across Gmail, Drive, and Photos).
Can I recover deleted photos?
Deleted photos go to the Trash folder and stay there for 30 days before permanent removal. During that window, you can restore any file from Trash > Restore. After 30 days, recovery is only possible from a prior backup (e.g., Google Takeout export).
How do I stop automatic backups from a specific folder?
In the Google Photos app, go to Settings > Backup & sync > Manage Device Folders. Toggle off any folders you don’t want backed up (e.g., Downloads, WhatsApp Images).
Conclusion
Efficient photo management isn’t about doing more—it’s about working smarter with the tools already at your fingertips. By optimizing backup settings, organizing with purpose, leveraging AI-powered search, cleaning regularly, and protecting your data, Google Photos becomes more than a storage bin. It transforms into a living, accessible archive of your life’s most meaningful moments.


 浙公网安备
33010002000092号
浙公网安备
33010002000092号 浙B2-20120091-4
Comments
No comments yet. Why don't you start the discussion?