
Mounting a wall clock might seem like a simple task—drill a hole, insert a screw, hang the clock. But over time, even small clocks can tilt, wobble, or fall if not properly secured. The right approach depends on your wall material, clock weight, and placement. Whether you're dealing with drywall in a modern apartment or solid brick in an older home, understanding how to anchor your clock correctly ensures both safety and precision. This comprehensive guide breaks down everything you need to know to mount a wall clock securely—no guesswork, no damage, just lasting results.
Choosing the Right Tools and Hardware
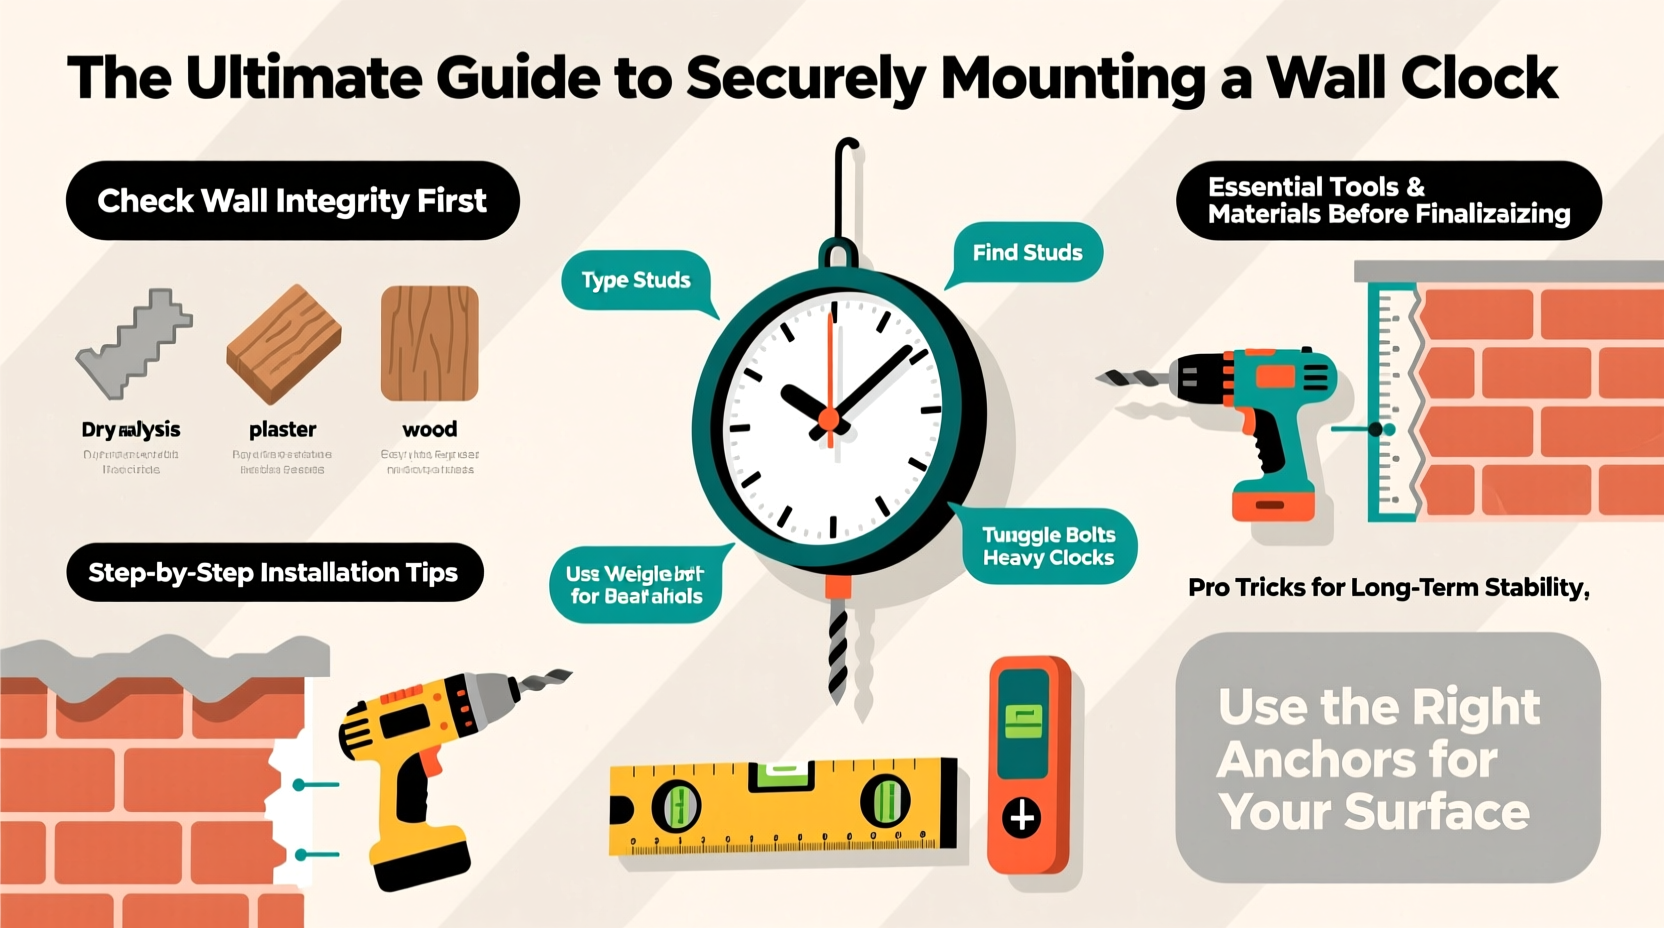
The foundation of a secure wall clock installation begins with selecting appropriate tools and fasteners. Using the wrong anchor or screw can lead to cracks, instability, or even wall damage. Start by assessing your clock’s weight and the type of hanging mechanism it uses—most clocks come with a keyhole slot, hook, or wire hanger.
Essential tools include:
- Digital level (for precise alignment)
- Tape measure
- Pencil (light marks are easier to fix if needed)
- Drill or screwdriver (depending on wall type)
- Stud finder (especially for heavier clocks)
- Wall anchors (type varies by surface)
Matching Anchors to Wall Types
Not all walls are created equal. Drywall may look solid but offers minimal support without proper anchoring. Plaster is dense but brittle. Tile and brick require specialized bits. Here’s how to match your mounting method to your wall type:
| Wall Type | Best Anchor Type | Recommended Drill Bit | Max Weight Capacity |
|---|---|---|---|
| Drywall | Toggle bolt or spiral anchor | 1/8”–3/16” | 30–50 lbs |
| Plaster over Lath | Molly bolt or plastic expansion anchor | 3/16” masonry bit | 25–40 lbs |
| Concrete or Brick | Sleeve anchor or plastic wall plug | Carbide-tipped masonry bit | 50+ lbs |
| Ceramic or Porcelain Tile | Plastic anchor with pilot hole | Tile-specific carbide bit | 15–20 lbs |
| Wood Paneling or Studs | Wood screw (direct drive) | Brad point bit | Depends on screw length |
“Over 70% of wall-mounted failures occur due to mismatched anchors. Always verify wall composition before drilling.” — James Reed, Residential Handyman Consultant
Step-by-Step Guide to Secure Clock Installation
Follow this sequence to ensure your wall clock remains level, stable, and damage-free for years:
- Determine clock weight: Check manufacturer specs or weigh it yourself. This dictates anchor choice.
- Locate studs or assess wall material: Use a stud finder. If mounting between studs, plan for anchors.
- Mark the mounting point: Hold the clock at desired height (eye level is ideal, ~57–60 inches from floor). Use a level to mark the exact spot.
- Pre-drill the hole: Select the correct drill bit size for your anchor. For tile or brick, apply light pressure and use water to cool the bit and prevent cracking.
- Insert the anchor: Tap plastic anchors gently with a hammer. For toggle bolts, feed the wings through the hole.
- Screw in the fastener: Drive the screw partway so the clock’s hanger can slide on easily.
- Hang and level: Place the clock on the screw or hook. Use a mini level across the top edge to confirm alignment.
- Test stability: Gently tug downward to ensure no movement. Adjust if necessary.
Avoiding Common Mounting Mistakes
Even experienced DIYers make avoidable errors when hanging wall decor. These missteps compromise both aesthetics and safety:
- Using standard screws in drywall: Without anchors, screws pull out under minimal stress.
- Skipping the level: A slightly tilted clock distracts the eye and suggests poor craftsmanship.
- Drilling into tile too fast: High speed generates heat, causing tiles to crack. Go slow and steady.
- Ignoring stud placement: Heavy clocks should ideally be mounted directly into wood studs (typically spaced 16” apart).
- Over-tightening screws: Can strip anchors or crack surrounding material, especially in plaster or tile.
“I once had a client whose antique clock fell at 3 a.m., shattering the glass face. It was hung with a single drywall screw. A $2 anchor would have prevented that loss.” — Lena Torres, Interior Installation Specialist
Real-World Example: Installing a 10-Pound Pendulum Clock in a Historic Home
Sarah, a homeowner in a 1920s bungalow, wanted to install a vintage pendulum clock in her dining room. The walls were plaster over wooden lath—a common but fragile setup. She assumed drywall anchors would work, but after two attempts, the plaster cracked around the holes.
She consulted a local handyman who recommended molly bolts. These expand behind the plaster, distributing weight across a wider area. Using a masonry bit, he drilled pilot holes, inserted the molly bolts, and tightened the screws until the collar pulled flush. The clock has remained perfectly level for over three years, with no signs of loosening.
This case highlights the importance of matching hardware to wall integrity, not just surface appearance.
Checklist: Secure Wall Clock Installation
Before you begin, run through this checklist to ensure success:
- ✅ Weigh the clock or check manufacturer specifications
- ✅ Identify wall type (drywall, plaster, tile, etc.)
- ✅ Choose appropriate anchor and screw combination
- ✅ Locate studs using a reliable stud finder
- ✅ Mark the mounting point at eye level (57–60 inches from floor)
- ✅ Use a level to ensure accuracy
- ✅ Pre-drill hole with correct-sized bit
- ✅ Insert anchor securely without damaging surrounding wall
- ✅ Hang clock and double-check alignment
- ✅ Perform a gentle tug test to confirm stability
Frequently Asked Questions
Can I hang a wall clock without making holes?
Yes, for lightweight clocks (under 5 lbs), adhesive hooks rated for the weight can work. However, they’re less reliable over time, especially in humid environments or on textured walls. For long-term installations, mechanical fasteners are always preferable.
What if I can’t find a stud? Is an anchor enough?
Absolutely. Quality anchors like toggle bolts or molly bolts provide excellent holding power in hollow walls. Just ensure the anchor is rated for at least twice the clock’s weight to account for dynamic forces like vibrations.
How high should I hang a wall clock?
The standard recommendation is centering the clock at eye level—approximately 57 to 60 inches from the floor. In rooms with varied seating heights (like kitchens or offices), adjust slightly higher for optimal visibility.
Final Thoughts: Precision, Safety, and Longevity
A wall clock is more than a timekeeper—it’s a functional piece of decor that contributes to the rhythm and aesthetic of a space. Installing it securely isn’t just about preventing accidents; it’s about respecting craftsmanship and ensuring longevity. By choosing the right tools, understanding your wall type, and following a disciplined process, you protect both your investment and your walls.


 浙公网安备
33010002000092号
浙公网安备
33010002000092号 浙B2-20120091-4
Comments
No comments yet. Why don't you start the discussion?