
Artificial nail tips offer a quick and elegant way to achieve long, polished nails without waiting for natural growth. But no matter how beautiful the design or how expertly applied, poorly sized tips will lift, gap, or break—ruining both appearance and durability. The key to a professional-looking result lies in precision: matching each tip to your natural nail bed with accuracy. This guide breaks down the science and art of sizing, helping you avoid common mistakes and achieve a seamless, comfortable, and long-lasting manicure.
Understanding Nail Tip Sizing Systems
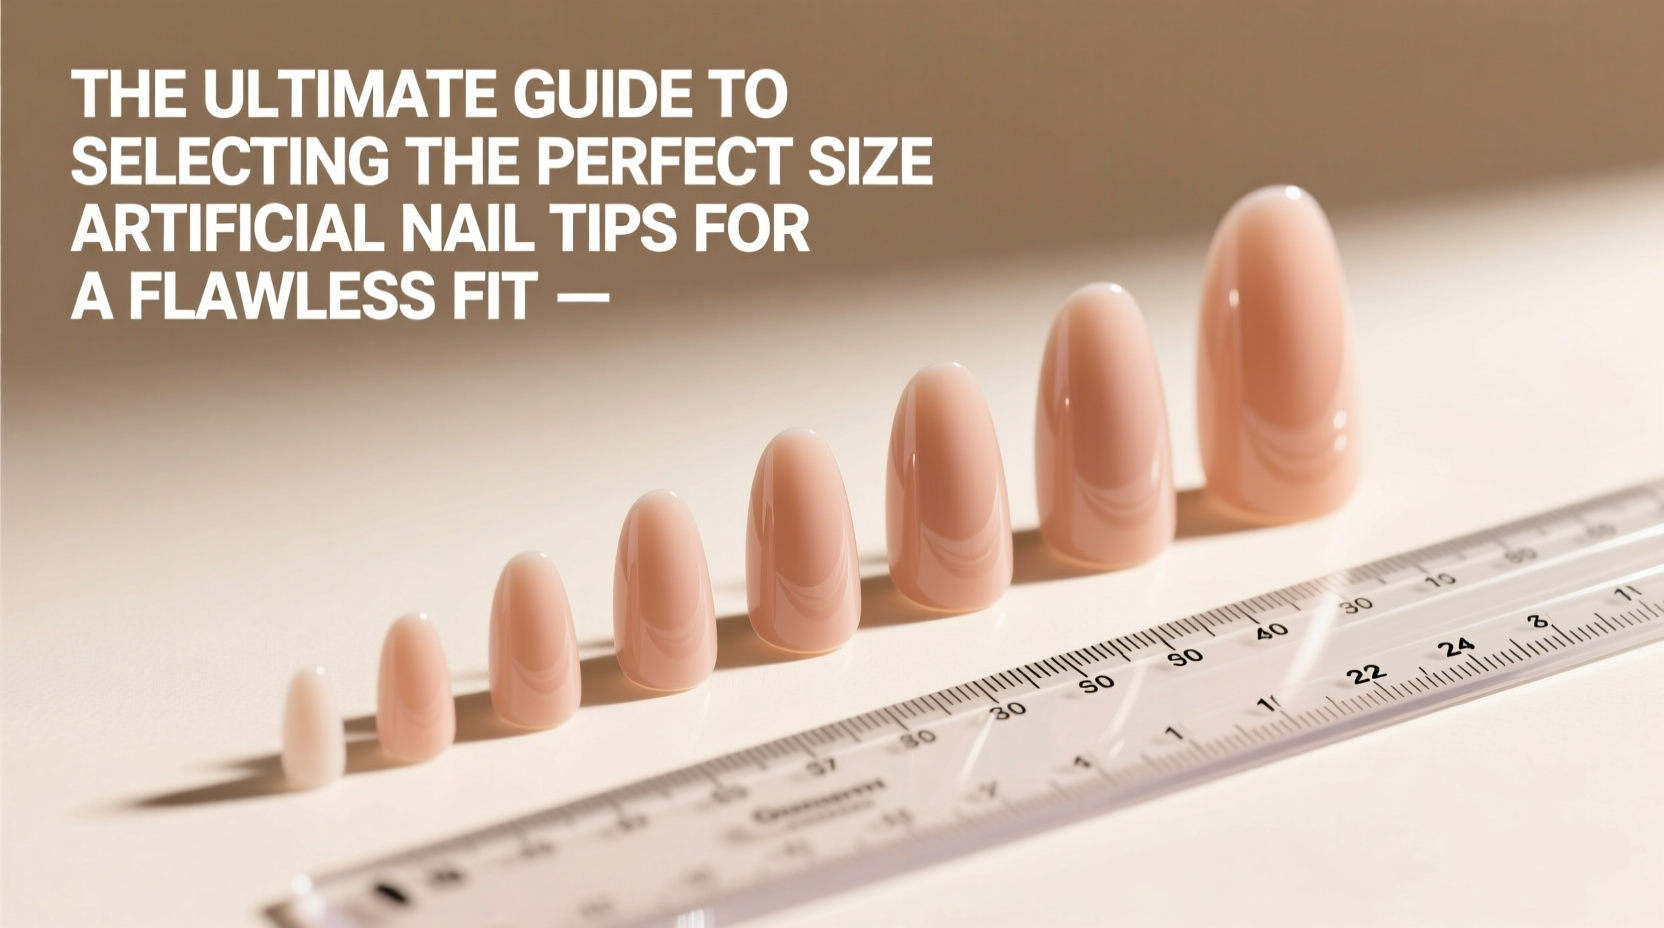
Nail tips come in standardized sizes, typically ranging from 0 (extra small) to 14 (extra large), though some brands use XS to XL labeling. These numbers refer to width, not length, and are designed to mirror the natural curve and base width of human fingernails. However, there is no universal standard across manufacturers, meaning a size 6 from Brand A may differ slightly from a size 6 from Brand B.
The shape of your natural nail also influences fit. Tips are generally categorized into three main shapes: square, squoval, and almond. Choosing the right shape that mirrors your nail bed increases surface contact and adhesion strength.
How to Measure Your Natural Nail Bed Accurately
Accurate measurement is the foundation of a flawless fit. Use a soft measuring tape or a digital caliper to measure the width of your nail at its widest point—the base near the cuticle. Alternatively, use a ruler with millimeter markings for a close approximation.
Record the measurements for all ten fingers. You’ll likely find variation—not only between fingers but even between corresponding fingers on opposite hands. For example, your dominant hand’s ring finger might be wider than the other due to frequent use.
| Nail Width (mm) | Common Tip Size | Typical Finger Fit |
|---|---|---|
| 8–10 mm | 0–3 (XS–S) | Pinky, sometimes ring finger |
| 11–13 mm | 4–6 (M) | Ring, middle, index |
| 14–16 mm | 7–9 (L) | Middle, index (larger hands) |
| 17+ mm | 10–14 (XL) | Thumb, occasionally index |
“Most lifting issues stem from incorrect sizing, not poor glue quality. A well-fitted tip adheres better and lasts longer.” — Lila Nguyen, Master Nail Technician & Educator
The Importance of Curve Matching and Surface Contact
Width isn’t the only factor—curve matching determines how flush the tip sits against your natural nail. Tips have a C-curve (the arch from free edge to base) and an S-curve (side-to-side contour). If the tip’s curve doesn’t match your nail’s natural arc, gaps form along the sides or center, creating entry points for moisture and bacteria.
To test fit, place the dry tip over your nail without adhesive. Press gently. There should be full contact from side wall to side wall and no visible light passing underneath. If the tip rocks or lifts at the sides, it’s too narrow or incorrectly curved. If it presses into your cuticle, it’s too long or too flat.
Step-by-Step Guide to Fitting Artificial Nail Tips
Follow this sequence to ensure optimal sizing and placement:
- Clean and prep nails: Remove oils, lotions, and old polish using acetone-free wipes or nail prep solution.
- Push back cuticles: Create a clear workspace by gently pushing cuticles back.
- Select candidate tips: Lay out 2–3 potential sizes per finger based on prior measurements.
- Dry-fit each tip: Place without glue, checking for full surface contact and no overhang.
- Trim if necessary: Use nail tip clippers to shorten length. Never force a long tip to fit.
- File edges: Smooth any sharp corners or mismatched curves with a fine-grit file.
- Apply adhesive: Use a thin layer of nail tip glue on the natural nail or inside the well of the tip.
- Press and hold: Secure the tip for 10–15 seconds until bond sets.
- Final shaping: File the seam between natural nail and tip for a smooth transition.
Avoiding Common Sizing Mistakes
Even experienced users make errors that compromise longevity and comfort. Recognizing these pitfalls helps prevent repeated issues.
- Using one size for all fingers: Each finger has unique proportions. Custom fitting per digit ensures stability.
- Ignoring the thumb: Thumbs are often overlooked but require larger, more robust tips due to frequent use.
- Over-filing the nail bed: Excessive filing weakens the natural nail and reduces adhesion area.
- Choosing style over fit: An oversized stiletto may look dramatic but will lift quickly if improperly anchored.
Mini Case Study: From Lifting to Longevity
Sophia, a freelance designer, loved wearing press-on nails but found they rarely lasted more than two days. After recording her nail widths, she discovered her ring fingers were consistently 11.5 mm—falling between standard sizes. She had been using size 5s, which were slightly too narrow, causing lateral gaps. Switching to size 6s from a brand known for true-to-size measurements eliminated lifting. With proper prep and precise fitting, her manicures now last seven to ten days with minimal maintenance.
Checklist for Perfect Nail Tip Selection
Use this checklist before every application:
- ✅ Clean and dry natural nails thoroughly
- ✅ Measure each nail width individually
- ✅ Select 2–3 size options per finger for testing
- ✅ Dry-fit all tips before gluing
- ✅ Confirm full surface contact with no gaps
- ✅ Trim length to match natural nail extension preference
- ✅ File seam smoothly post-application
- ✅ Avoid water exposure for first hour after application
Frequently Asked Questions
Can I reuse nail tips if I remove them carefully?
Yes, if the glue residue is fully removed and the well of the tip is intact. However, reused tips may lose some adhesion strength. Store them in a labeled case by size for future use.
Why do my tips keep lifting at the sides?
Lifting at the sides usually indicates the tip is too narrow or the curve doesn’t match your nail. It can also result from inadequate prep—oil or moisture trapped under the tip prevents bonding.
Should I size up or down if I’m between sizes?
Always lean toward the smaller size. A slightly narrow tip can be adjusted with careful filing and adhesive buildup. An oversized tip cannot be made smaller without compromising structure and will create pressure points.
Final Thoughts: Precision Equals Perfection
A flawless artificial nail application isn’t just about color or length—it starts with the foundation: fit. Taking the time to accurately assess your nail dimensions, test for curve compatibility, and select the correct size pays off in durability, comfort, and aesthetics. Whether you're a beginner or a seasoned user, refining your approach to sizing transforms temporary enhancements into salon-quality results that last.


 浙公网安备
33010002000092号
浙公网安备
33010002000092号 浙B2-20120091-4
Comments
No comments yet. Why don't you start the discussion?