
A well-built fence enhances privacy, defines property lines, and adds value to your home. But no matter how attractive the design or high-quality the fencing material, everything hinges on one critical element: the foundation. That foundation is your fence posts. Poorly set posts lead to leaning, sagging, and premature failure. Proper installation ensures stability, longevity, and resilience against weather, soil movement, and physical stress. This guide walks through every essential step, from planning to curing, so your fence stands strong for decades.
Choose the Right Post Material and Type
The first decision in building a durable fence is selecting the right post material. Each has advantages and limitations depending on climate, budget, and fence type.
- Pressure-treated wood: Most common for residential fences. Resists rot and insects when properly installed. Ideal for picket, privacy, and shadowbox styles.
- Concrete posts: Extremely durable and low-maintenance. Often used in agricultural or commercial settings. More difficult to install but last 50+ years.
- Steel or vinyl posts: Corrosion-resistant and require minimal upkeep. Vinyl is best for matching vinyl panel fences; steel offers unmatched strength for chain-link.
“Eighty percent of fence failures start at the base. If the post rots or shifts, the entire structure is compromised.” — Dale Reynolds, Professional Fencing Contractor with 25 years of experience
Determine Depth, Spacing, and Layout
Before digging, plan your layout carefully. Incorrect spacing or depth undermines even the best materials.
As a rule, fence posts should be buried at least **1/3 to 1/2 of their above-ground height**, plus an additional 6 inches for gravel drainage. For a standard 6-foot-tall fence, that means an 8-foot post set 2.5 to 3 feet deep.
| Fence Height | Post Length | Hole Depth | Spacing Between Posts |
|---|---|---|---|
| 4 ft | 6–7 ft | 24–30 in | 6–8 ft |
| 6 ft | 8–9 ft | 30–36 in | 6–8 ft |
| 8 ft | 10–11 ft | 36–42 in | 6–8 ft |
Spacing depends on panel type. Pre-built panels typically span 6 to 8 feet, so posts must align precisely. Use a string line and measuring tape to mark each location. Check local codes—some areas require setbacks from property lines or utility easements.
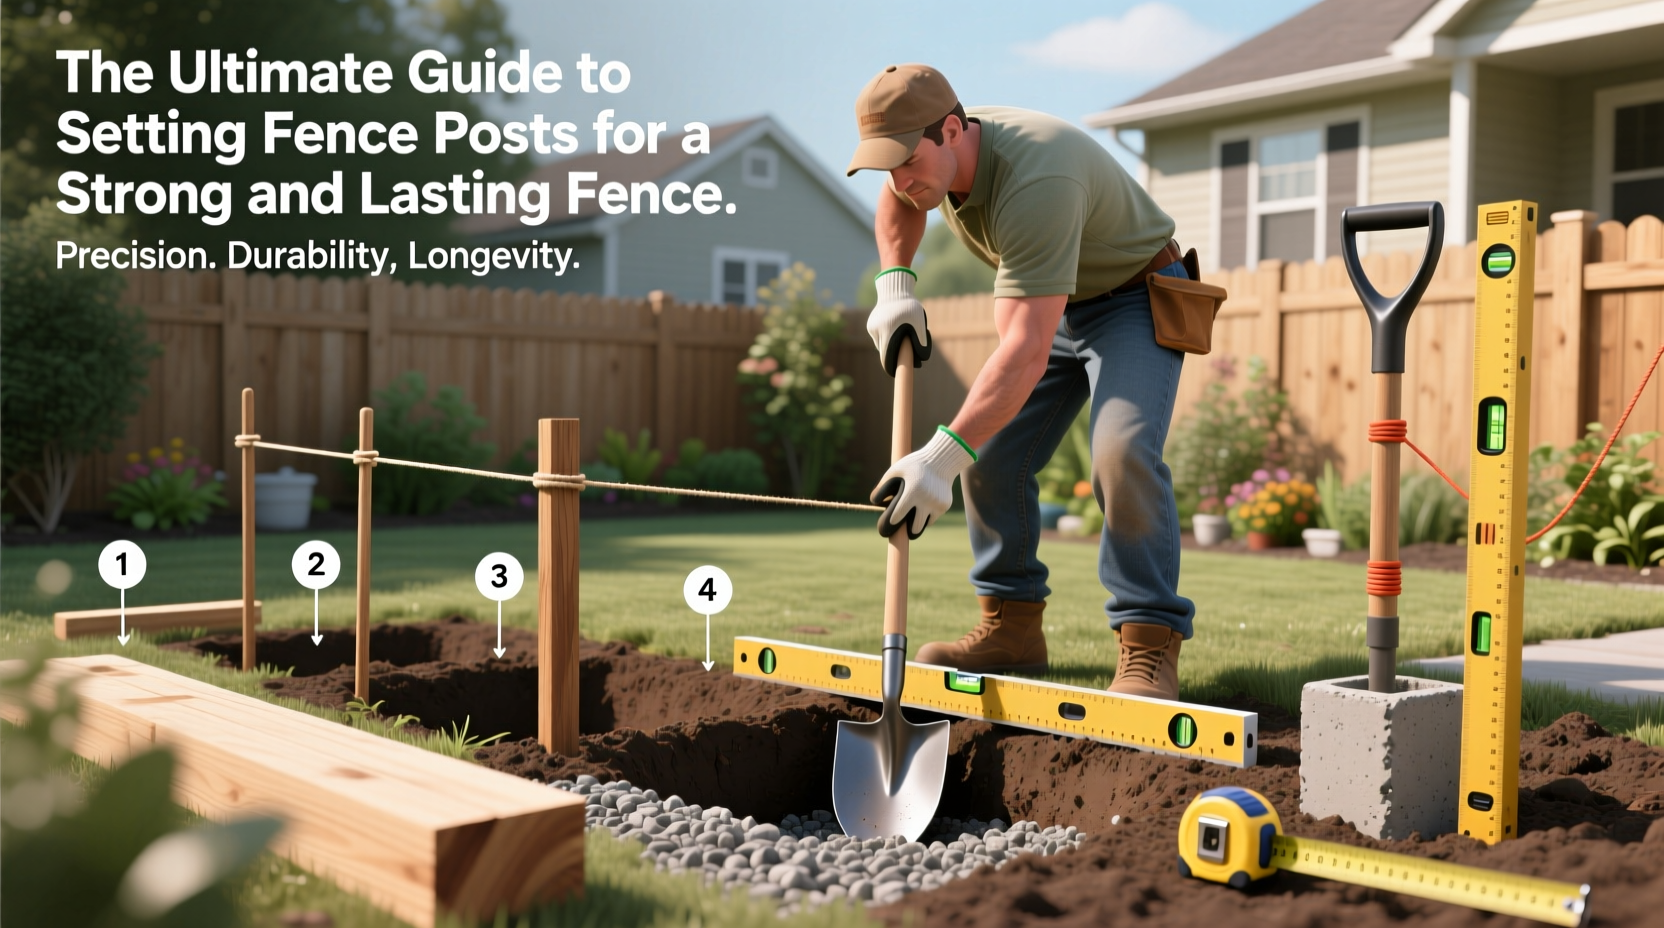
Step-by-Step Guide to Setting Fence Posts
Follow this sequence for consistently solid installations:
- Mark locations: Use stakes and spray paint to outline post positions. Double-check measurements and square corners using the 3-4-5 triangle method.
- Dig holes: Use a power auger for speed or a manual post hole digger for precision. Make holes 3 times the diameter of the post (e.g., 9–12 inches for a 4x4).
- Add gravel base: Pour 6 inches of crushed stone into each hole. This improves drainage and prevents moisture buildup at the post base.
- Set the post: Place the post in the hole, ensuring it’s plumb in two directions. Brace it with temporary wooden supports.
- Pour concrete: Fill the hole with fast-setting concrete mix, leaving 3–4 inches below grade. Slope the top slightly away from the post to shed water.
- Cure properly: Let concrete cure for at least 24–48 hours before attaching rails or panels. Full strength takes up to 28 days.
Common Mistakes and How to Avoid Them
Even experienced DIYers make errors that compromise fence integrity. Here are frequent pitfalls and solutions:
| Mistake | Consequence | Prevention |
|---|---|---|
| Insufficient hole depth | Posts shift in frost or wind | Follow depth guidelines based on height and local frost line |
| No gravel layer | Water pools, accelerating rot | Always add 6” of drainage stone |
| Backfilling with native soil | Settling and poor support | Use concrete, not dirt, around the post |
| Skipping bracing during cure | Posts lean or twist | Secure with cross-braces until fully set |
One often-overlooked factor is soil type. Sandy soil drains well but offers less grip; clay retains water and expands when frozen. In expansive or wet soils, consider using sonotubes (cardboard forms) to create a wider concrete footing that resists uplift.
Real-World Example: A Fence That Lasted 20 Years
In central Ohio, homeowner Linda Carter replaced her neighbor’s chain-link fence after only 7 years due to leaning posts. She opted for a wood privacy fence but insisted on professional-grade installation. Her contractor used 8-foot pressure-treated 4x4s, set 36 inches deep in 10-inch-wide holes. Each hole got 6 inches of gravel, followed by 60-pound fast-set concrete bags. Posts were braced for 48 hours, and the tops were sealed with waterproofing compound.
Twenty years later, the fence remains straight and stable. “We’ve had ice storms, heavy snow, and even a minor tornado touch down nearby,” Linda says. “Not one post has shifted. The key was going deeper and using real concrete—not just dirt or rocks.”
Expert Tips for Long-Term Durability
Beyond correct installation, small upgrades significantly extend post life:
- Seal the base: After concrete cures, apply a liquid flashing or roofing cement where the post meets the concrete to prevent water infiltration.
- Use post anchors: Metal brackets mounted to a concrete footer allow posts to be attached above ground level, eliminating direct soil contact.
- Slope the finish grade: Ensure the ground slopes away from the post to prevent puddling.
- Inspect annually: Look for cracks in concrete, soft wood at the base, or signs of insect damage.
“When in doubt, go deeper. Frost heave destroys more fences than rot. In cold climates, you need to be below the freeze line—every time.” — Mark Tullis, Structural Carpenter and Building Inspector
FAQ
Can I use dirt or rocks instead of concrete?
You can, but it’s not recommended for permanent fences. Soil settles and washes away; rock provides some drainage but little structural support. Concrete offers the best stability and resistance to shifting.
How do I keep posts from rotting at the base?
Use pressure-treated posts rated for ground contact, install them on a gravel bed, ensure proper drainage, and seal the wood-concrete junction. Avoid burying untreated scraps or using cut ends underground.
Do all posts need concrete?
For most wood and vinyl fences, yes. However, in temporary or low-wind areas, metal T-posts or driven rebar may suffice for lightweight wire fences. For anything over 4 feet tall or in windy regions, concrete is essential.
Final Checklist Before You Begin
- ☐ Call 811 to locate underground utilities
- Avoid costly and dangerous line strikes.
- ☐ Buy posts 2 feet longer than needed
- Ensures adequate burial depth.
- ☐ Rent a power auger for more than 5 posts
- Saves time and effort.
- ☐ Use a level and string line for alignment
- Guarantees a straight, professional look.
- ☐ Allow full cure time before loading
- Don’t rush the process—wait at least 24–48 hours.
Conclusion
A strong fence starts long before the first rail is hung—it begins underground. Taking the time to set posts correctly pays dividends in durability, safety, and appearance. Whether you're enclosing a backyard, securing a farm boundary, or adding curb appeal, proper post installation is non-negotiable. Use quality materials, follow depth and drainage best practices, and respect the curing process. Your future self will appreciate a fence that stands tall through seasons of wind, rain, and time.


 浙公网安备
33010002000092号
浙公网安备
33010002000092号 浙B2-20120091-4
Comments
No comments yet. Why don't you start the discussion?