
Taking a screenshot in Windows 7 may seem like a simple task, but knowing the right method can save time, improve productivity, and ensure you capture exactly what you need. Whether you're troubleshooting an error, sharing instructions, or preserving digital memories, Windows 7 offers several built-in and third-party-friendly ways to capture your screen. This guide dives deep into every available option, practical workflows, and expert-backed strategies to help both beginners and advanced users make the most of screenshot functionality.
Understanding Your Screenshot Options in Windows 7
Windows 7 introduced several user-friendly tools that made capturing screen content more accessible than ever before. Unlike earlier versions of Windows, it includes native support for partial captures, clipboard integration, and annotation features through the Snipping Tool. These tools eliminate the need for third-party software in most everyday scenarios.
The primary methods available include:
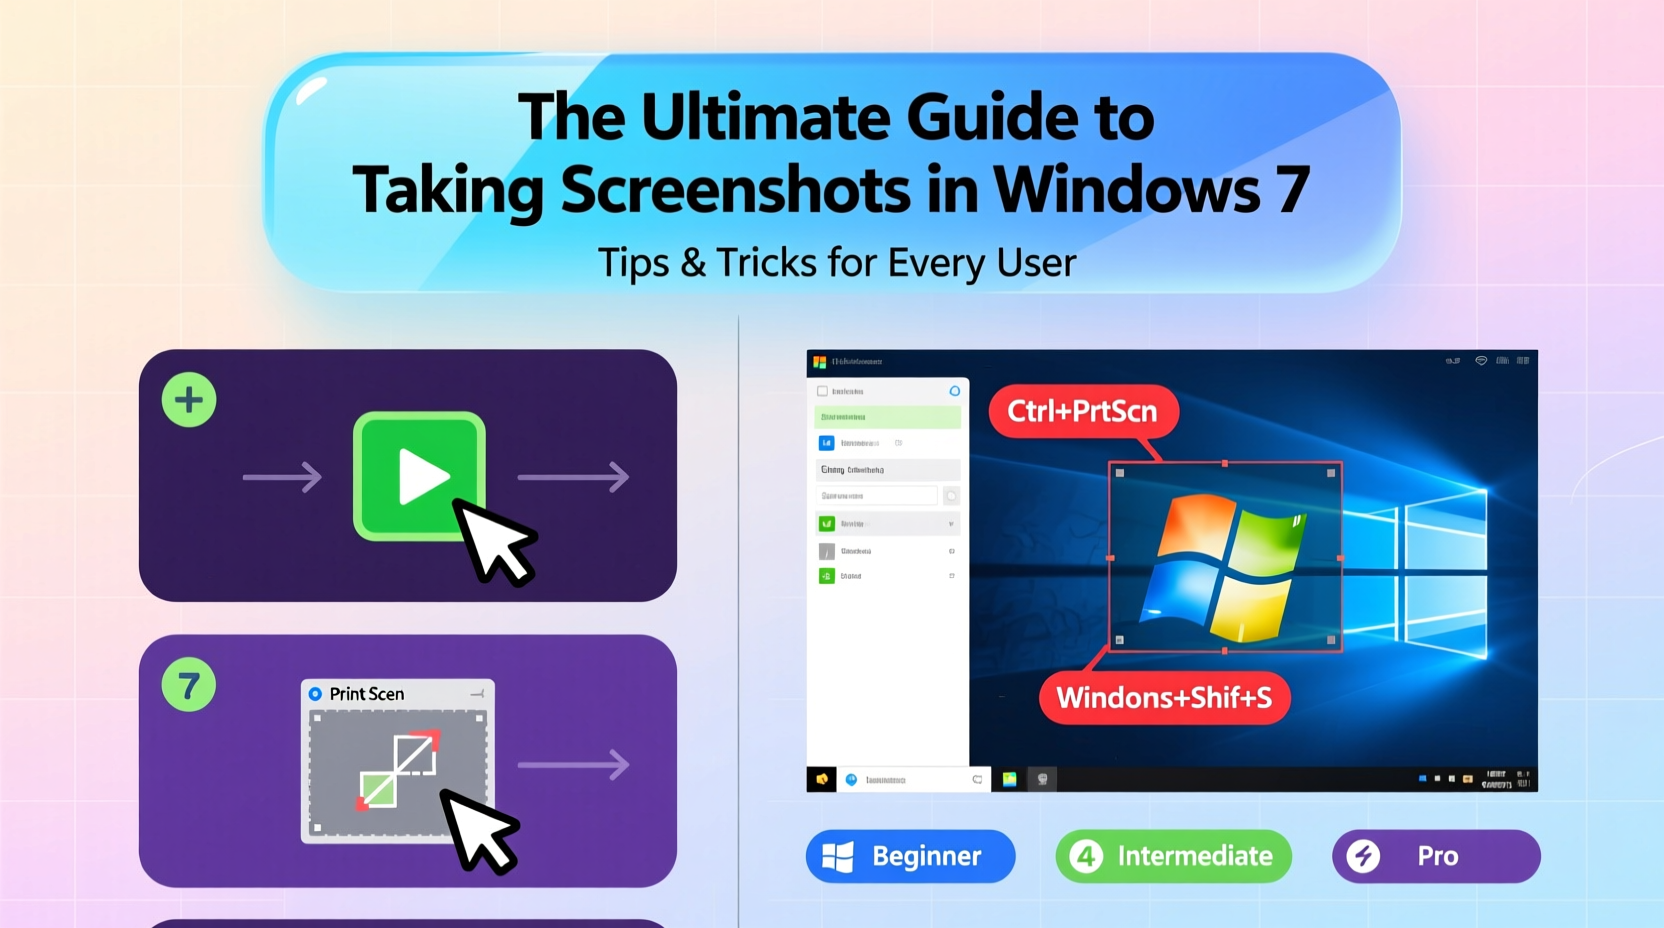
- Using the Print Screen (PrtScn) key for full-screen captures
- Capturing only the active window with Alt + PrtScn
- Leveraging the Snipping Tool for custom region selection
- Saving directly to files using Win + Shift + S (via third-party tools)
- Using command-line scripts for automated captures
Each method serves different purposes depending on context, precision needs, and editing requirements.
Step-by-Step Guide to Using Built-In Tools
1. Capturing the Entire Screen with Print Screen
- Press the PrtScn key (usually located in the top-right section of your keyboard).
- Open an image editor such as Paint, Word, or Photoshop.
- Paste the screenshot using Ctrl + V.
- Edit or crop if needed, then save the file in your preferred format (PNG, JPEG, etc.).
This method copies the entire desktop—including all open windows and the taskbar—to the clipboard. It’s ideal when documenting system-wide issues or showing multiple applications at once.
2. Capturing Only the Active Window
- Click on the window you want to capture to make it active.
- Hold down Alt, then press PrtScn.
- Paste into an image editor and save.
This shortcut is perfect for isolating dialog boxes, browser tabs, or application interfaces without background clutter.
3. Using the Snipping Tool for Precision
- Navigate to Start > All Programs > Accessories > Snipping Tool.
- Click New to activate capture mode.
- Select the type of snip: Free-form, Rectangular, Window, or Full-screen.
- Drag to select the area you want to capture.
- The captured image opens in the Snipping Tool editor, where you can highlight, annotate, or erase parts.
- Click Save As to store the file locally.
The Snipping Tool also allows delayed captures via a timer (accessible through Options), which is useful for capturing hover menus or tooltips.
Advanced Techniques and Hidden Features
While basic shortcuts work well for quick tasks, power users benefit from combining tools and automation for efficiency.
Automate Screenshots with Batch Scripts
You can create a simple script using PowerShell or VBScript to trigger screenshots at intervals or based on events. For example, a batch file calling a small .vbs script can simulate keystrokes to press PrtScn and paste into Notepad or log files—ideal for monitoring processes over time.
Integrating Third-Party Tools
Although Windows 7 lacks modern features like Win + Shift + S (introduced in Windows 10), third-party tools like Greenshot, PicPick, or Lightshot offer similar functionality with added benefits:
- Direct upload to cloud services
- Auto-naming and folder organization
- OCR text extraction from images
- Customizable hotkeys
These tools often integrate directly into the system tray and allow one-click captures with instant editing options.
“Many people don’t realize that even older operating systems like Windows 7 can support near-modern screenshot workflows with lightweight utilities.” — David Lin, IT Support Specialist with 15+ years of enterprise experience
Comparison Table: Screenshot Methods in Windows 7
| Method | Best For | Output Location | Editing Capabilities |
|---|---|---|---|
| PrtScn Key | Full desktop capture | Clipboard only | None (requires external editor) |
| Alt + PrtScn | Single active window | Clipboard only | Limited (paste and crop externally) |
| Snipping Tool | Custom regions, annotations | Editor interface → Manual save | Full (highlight, draw, erase) |
| Third-Party Tools | Frequent use, automation | Local folders, cloud, clipboard | Extensive (effects, upload, OCR) |
Real-World Example: Troubleshooting with Screenshots
Sarah, a remote customer service agent, regularly assists clients running legacy software on Windows 7 machines. When a user reported a recurring error message during login, she guided them through using the Snipping Tool to capture the exact pop-up.
Instead of relying on vague descriptions like “a red box appeared,” Sarah received a clear image showing the error code “0x80070005.” With this visual evidence, she quickly identified a permissions issue and resolved it by adjusting folder access rights. Without the screenshot, diagnosis could have taken hours across multiple calls.
This case highlights how precise visual documentation improves communication, reduces misinterpretation, and speeds up problem-solving—even in outdated environments.
Essential Checklist for Effective Screenshots
- ✅ Close irrelevant programs and desktop icons before capturing
- ✅ Use Alt + PrtScn to isolate application windows cleanly
- ✅ Utilize the Snipping Tool’s delay function for hidden UI elements
- ✅ Save screenshots in PNG format for clarity (especially text-heavy images)
- ✅ Organize saved screenshots in dedicated folders with clear naming (e.g., “Error_Login_2024-04-05.png”)
- ✅ Annotate important areas using arrows or highlights before sharing
- ✅ Consider privacy: blur sensitive data like passwords, account numbers, or personal info
Frequently Asked Questions
Where does the Print Screen button save my screenshot?
The PrtScn key doesn't automatically save a file—it copies the image to the clipboard. You must paste it into an application like Paint, Word, or an email before saving manually.
Can I take a screenshot without using the keyboard?
Yes. Open the Snipping Tool and click “New” to initiate a capture using only the mouse. This is helpful if your keyboard is malfunctioning or inaccessible.
Why does my screenshot look blurry?
Blurriness usually occurs when pasting a high-resolution screen capture into a low-DPI canvas or resizing improperly. To maintain quality, save in PNG format and avoid stretching the image beyond its original dimensions.
Final Thoughts and Next Steps
Mastery of screenshot techniques in Windows 7 isn’t about complexity—it’s about choosing the right tool for the moment and using it efficiently. From simple keyboard shortcuts to leveraging the Snipping Tool’s flexibility, each method has its place in daily computing life. Even though Windows 7 is no longer supported, millions still rely on it in industrial, educational, or home settings. Knowing how to document what appears on screen empowers better communication, faster troubleshooting, and improved digital hygiene.
Now that you’ve learned the full range of options—from basic captures to advanced integrations—apply these skills immediately. Try setting up Greenshot for one-click uploads, practice delayed snips for capturing menus, or teach a colleague how to use Alt + PrtScn. Small habits compound into significant productivity gains.


 浙公网安备
33010002000092号
浙公网安备
33010002000092号 浙B2-20120091-4
Comments
No comments yet. Why don't you start the discussion?