
Epoxy-coated tables have surged in popularity for their stunning, glass-like surfaces that highlight wood grain, encapsulate decorative elements, and provide long-lasting durability. Whether you're sealing a live-edge slab, embedding artwork, or simply enhancing a dining table, achieving a flawless epoxy finish requires precision, patience, and proper technique. Done right, the result is a high-gloss, crystal-clear surface that resists scratches, heat, and moisture. This comprehensive guide walks you through every phase—from preparation to post-cure cleanup—ensuring professional-quality results without costly mistakes.
Understanding Epoxy: Why It’s Ideal for Table Finishes
Epoxy resin is a two-part polymer (resin and hardener) that, when mixed, undergoes a chemical reaction to form a solid, transparent coating. Unlike traditional varnishes or polyurethane, which sit on top of the wood, epoxy penetrates slightly and creates a thick, self-leveling layer that can be poured in depths up to several inches. Its optical clarity mimics glass, making it perfect for showcasing natural wood features like knots, burls, and river inlays.
High-quality table-top epoxies are specifically formulated for deep pours and UV resistance, reducing yellowing over time. They also offer superior adhesion and thermal stability, meaning your table can withstand hot dishes and daily wear without clouding or peeling.
“Epoxy isn’t just a finish—it’s a transformation. When applied correctly, it turns functional furniture into statement pieces.” — Daniel Reyes, Custom Furniture Artisan
Essential Tools and Materials Checklist
Before starting, gather all necessary supplies. Skipping even one item can compromise the finish. Here's what you'll need:
- Epoxy resin system (table-top or deep-pour formula)
- Wood substrate (sanded and dried)
- Mixing containers (graduated plastic or silicone)
- Stir sticks (tongue depressors or wooden paddles)
- Digital scale (grams or ounces)
- Silicone caulk and nozzle (for sealing edges)
- Plywood or MDF base (to support the table during pour)
- Leveling shims or adjustable legs
- Heat gun or propane torch
- Disposable gloves, respirator mask, and safety goggles
- Polyethylene sheeting or dust cover
- Painter’s tape and masking materials
- Sanding blocks (120–400 grit) and vacuum
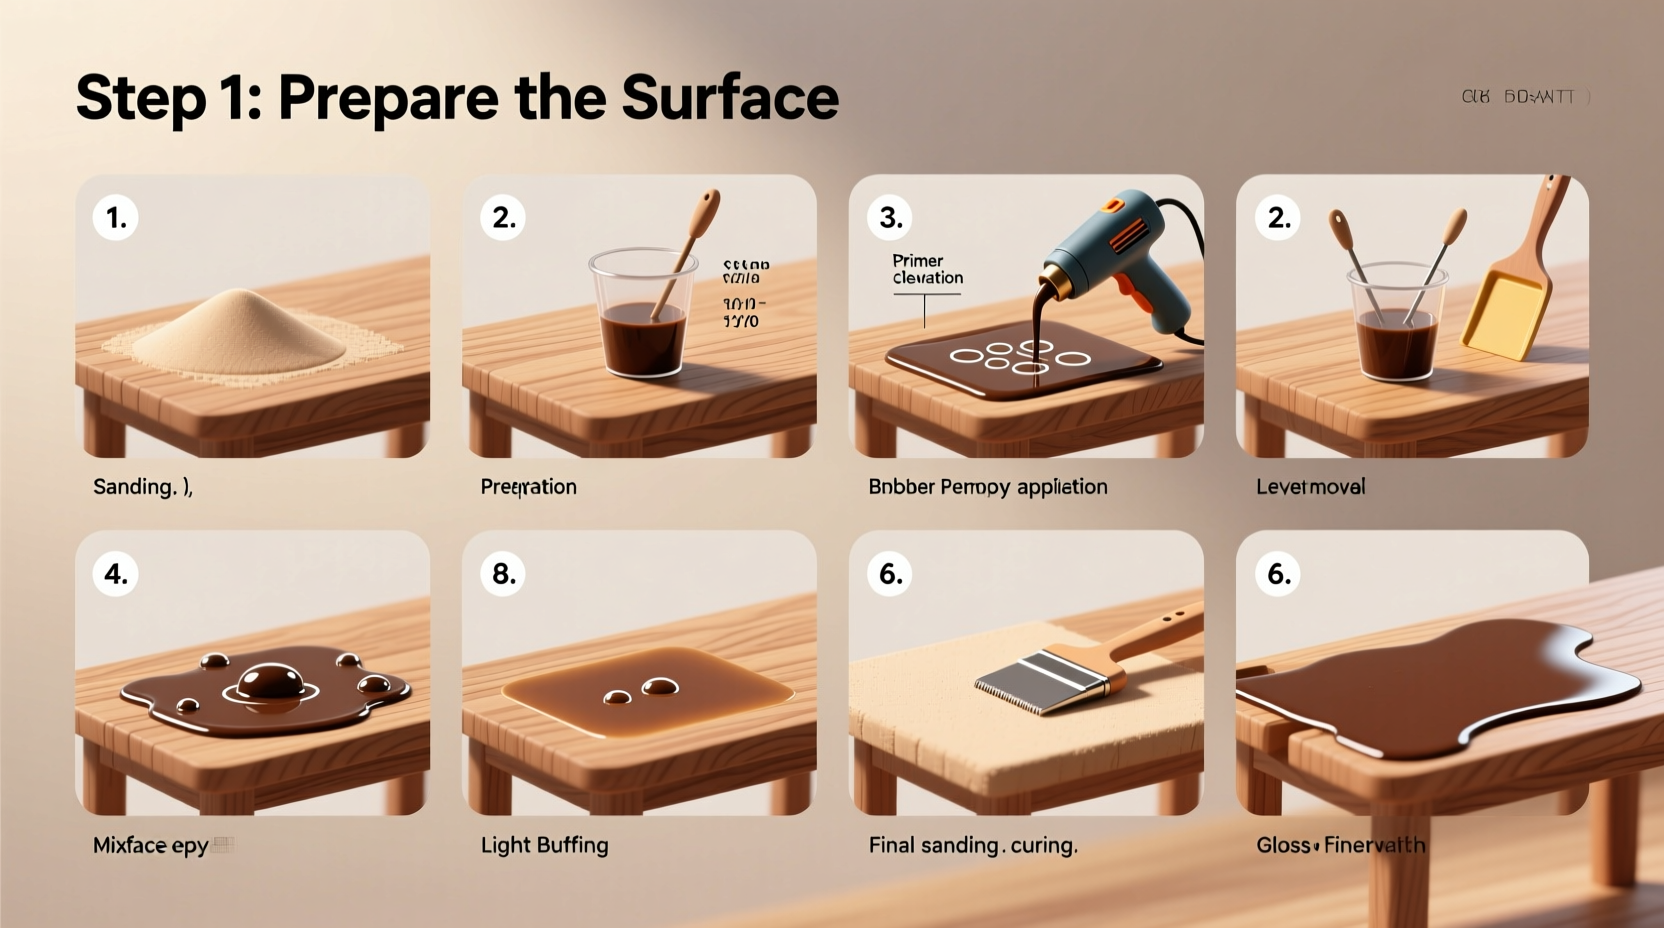
Step-by-Step Process for a Flawless Epoxy Finish
- Prepare the Workspace: Choose a clean, temperature-controlled area (ideally 70–75°F). Dust, humidity, and temperature fluctuations cause imperfections. Cover floors and surrounding objects with plastic.
- Seal Wood Edges and Cracks: Apply a thin seal coat of thinned epoxy (by 10%) to porous wood to prevent air bubbles. For deep cracks or voids, fill them first with thickened epoxy or wood filler and let cure.
- Build a Dam (for River Tables): If creating a river effect, use aluminum tape or silicone to dam the gap between slabs. Ensure it’s airtight and level. For standard tabletops, apply painter’s tape around the underside edge to catch drips.
- Mix the Epoxy Precisely: Follow manufacturer ratios exactly (typically 2:1 or 3:1 resin to hardener). Mix slowly for 3–5 minutes, scraping sides and bottom, to avoid introducing excess air. Pour into a second container and mix again for thorough blending.
- Pour in Sections (if needed): For large surfaces, divide the table into quadrants. Pour epoxy slowly in a zigzag pattern from one end to the other, allowing it to self-level. Avoid pouring from too high to reduce bubbles.
- Remove Bubbles: Immediately pass a heat gun or micro-torch over the surface in slow, sweeping motions. Do not linger—overheating causes ripples. Repeat after 15–20 minutes if new bubbles rise.
- Cover and Cure: Place a clear plastic dome or box over the table to protect from dust. Let cure undisturbed for 24–72 hours depending on product specs. Avoid walking nearby or opening doors that create airflow.
- Sand and Apply Additional Coats (Optional): After full cure, lightly sand with 320–400 grit paper to remove imperfections. Wipe clean and apply a second coat for extra depth if desired.
- Final Polishing: Once fully cured (after 7 days), buff with polishing compound and a soft cloth for maximum gloss. Some artisans use automotive-grade clear coat for added shine and scratch resistance.
Avoid These Common Mistakes
Even experienced crafters make errors that ruin otherwise beautiful projects. Learn from these pitfalls:
| Mistake | Consequence | How to Avoid |
|---|---|---|
| Inaccurate mixing ratio | Soft spots, sticky patches, incomplete cure | Use a digital scale; never eyeball |
| Pouring in cold or humid conditions | Foggy finish, amine blush, poor adhesion | Work at 70°F+ and below 50% humidity |
| Not degassing sealed wood | Bubbles surfacing hours later | Apply seal coat 24 hours before main pour |
| Rushing demolding | Cracks, warping, edge lift | Wait full cure time (check manufacturer) |
| Using non-silicone caulk for dams | Epoxy bonds permanently to dam material | Only use 100% silicone; it releases cleanly |
Real-World Example: Restoring a Walnut Live-Edge Table
Tom, a woodworker in Oregon, inherited a walnut slab with deep cracks and insect trails. He wanted to preserve its natural character while making it usable as a coffee table. After sealing the entire surface with a thin epoxy coat, he filled the largest voids with tinted epoxy mixed with gold mica powder. Using a laser level, he mounted the slab on steel legs and built a silicone dam along the center crack. Over two weekends, he poured three 1/8-inch layers, torching each for bubbles. The final result was a shimmering river of gold running through rich chocolate wood—a centerpiece that now anchors his living room.
Frequently Asked Questions
Can I use regular hardware store epoxy for my table?
No. Standard epoxies are designed for bonding, not casting. Use only “table-top” or “deep-pour” formulations labeled for clear coating. These resist yellowing, UV damage, and have low viscosity for bubble release.
How do I fix fish eyes or surface contamination?
Fish eyes occur when oil, wax, or dust prevents epoxy from spreading evenly. Lightly sand the area, clean with isopropyl alcohol, and apply a thin flood coat. Always clean wood thoroughly before starting.
Is epoxy food-safe once cured?
Yes, fully cured epoxy is inert and FDA-compliant for incidental food contact. However, avoid cutting directly on the surface, as scratches can harbor bacteria. Use cutting boards to preserve the finish.
Final Thoughts and Next Steps
A flawless epoxy-coated table is more than a DIY project—it’s a fusion of craftsmanship and chemistry. By respecting the material’s requirements and following a disciplined process, you can achieve results that rival custom furniture studios. The key lies in preparation, precision, and patience. Don’t rush the cure, skip the seal coat, or underestimate environmental factors. Each step builds toward that mirror-smooth, liquid-glass finish that transforms raw wood into heirloom-quality art.


 浙公网安备
33010002000092号
浙公网安备
33010002000092号 浙B2-20120091-4
Comments
No comments yet. Why don't you start the discussion?