
Creating a bootable USB drive is essential for installing or troubleshooting operating systems. Whether you're setting up Windows 11 on a new PC, testing Ubuntu without installation, or recovering a corrupted macOS system, a properly configured bootable USB stick gives you full control. This guide walks through the entire process—from selecting the right tools to verifying success—with precision and clarity.
Why You Need a Bootable USB Stick
A bootable USB functions as a portable operating system carrier. Unlike standard flash drives used for file storage, a bootable device contains all necessary files to start a computer independently of the installed OS. Common use cases include clean OS installations, system recovery, virus removal, and hardware diagnostics.
Modern computers no longer come with optical drives, making USB-based installation the default method. Additionally, USB sticks are reusable, faster than DVDs, and support larger capacity—critical for modern OS images that exceed 4GB.
Essential Tools and Requirements
Before starting, gather the correct components. The wrong tool or file can lead to failure during boot or installation.
- USB Flash Drive: Minimum 8GB (16GB recommended), USB 3.0 or higher for faster performance.
- Operating System Image (ISO file): Downloaded from official sources only (e.g., Microsoft, Ubuntu, Apple).
- Reliable Creation Tool: Rufus (Windows), BalenaEtcher (cross-platform), or Terminal commands (macOS/Linux).
- Computer with Admin Access: Required to modify disk partitions and write raw images.
- Internet Connection: For downloading ISOs and tools if not already available.
“Using verified, checksum-checked ISO files prevents malware injection and ensures system integrity.” — David Lin, Systems Security Engineer
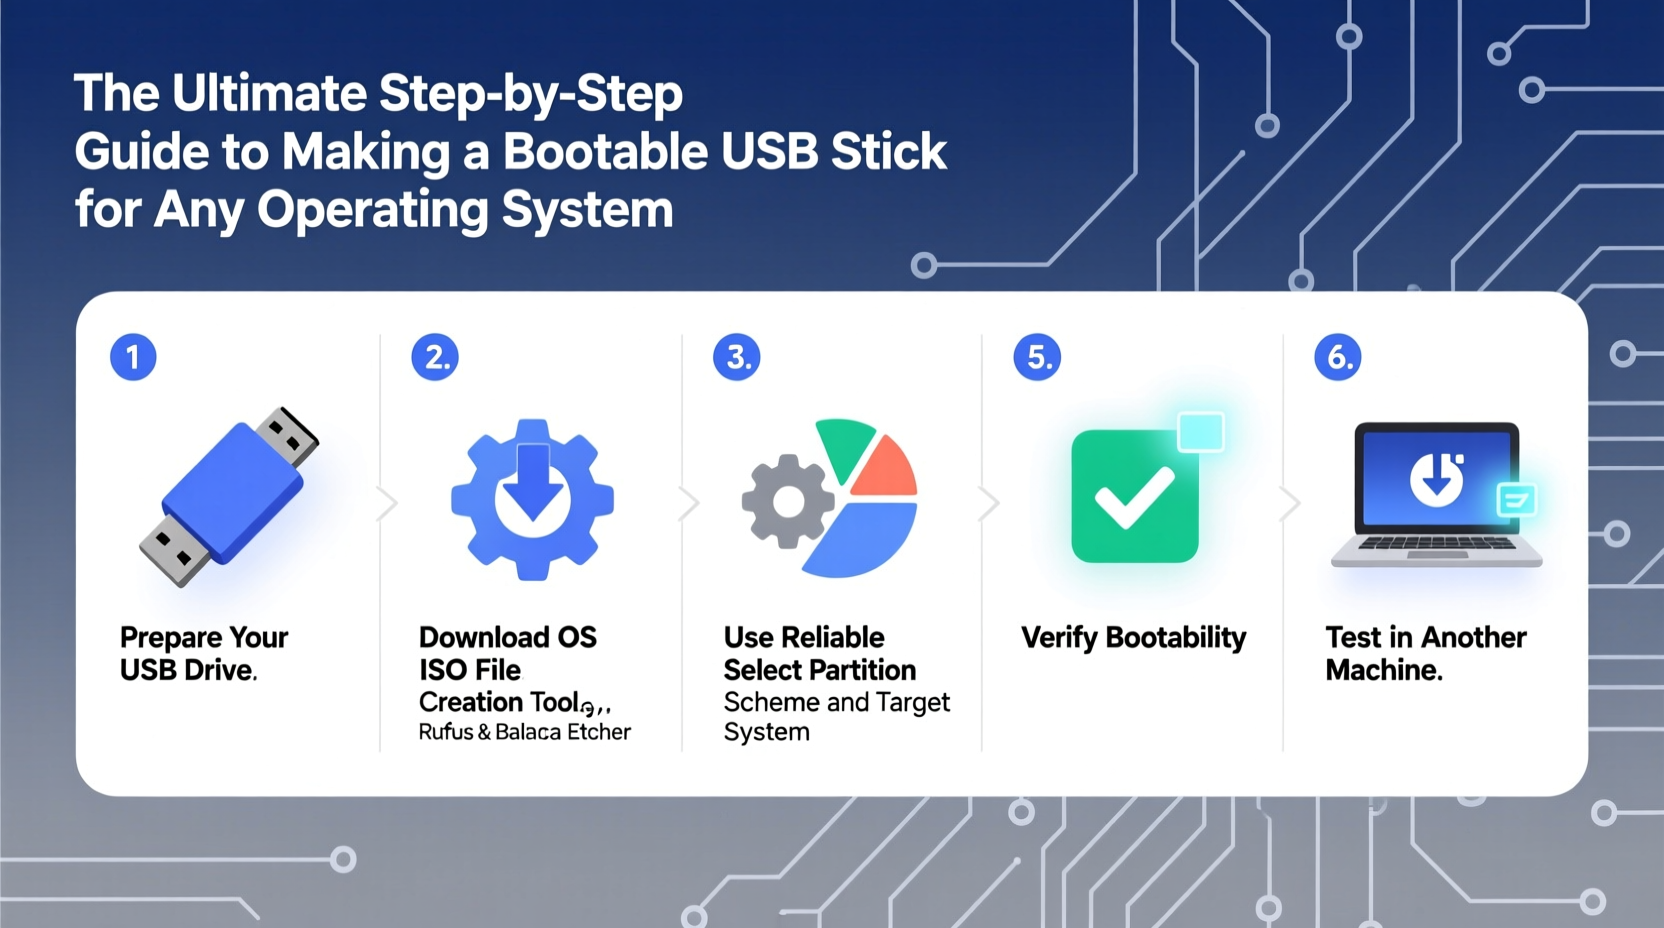
Step-by-Step Guide to Creating a Bootable USB
The following universal workflow applies across operating systems. Minor variations exist depending on your host machine’s OS.
- Download the Official ISO File
Visit the official website of the target OS:- Windows: Microsoft's Download Site
- Linux: Distro-specific sites like Ubuntu, Fedora, or Arch Linux
- macOS: Use
installinstallmacos.pyscript via GitHub or Migration Assistant (for Apple devices only)
- Select a Reliable Writing Tool
Choose based on your current operating system:Tool Platform Best For Notes Rufus Windows Windows & Linux ISOs Fast, supports UEFI/GPT and BIOS/Legacy BalenaEtcher Windows, macOS, Linux User-friendly cross-platform use Open-source, minimal interface UNetbootin Cross-platform Live Linux environments Less reliable for Windows ISOs Terminal (dd command) Linux/macOS Advanced users Powerful but risky if misused - Prepare the USB Drive
Insert the USB stick into a USB port. On Windows, open File Explorer and note the assigned drive letter. On macOS/Linux, checkdiskutil listorlsblkto identify the correct device path (e.g.,/dev/disk2). - Launch Your Chosen Tool
For example, in Rufus:- Select the correct USB drive.
- Click “SELECT” and choose your downloaded ISO.
- Set partition scheme: Use GPT for UEFI systems, MBR for older BIOS.
- File system: FAT32 (default); NTFS may be needed for large Windows ISOs.
- Click “START” and confirm warnings about data loss.
- Click “Flash from file” and select the ISO.
- Choose the target USB device automatically detected.
- Press “Flash!” and wait for completion.
- Verify the Write Process
After writing completes:- Check that the USB shows bootable files (e.g.,
efi/,boot/,setup.exe). - Use built-in verification features in Etcher or manually compare checksums.
- Eject safely using the system tray icon or
ejectcommand.
- Check that the USB shows bootable files (e.g.,
- Test Bootability
Reboot the target machine, enter BIOS/UEFI (usually F2, F12, DEL, or ESC), and set USB as first boot device. If the installer loads successfully, the drive is functional.
Common Pitfalls and How to Avoid Them
Even experienced users encounter issues when creating bootable media. Awareness of common errors improves success rates.
| Issue | Root Cause | Solution |
|---|---|---|
| USB not detected at boot | Incorrect partitioning or boot mode mismatch | Use GPT + UEFI or MBR + Legacy consistently |
| Corrupted ISO file | Unofficial download source | Always verify checksums before writing |
| Write fails midway | Faulty USB or low power delivery | Try another port or high-quality drive |
| “Missing Operating System” error | Improper bootloader installation | Use Rufus with “DD Mode” or reflash with verified tool |
Real-World Example: Installing Linux on an Old Laptop
Mark had an aging laptop running Windows 7, which could no longer receive updates. He wanted to install Linux Mint for improved speed and security. He downloaded the latest Linux Mint ISO from the official site and verified its SHA256 sum using PowerShell:
Get-FileHash -Algorithm SHA256 .\\linuxmint-21.3-cinnamon.iso
He used Rufus to write the image, selecting GPT for UEFI mode since his laptop supported it. After rebooting and accessing the boot menu via F12, he selected the USB drive. The live environment loaded within seconds, allowing him to test performance before installing. Within 20 minutes, the system was fully operational—breathing new life into old hardware.
FAQ: Frequently Asked Questions
Can I make a bootable USB for macOS on a Windows PC?
No. Apple restricts macOS installation to Apple hardware only. While technically possible with third-party tools like OpenCore, it violates Apple’s EULA and requires complex configuration. Use a Mac with the createinstallmedia command instead.
My USB drive isn’t showing up in Rufus. What should I do?
First, try a different USB port—preferably USB 2.0. Then, open Disk Management (Windows) and check if the drive appears there. If visible but unallocated, initialize it. If missing entirely, the drive may be faulty or locked by another process.
Is it safe to reuse a bootable USB for regular storage?
Yes, but only after reformatting. Right-click the drive and format it as FAT32 or NTFS. This removes boot files and restores normal functionality. However, frequent repurposing may reduce lifespan due to wear leveling limits on flash memory.
Final Checklist Before You Begin
- Preparation Checklist:
-
- ✅ Download ISO from official source
- ✅ Verify checksum (SHA/MD5)
- ✅ Use a USB drive ≥8GB with no critical data
- ✅ Choose appropriate tool for your OS
- ✅ Confirm target machine supports UEFI or Legacy boot
- ✅ Backup important system data before installation
Making It Count: From Preparation to Execution
A bootable USB stick is more than a convenience—it's a foundational tool for digital autonomy. Whether upgrading systems, performing secure wipe-and-reinstalls, or exploring alternative operating systems, mastering this skill empowers you to take full ownership of your computing environment. With the right preparation, precise execution, and attention to detail, anyone can create a reliable bootable drive on the first try.


 浙公网安备
33010002000092号
浙公网安备
33010002000092号 浙B2-20120091-4
Comments
No comments yet. Why don't you start the discussion?