
Cooking corn on the cob might seem straightforward—drop it in boiling water and wait. But how many times has your corn come out tough, chewy, or lacking that fresh-off-the-farm sweetness? The truth is, timing, technique, and a few small adjustments can transform average boiled corn into something exceptional: tender kernels bursting with flavor, evenly cooked from tip to base.
The stove top remains the most reliable and accessible method for preparing corn at home. Unlike grilling or microwaving, boiling allows for precise control over cooking time and consistency across multiple ears. When done right, this method enhances the natural sugars in the corn without leaching them into the water. This guide breaks down the science, tools, and techniques behind the perfect pot of corn—so you never serve undercooked or mushy cobs again.
The Science Behind Sweet Corn Cooking
Fresh corn on the cob contains natural sugars that begin converting to starch the moment it’s harvested. The longer it sits, the less sweet it becomes. Heat accelerates this conversion, which means overcooking doesn’t just make corn mushy—it actually makes it less sweet.
Boiling corn in plain water can cause some of these valuable sugars to leach out. That’s why the ideal method balances speed, temperature, and minimal additives. Contrary to popular belief, adding sugar or milk to the water does not enhance sweetness. In fact, milk can curdle and leave an off-flavor. Sugar doesn’t penetrate the kernels; it only affects the water.
“Perfectly cooked corn isn’t about what you add to the water—it’s about respecting the vegetable’s natural chemistry.” — Chef Marcus Bell, Farm-to-Table Advocate
The goal is to heat the corn just enough to make the kernels tender while preserving their crisp texture and inherent sweetness. This happens fastest in rapidly boiling water, followed by immediate removal to stop residual cooking.
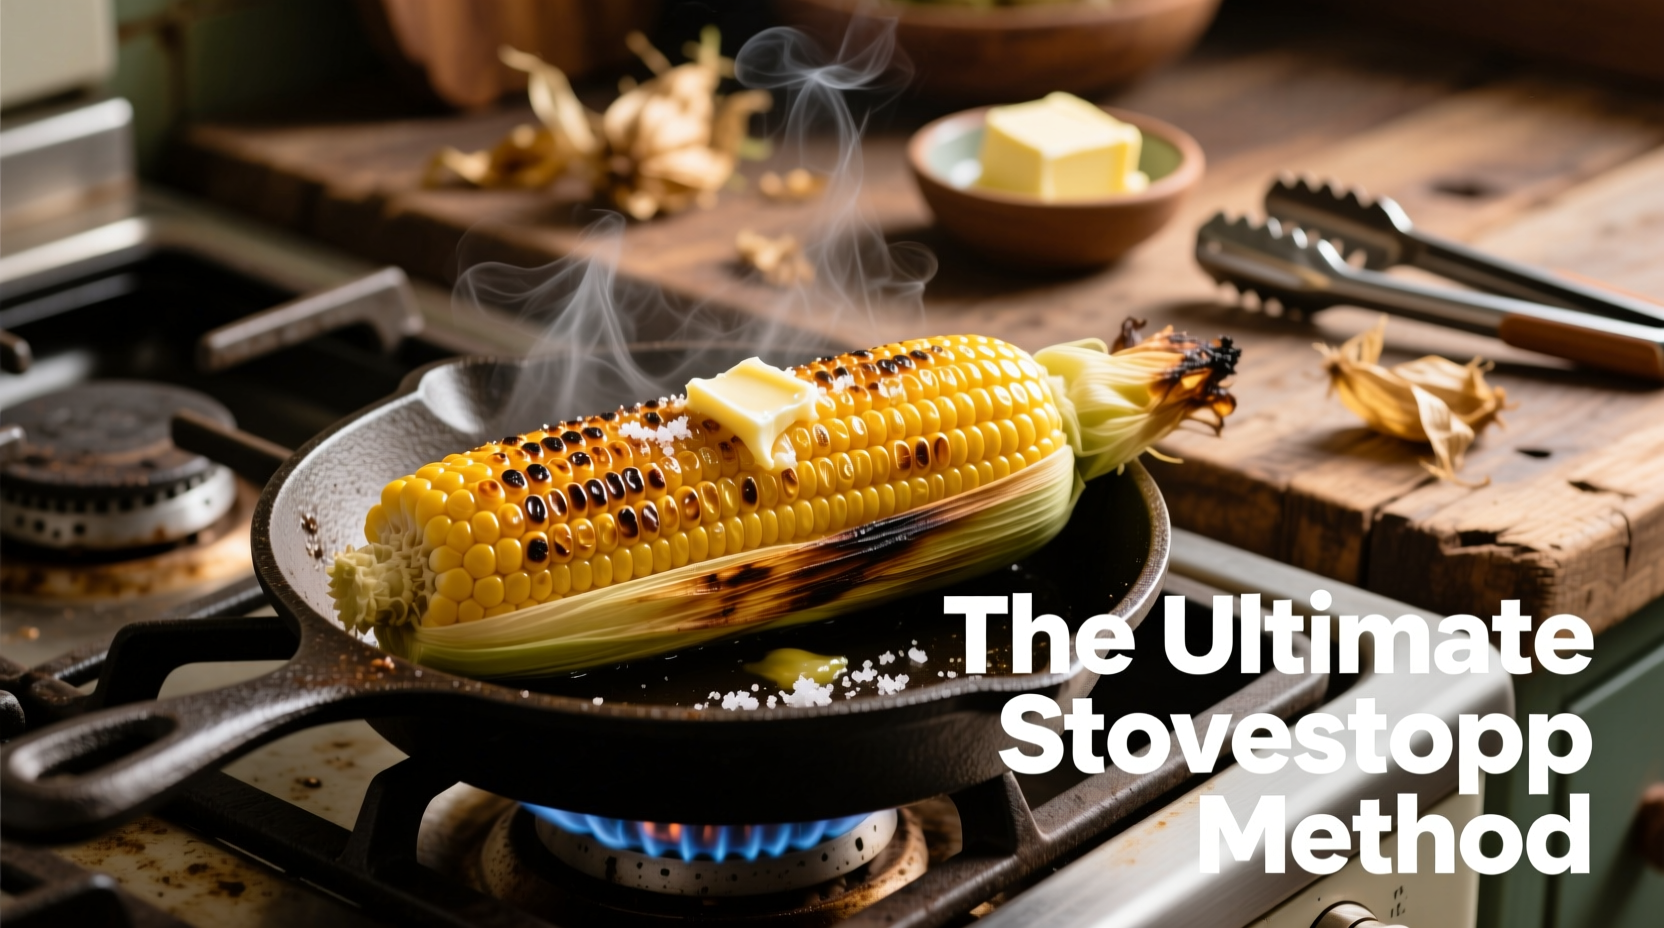
Step-by-Step: The Ultimate Stove Top Method
This five-step process ensures consistently excellent results every time. Follow each step closely for restaurant-quality corn at home.
- Prepare the corn: Peel back the husks and remove all silk strands. Rinse under cold water to dislodge any remaining bits. Do not break the stem end.
- Fill a large pot: Use enough water to fully submerge the corn. A deep stockpot works best. Fill it about two-thirds full.
- Bring to a rolling boil: Place the pot over high heat. Wait until large bubbles break the surface continuously before adding corn.
- Add corn and set timer: Gently lower ears into boiling water using tongs. Cover the pot and return to a boil. Once boiling resumes, cook for exactly 5 minutes.
- Remove and cool slightly: Transfer corn to a clean towel or serving platter. Let rest for 2–3 minutes before serving.
Yes, only five minutes. Modern sweet corn varieties are bred for tenderness and require far less cooking than older field corns. Overcooking beyond six minutes leads to loss of texture and flavor.
Why This Timing Works
The intense heat of boiling water quickly raises the internal temperature of the cob, softening the pectin in the cell walls without breaking down the kernel structure. By removing the corn promptly, you prevent continued cooking from stored heat (carryover cooking), which would otherwise turn crisp kernels into mush.
Do’s and Don’ts of Boiling Corn
| Do’s | Don’ts |
|---|---|
| Use fresh, chilled corn | Use corn left at room temperature for hours |
| Boil water before adding corn | Start corn in cold water |
| Cook for 5 minutes max | Cook for 10+ minutes “just to be sure” |
| Keep pot covered after adding corn | Leave pot uncovered, losing heat and time |
| Serve immediately or shock in ice bath if prepping ahead | Let corn sit in hot water after cooking |
A Real Example: From Backyard BBQ Fail to Success
When Sarah hosted her first summer barbecue, she boiled six ears of corn for 12 minutes, assuming more time meant better doneness. The result? Chewy, bland cobs that no one finished. One guest even asked if they were canned.
She researched proper methods and tried again the next week. This time, she brought water to a full boil, added freshly shucked corn, covered the pot, and cooked for exactly five minutes. She pulled them out, rested briefly, and served with nothing but butter and flaky salt.
Her guests raved. “This tastes like it came straight from the farm stand,” one said. Sarah realized the difference wasn’t in the ingredients—it was in the precision of the method.
Essential Tips for Best Results
- Shuck right before cooking: Leaving corn unshucked until ready to boil helps retain moisture and freshness.
- Don’t overcrowd the pot: Cook in batches if necessary. Too many cobs lower the water temperature too much, leading to uneven cooking.
- Use salt sparingly—if at all: Adding salt to boiling water is optional. While once believed to toughen kernels, modern research shows minimal impact. Still, avoid excessive amounts.
- Check one ear first: If unsure, test one cob before cooking the whole batch. Slice a kernel open; it should be creamy inside, not milky or dry.
- Serve with balance: Butter enhances richness, but a squeeze of lime or sprinkle of chili powder can elevate flavor without masking the corn’s natural taste.
Frequently Asked Questions
Can I boil frozen corn on the cob?
Yes, but adjust the time. Frozen corn takes 7–9 minutes in boiling water. Thawing first reduces cooking time but isn’t required. For best texture, blanch briefly and finish under a broiler to restore freshness.
Is it safe to eat raw corn?
Fully ripe sweet corn is safe to eat raw and is increasingly popular in salads and salsas. Raw corn retains maximum crunch and nutrients but lacks the enhanced sweetness that gentle heating brings. Blanching for 2 minutes improves texture while keeping it close to raw.
Why does my corn sometimes taste starchy?
Stale corn or overcooking causes starchiness. Corn begins losing sugar within 24 hours of harvest. Always buy corn with tight, green husks and moist silks. Cook it the same day if possible, and never exceed 6 minutes in boiling water.
Final Checklist: Your Path to Perfect Corn
- Pre-Cooking:
- ☐ Select fresh, chilled ears with tight husks
- ☐ Shuck and remove silk just before cooking
- ☐ Fill a large pot with enough water to cover
- Cooking:
- ☐ Bring water to a rolling boil
- ☐ Add corn, cover, and restart boil
- ☐ Set timer for 5 minutes exactly
- After Cooking:
- ☐ Remove promptly with tongs
- ☐ Rest 2–3 minutes or chill for later use
- ☐ Serve simply to highlight natural flavor
Mastery Starts Tonight
Cooking perfect corn on the cob isn’t about special equipment or secret ingredients. It’s about understanding a simple principle: respect the vegetable. With the right timing, clean technique, and attention to freshness, you can serve corn that’s tender, juicy, and deeply sweet—every single time.
You don’t need a grill or fancy kitchen gadgets. Just a pot, some water, and confidence in the method. Try it tonight. Taste the difference that five minutes—and the right five minutes—can make.


 浙公网安备
33010002000092号
浙公网安备
33010002000092号 浙B2-20120091-4
Comments
No comments yet. Why don't you start the discussion?