
A toilet that won’t flush properly is more than an inconvenience—it’s a potential health hazard and a sign something in your plumbing system needs attention. The good news is that many flushing issues stem from easily diagnosable and fixable problems. Whether it’s a weak flush, no flush at all, or constant running, understanding the root cause saves time, money, and stress. This guide walks through the most frequent culprits behind faulty flushes and provides clear, step-by-step remedies you can perform without calling a plumber—most of the time.
Understanding How a Toilet Flush Works
Before troubleshooting, it helps to understand the basic mechanics of a standard gravity-flush toilet. When you press the handle, a lever lifts the flapper inside the tank, allowing water to rush into the bowl. This sudden influx creates siphon action, pulling waste and water down the drain. Once the tank empties, the flapper closes, and the fill valve refills the tank for the next flush.
Any disruption in this sequence—whether due to mechanical failure, blockage, or mineral buildup—can impair performance. Knowing each component’s role makes it easier to identify where things go wrong.
Common Causes of Poor or No Flushing
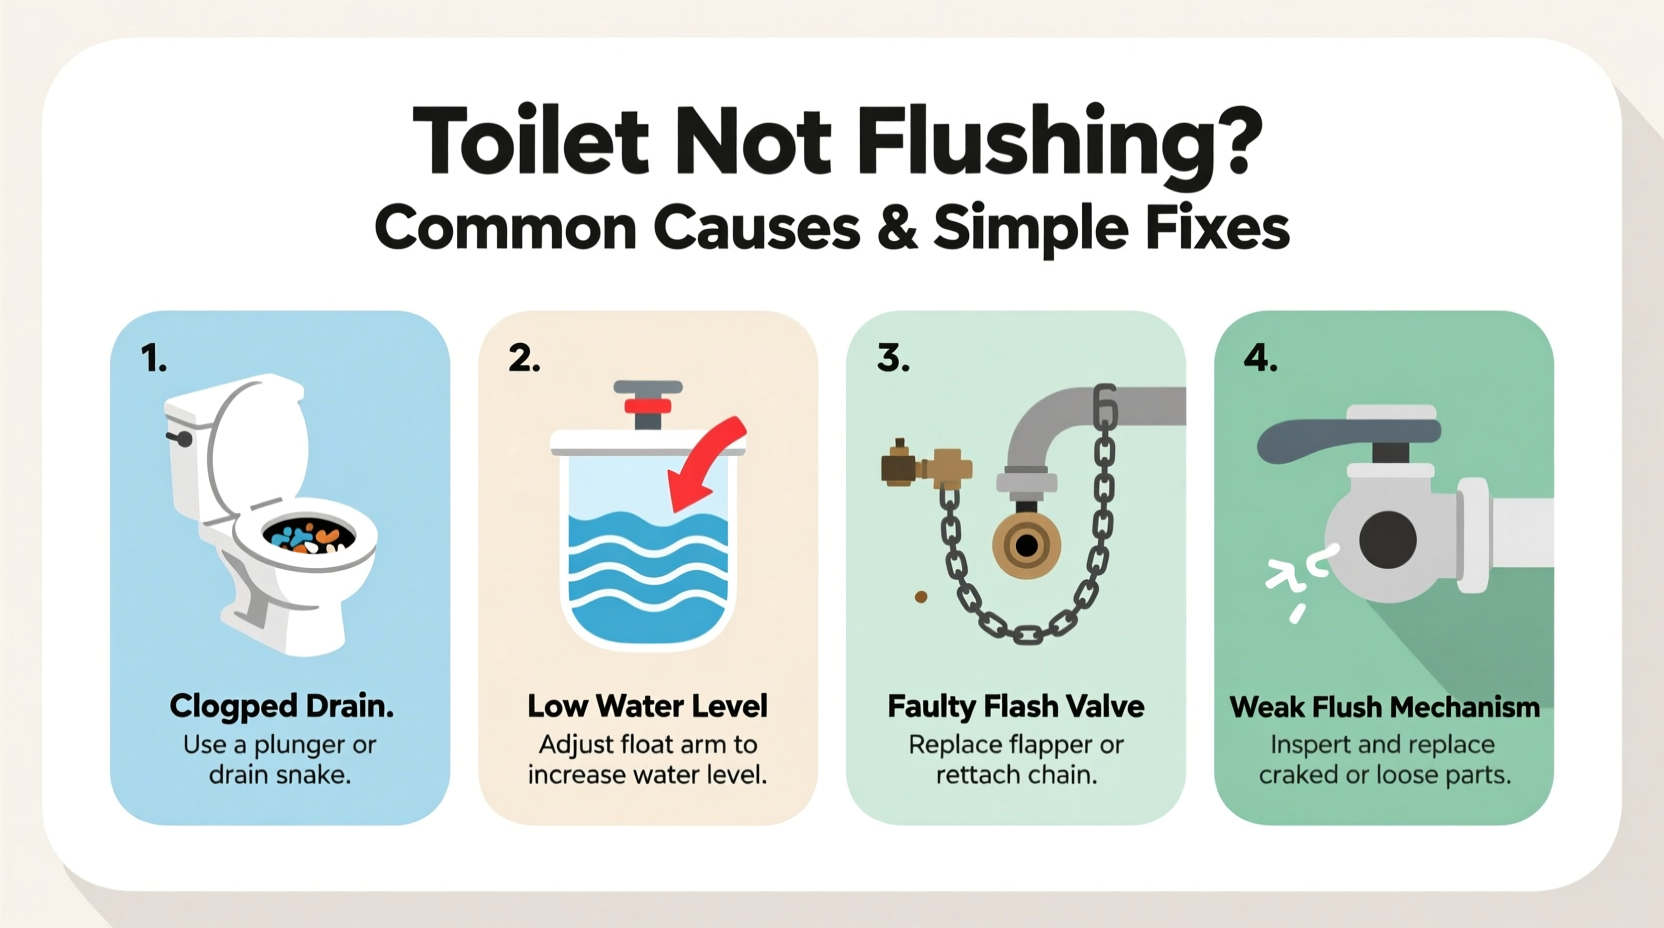
Toilets fail to flush for several predictable reasons. Most fall into one of these categories:
- Clogged drain or trap: The most frequent issue, especially in older homes or where excessive paper or foreign objects are flushed.
- Low water level in the tank: If the tank doesn’t fill to the proper level, there’s insufficient water to create a strong flush.
- Flapper malfunction: A worn, misaligned, or improperly sealed flapper prevents full water release.
- Chain issues: A chain connecting the flush handle to the flapper that’s too tight, too loose, or tangled can prevent complete flushing.
- Clogged rim jets: Mineral deposits block small holes under the bowl rim, weakening flush power.
- Problems with the fill valve or float: These control water levels; if set too low or failing, the tank won’t refill adequately.
- Sewer line blockage: In severe cases, multiple fixtures backing up indicate a mainline clog.
Step-by-Step Troubleshooting Guide
Follow this logical sequence to diagnose and resolve most flushing problems efficiently.
- Check for immediate clogs: Use a plunger. Ensure there's enough water to cover the rubber cup. Push down gently, then pull up sharply to create suction. Repeat 10–15 times. If water drains, the clog likely cleared.
- Inspect the water level in the tank: Remove the tank lid and check if water reaches within 1 inch of the top of the overflow tube. If lower, adjust the float.
- Examine the flapper and chain: Look for warping, cracking, or algae buildup on the flapper. Ensure the chain has about ½ inch of slack. Replace the flapper if degraded.
- Test the flush mechanism: Press and hold the handle. If the toilet flushes fully only when held, the chain is too long or the flapper isn’t lifting completely.
- Clean the rim jets and siphon jet: Mix vinegar and water (1:1), pour into the overflow tube, and let sit overnight. Use a thin wire or pin to gently clear mineral deposits from the rim holes.
- Verify the vent stack isn’t blocked: Gurgling sounds in other drains during flushing may indicate poor venting, which disrupts siphon action. This often requires a professional roofer or plumber.
Do’s and Don’ts: Maintaining Your Toilet’s Performance
| Action | Do | Don’t |
|---|---|---|
| Cleaning frequency | Monthly descaling with vinegar or mild cleaner | Use abrasive pads or acid-based cleaners on porcelain |
| Unclogging method | Use a flange plunger with firm, consistent strokes | Flush repeatedly when clogged—this risks overflow |
| Part replacement | Replace flappers every 3–5 years as preventive maintenance | Mix brands of flush valves and flappers unless compatible |
| Water level adjustment | Set float so water stops 1 inch below overflow tube | Let water run continuously into the overflow tube |
“Over 70% of toilet service calls are for issues homeowners could have resolved themselves with basic knowledge of internal components.” — Carlos Mendez, Master Plumber with 22 years of residential experience
Mini Case Study: The Weak Flush That Baffled a Homeowner
Sarah, a homeowner in Portland, noticed her guest bathroom toilet required two or three flushes to clear waste. She tried plunging, but the problem persisted. After reading online about rim jets, she inspected the underside of the bowl’s rim and found several clogged ports. She poured a mixture of white vinegar and warm water into the overflow tube, following instructions to let it soak overnight. The next morning, she flushed—and was surprised by the powerful, single-cycle flush. A quick wire cleaning of the remaining holes restored full function. The entire fix cost $3 and took less than 20 minutes of active effort.
This case illustrates how overlooked details—like mineral buildup in tiny jets—can significantly impact performance, even when major components appear functional.
Frequently Asked Questions
Why does my toilet flush slowly even after plunging?
Slow flushing after plunging suggests either a partial clog deeper in the drain line, clogged rim jets, or insufficient water in the tank. Check the water level first, clean the rim jets, and consider using a toilet auger if plunging didn’t fully clear the obstruction.
How often should I replace the flapper?
Most flappers last 3 to 5 years, but exposure to chlorinated water or chemical cleaners can shorten their lifespan. Inspect annually for brittleness, warping, or leaks. Replacing a flapper costs under $10 and takes minutes.
Can a running toilet affect flushing power?
Yes. If the flapper doesn’t seal properly and water constantly leaks into the bowl, the tank may not fill to the correct level. This reduces the volume available for flushing, resulting in weak performance. Fix the leak first, then retest the flush strength.
When to Call a Professional
While most flushing issues are DIY-friendly, some signs indicate a deeper problem requiring expert help:
- Multiple fixtures backing up simultaneously.
- Gurgling noises in sinks or showers when flushing.
- Water pooling around the base of the toilet (could indicate wax ring failure or cracked flange).
- Recurring clogs despite regular maintenance.
In these cases, a sewer line inspection with a camera may be necessary to locate tree root intrusion, collapsed pipes, or major blockages beyond the toilet trap.
Conclusion: Take Control of Your Toilet’s Function
A toilet that won’t flush properly doesn’t always mean disaster. More often than not, the solution lies in simple adjustments or inexpensive part replacements. By understanding how your toilet works and knowing what to look for, you can maintain reliable performance and avoid unnecessary service calls. Regular inspection, timely cleaning, and proactive part replacement keep your bathroom functioning smoothly and hygienically.


 浙公网安备
33010002000092号
浙公网安备
33010002000092号 浙B2-20120091-4
Comments
No comments yet. Why don't you start the discussion?