
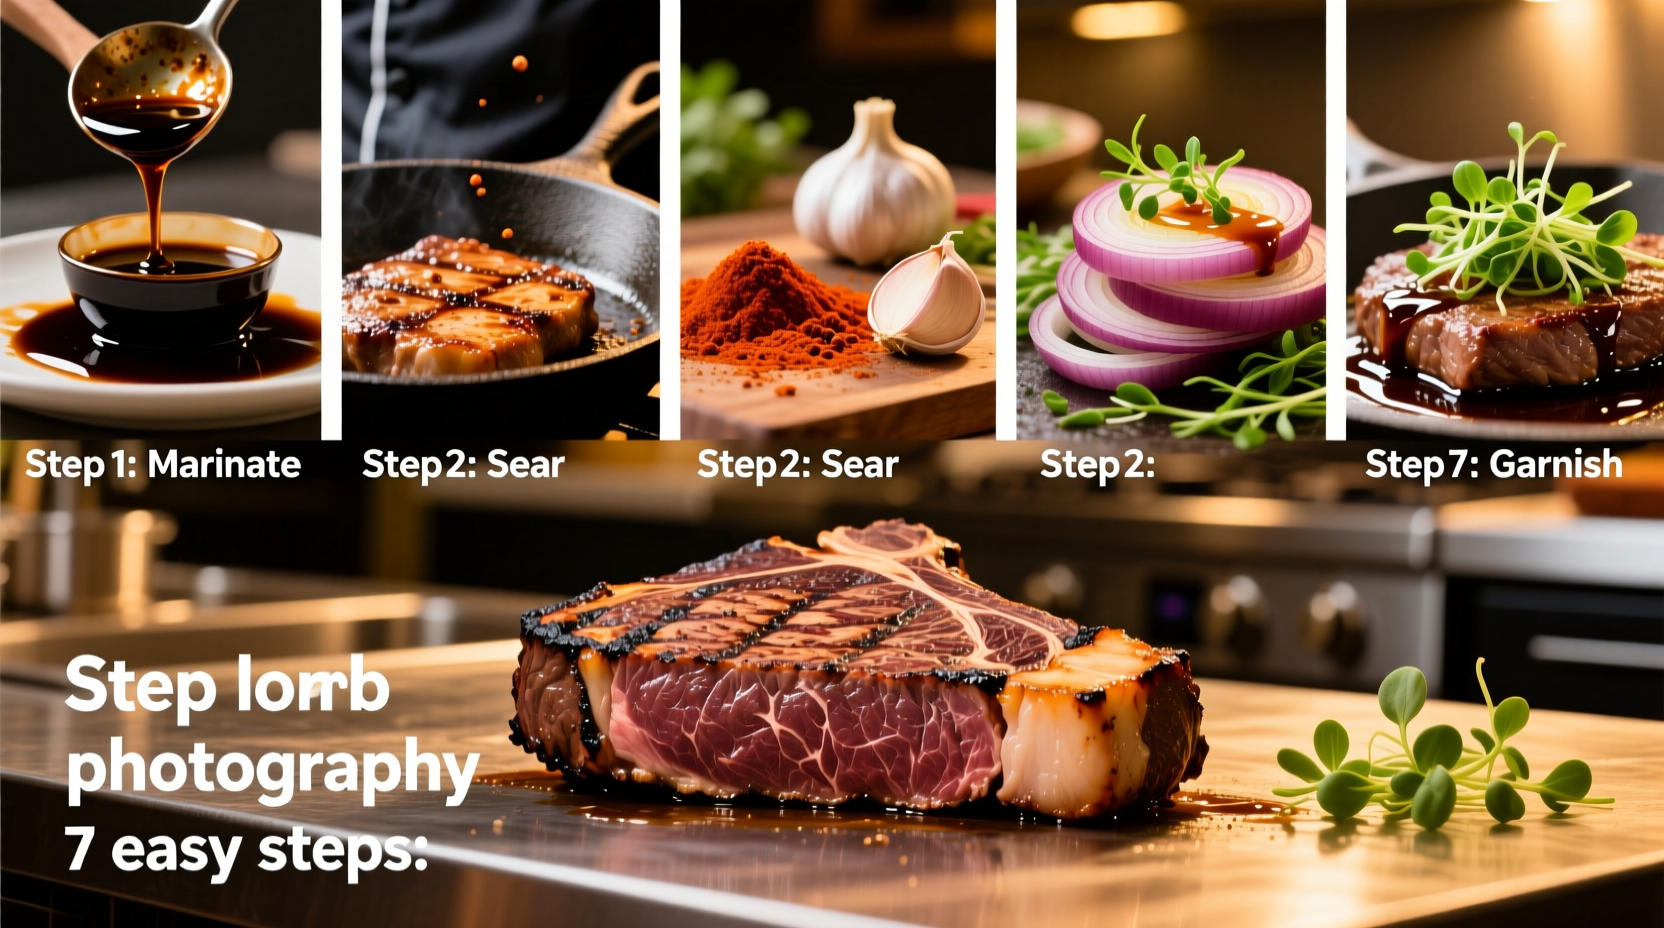
Beef has the potential to be one of the most satisfying ingredients in the kitchen—rich, savory, deeply aromatic, and capable of carrying complex layers of flavor. Yet too often, home cooks end up with dry, dull, or one-dimensional results. The issue isn’t the meat itself; it’s how it’s treated before and during cooking. With the right techniques, even modest cuts like chuck, round, or ground beef can deliver restaurant-quality depth and character.
The difference between forgettable beef and unforgettable beef lies not in expensive equipment or rare ingredients, but in a sequence of deliberate, science-backed steps that build flavor from the inside out. From strategic salting to controlled browning, layering aromatics to finishing with brightness, these seven methods form a complete framework for transforming any cut—from steak to stew—into something vibrant and memorable.
Why Beef Turns Out Bland (And How to Fix It)
Bland beef typically results from one or more of the following: under-seasoning, rushed preparation, lack of moisture control, or failure to develop Maillard reaction compounds—the chemical process responsible for browning and the creation of hundreds of flavor molecules. Many home cooks treat beef as a passive ingredient rather than an active canvas for flavor development.
Unlike chicken or pork, which can rely heavily on external sauces, beef benefits most when flavor is built at every stage: pre-cooking, during searing, and through finishing. This layered approach ensures taste penetrates beyond the surface, resulting in a cohesive, deeply seasoned dish. The good news? These techniques are simple, require no special tools, and can be applied across cuisines—from Korean bulgogi to French bourguignon.
Step 1: Choose the Right Cut for the Cooking Method
Not all beef is meant to be grilled quickly over high heat. Selecting the appropriate cut based on your cooking technique is the first step toward maximizing flavor and texture.
| Cut | Best For | Flavor & Texture Profile | Affordability |
|---|---|---|---|
| Ribeye, Strip, Tenderloin | Grilling, pan-searing, broiling | Rich marbling, buttery mouthfeel, intense beefiness | High |
| Chuck, Brisket, Shank | Braising, stewing, slow-cooking | Tough when raw, becomes tender and gelatinous when slow-cooked; deep savory notes | Low to moderate |
| Round, Sirloin Tip | Stir-fries, kebabs, quick roasting | Lean, mild flavor, prone to drying if overcooked | Moderate |
| Ground Beef (80/20) | Tacos, burgers, meat sauces, casseroles | Versatile, absorbs seasonings well, benefits from fat content | Low |
Using a tender cut like filet mignon in a stir-fry wastes its potential, while grilling a tough brisket flat will result in chewiness. Match the cut to the method: high-heat for tender cuts, low-and-slow for collagen-rich ones.
Pro Tip: When shopping, ask your butcher for \"second-cut\" chuck for stews—it contains more connective tissue and marrow veins, which dissolve into rich gelatin during braising, enhancing both texture and flavor.
Step 2: Dry-Brine with Salt for Depth and Juiciness
Salt is the most powerful flavor enhancer available—and it's also essential for moisture retention. Most home cooks either skip salting altogether or apply it moments before cooking, missing the opportunity for true penetration.
Dry-brining involves generously salting beef 1–24 hours before cooking and refrigerating it uncovered. This process does three things:
- Seasons deeply: Salt migrates into the muscle fibers, seasoning the interior rather than just the surface.
- Improves moisture retention: Salt alters protein structure, allowing the meat to hold onto more water during cooking.
- Promotes better browning: By drawing moisture to the surface initially and then allowing it to reabsorb, dry-brining dries the exterior, creating ideal conditions for Maillard reaction.
For steaks or roasts, use ½ to 1 teaspoon of kosher salt per pound. For ground beef mixtures (like meatloaf), incorporate salt directly into the blend and let rest 30 minutes before shaping.
“Salting ahead isn’t optional if you want real flavor. I’ve tasted side-by-side steaks—one salted five minutes before cooking, one dry-brined overnight. The difference is night and day.”
— Chef Naomi Lee, Culinary Instructor, Institute of American Cuisine
Step 3: Marinate Strategically (Acid + Enzymes + Aromatics)
Marinating isn’t just about adding flavor—it’s about modifying texture and accelerating seasoning absorption. However, not all marinades are created equal. A successful marinade balances three components:
- Acid (vinegar, citrus, wine): Loosens surface proteins, allowing flavors to penetrate. Use sparingly—over-marinating lean cuts in acid can make them mushy.
- Enzymes (pineapple, papaya, ginger): Naturally break down muscle fibers. Fresh pineapple juice, for example, contains bromelain, which tenderizes effectively in 30–60 minutes. Avoid prolonged exposure.
- Aromatics and seasonings (garlic, soy, herbs, spices): Deliver flavor. Oil helps carry fat-soluble compounds into the meat.
For best results, marinate tougher cuts (flank, skirt, hanger) for 4–12 hours. Delicate cuts like tenderloin should marinate no longer than 2 hours. Always marinate in the refrigerator, never at room temperature.
Quick Marinade Formula: ¼ cup soy sauce, 2 tbsp olive oil, 1 tbsp Worcestershire, 2 minced garlic cloves, 1 tsp black pepper, 1 tsp smoked paprika. Works wonders on flank steak for fajitas or sandwiches.
Step 4: Sear with High Heat and Proper Pan Management
The Maillard reaction—the chemical interaction between amino acids and sugars at high temperatures—is responsible for the deep brown crust and complex aroma of well-cooked beef. Without it, meat tastes boiled, not roasted or grilled.
To achieve optimal browning:
- Use a heavy skillet (cast iron or carbon steel) preheated over medium-high to high heat.
- Ensure the meat surface is dry—pat steaks thoroughly with paper towels before searing.
- Do not overcrowd the pan. Crowding lowers the temperature and causes steaming instead of searing.
- Resist moving the meat once placed. Let it develop a full crust (2–3 minutes per side for steaks).
- After searing, deglaze the pan with wine, broth, or vinegar to capture fond—the caramelized bits stuck to the bottom—which become the base of a flavorful sauce.
For thicker cuts, finish in a 375°F (190°C) oven after searing to ensure even doneness without burning the exterior.
Step 5: Layer Umami-Rich Ingredients
Umami—the fifth taste—is the savory depth that makes food satisfying and craveable. Beef already contains glutamates, but pairing it with other umami sources amplifies this quality exponentially.
Common umami boosters include:
- Soy sauce and fish sauce: Add fermented depth. Even 1–2 teaspoons can transform a meat sauce or stir-fry.
- Mushrooms (especially dried shiitake): Their nucleotides synergize with meat’s glutamates, creating a “umami bomb” effect.
- Tomato paste: Cooked slowly in fat until darkened (“blooming”), it adds sweetness and savoriness to braises and ragus.
- Anchovies or miso paste: Melt into hot oil at the start of cooking—they won’t taste fishy but will deepen overall flavor.
- Aged cheeses (Parmesan rind): Toss a rind into simmering soups or stews with beef for subtle richness.
In a classic French beef daube, for example, the combination of beef, red wine, tomato paste, and mushrooms creates a layered umami profile far beyond what beef alone could achieve.
Step 6: Build Flavor in Stages (Especially for Braises and Stews)
Dishes like beef bourguignon, chili, or Korean galbi-jjim aren’t flavorful because of a single ingredient—they’re flavorful because each component is developed separately before being combined.
The professional approach follows this sequence:
- Sear the beef in batches. Remove and set aside.
- Sauté aromatics: Onion, carrot, celery (mirepoix), garlic, leeks—until softened and lightly caramelized.
- Add umami elements: Tomato paste, soy sauce, mushrooms—cook 1–2 minutes to concentrate flavor.
- Scrape in deglazing liquid: Red wine, beer, broth—use enough to lift all fond from the pan.
- Return beef to pot, add remaining liquid, herbs (thyme, bay leaf), and simmer gently for 2–4 hours until fork-tender.
This staged method ensures that no single element is underdeveloped. Each contributes its maximum potential to the final dish.
Case Study – Homemade Chili: Two batches were prepared identically except one used raw onions and unseared meat. The second batch sautéed onions, bloomed chili powder in fat, seared the beef, and deglazed with beer. Tasters unanimously preferred the layered version, describing it as “richer,” “more complex,” and “less flat.”
Step 7: Finish with Brightness and Texture
Even the most deeply flavored beef dish can fall flat without contrast. The final touch—what chefs call “finishing”—adds vibrancy and dimension.
Consider these finishing techniques:
- Acidity: A splash of red wine vinegar, lemon juice, or pickled jalapeño brine lifts heaviness and awakens the palate.
- Fresh herbs: Chopped parsley, cilantro, or chives add freshness and visual appeal.
- Crispy elements: Fried shallots, toasted breadcrumbs, or crushed tortilla chips provide textural contrast.
- Compound butter: A pat of garlic-herb butter melting over a hot steak enriches the surface and adds silkiness.
- Oil infusion: Drizzle with chili oil, truffle oil, or herb-infused olive oil for aromatic lift.
For braised dishes, remove excess fat before serving by chilling briefly and skimming the solidified layer, or use a fat separator. This prevents greasiness and allows other flavors to shine.
Variants and Regional Approaches to Flavorful Beef
Cultures around the world have mastered the art of transforming humble beef into iconic dishes through localized techniques:
- Korean: Uses pear or kiwi in marinades for enzymatic tenderizing; finishes with sesame oil and scallions.
- Mexican: Employs dried chilies, cumin, and orange peel in adobos; slow-roasts for depth.
- Indian: Builds flavor with fried onion paste (birista), garam masala, and yogurt-based marinades.
- Argentinian: Relies on coarse salt and wood fire; minimal seasoning to highlight natural beef flavor.
- Japanese: Combines mirin, soy, and sake for sweet-savory glazes; uses grated daikon to tenderize.
These traditions reinforce a universal principle: great beef flavor comes from patience, layering, and attention to detail—not complexity.
Comparison with Common Mistakes
Understanding what *not* to do is as important as knowing what to do. Here’s how proper technique compares to common pitfalls:
| Aspect | Correct Approach | Common Mistake |
|---|---|---|
| Salting | Dry-brine 1–24 hours ahead | Salt immediately before cooking or not at all |
| Searing | Hot pan, dry surface, undisturbed contact | Pan too cold, wet meat, frequent flipping |
| Marinating Lean Cuts | Limit to 2 hours with acidic components | Overnight in citrus or vinegar-based marinade |
| Building Sauces | Deglaze pan, use fond, reduce liquids | Add broth and simmer without browning or scraping |
| Finishing | Add acid, herbs, or compound butter at end | Serve plain or drown in bottled sauce |
Practical Tips & FAQs
How much seasoning should I use?
As a baseline: 1 teaspoon kosher salt per pound of meat. Adjust pepper and spices to taste, but remember that fat and connective tissue dilute seasoning in larger cuts—underseasoned braises are common. Taste the sauce during cooking and adjust.
Can I use table salt instead of kosher salt?
Yes, but reduce quantity by half—table salt is denser and more sodium-packed. Diamond Crystal kosher salt is less salty by volume than Morton’s, so check brand guidelines.
What’s the best oil for searing?
Choose oils with high smoke points: avocado (520°F), refined canola (400°F), or grapeseed (420°F). Avoid extra virgin olive oil for searing—it burns easily.
How do I store leftover seasoned or cooked beef?
Raw dry-brined beef can be kept covered in the fridge for up to 24 hours. Cooked beef lasts 3–4 days in airtight containers. Freeze braised dishes for up to 3 months.
What are good substitutes for hard-to-find ingredients?
- Fish sauce → Soy sauce + pinch of anchovy paste
- Dried shiitake → Porcini mushrooms or mushroom powder
- Worcestershire → Soy sauce + apple cider vinegar + dash of molasses
Does freezing affect flavor development?
Freezing disrupts cell structure, which can cause moisture loss and slightly muted flavor absorption in marinades. Thaw completely in the refrigerator before seasoning or cooking for best results.
Summary & Key Takeaways
Transforming bland beef into bold flavor doesn’t require exotic ingredients or advanced skills—it requires a systematic approach grounded in culinary science and tradition. Follow these seven steps to consistently elevate your beef dishes:
- Select the right cut for your cooking method—tender for fast, tough for slow.
- Dry-brine with salt 1–24 hours ahead to season deeply and retain moisture.
- Marinate strategically using acid, enzymes, and aromatics—without overdoing it.
- Sear properly with high heat, dry surfaces, and minimal disturbance.
- Layer umami with soy, mushrooms, tomato paste, or fermented products.
- Build flavor in stages for stews and braises—don’t shortcut the process.
- Finish with brightness—acid, herbs, or texture—to balance richness.
These principles apply whether you're making a weeknight burger or a weekend pot roast. Once mastered, they become intuitive—turning every beef dish into an opportunity for flavor mastery.
Challenge yourself this week: Pick one beef dish you usually find bland—tacos, meatloaf, stir-fry—and apply all seven steps. Notice the difference. Then never look back.


 浙公网安备
33010002000092号
浙公网安备
33010002000092号 浙B2-20120091-4
Comments
No comments yet. Why don't you start the discussion?