
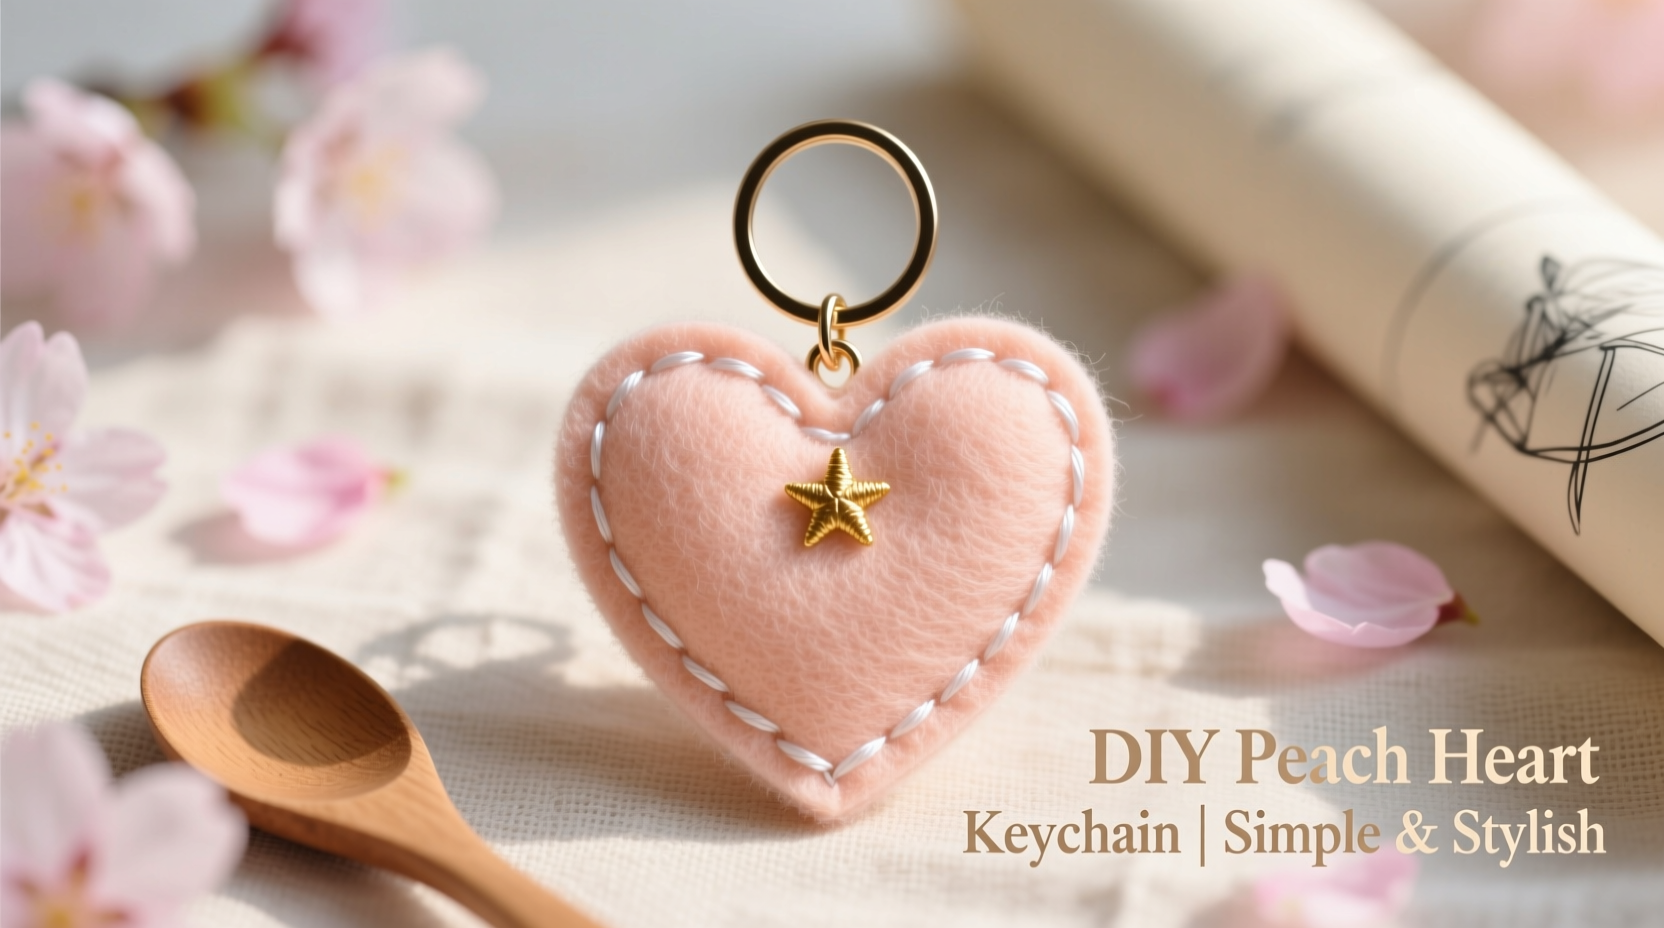
Creating handmade accessories doesn’t require years of crafting experience or expensive materials. A peach heart keychain, soft in appearance and rich in charm, has become a beloved trend among crafters and fashion enthusiasts alike. With its playful shape, warm color palette, and tactile appeal, this accessory blends cuteness with practicality. Whether you're making one for yourself or as a heartfelt gift, this guide walks you through every step using accessible tools and beginner-friendly methods. From selecting the right yarn to mastering basic stitches, this tutorial ensures your finished piece looks polished and professional.
Gathering Your Materials: What You’ll Need
The foundation of any successful craft project lies in preparation. Before picking up a crochet hook or needle, ensure all necessary supplies are on hand. The beauty of this project is that it requires minimal investment but delivers maximum visual impact.
- Pea-colored or light coral plush yarn (acrylic or cotton blend recommended)
- White embroidery thread for detailing
- Size 3.5 mm crochet hook
- Fiberfill stuffing
- Scissors with sharp tips
- Tapestry needle for weaving ends
- Keyring clasp (preferably 25–30mm in diameter)
- Stitch markers (optional but helpful for beginners)
Step-by-Step Guide to Crafting the Peach Heart
This section breaks down the creation process into manageable phases. Follow each stage carefully to maintain consistent tension and symmetry. The entire piece is worked in continuous rounds using basic crochet techniques.
- Start with a magic ring: Begin by crocheting six single crochet (sc) stitches into the ring. Pull tight to close.
- Round 2: Increase in each stitch around (12 sc).
- Round 3: *1 sc, increase* repeat around (18 sc).
- Rounds 4–6: Single crochet in each stitch without increasing (18 sc per round).
- Round 7: *2 sc, decrease* repeat around (12 sc).
- Round 8: Decrease in each stitch around (6 sc). At this point, stop and fasten off, leaving a long tail for sewing.
After completing the shaping, turn the piece inside out temporarily and fill it firmly but gently with fiberfill. Use the tapestry needle to sew the opening closed by weaving through the remaining loops, pulling tight to seal. The result should be a plump oval form—the base of your peach.
Adding the Heart Detail
The signature element of this design is the heart-shaped indentation on the front, mimicking the natural cleft of a real peach. This is achieved through surface embroidery.
- Thread the needle with white yarn and knot the end.
- Begin at the top center of the oval and work downward in a split-stitch line, curving slightly outward on both sides to form a symmetrical heart outline.
- Keep stitches small and even—about 3–4mm apart—for a clean look.
- Secure the back with a double knot and weave the thread into the interior to hide the tail.
Finishing Touches and Assembly
A handmade item stands out not because of complexity, but attention to detail. Once the main body is complete, attach the keyring securely.
- Weave the tapestry needle through the topmost stitches from front to back, ensuring equal tension on both sides.
- Slide the keyring onto the doubled thread before pulling tight.
- Knot securely on the interior side and trim excess.
To enhance realism, lightly airbrush the surface with diluted peach-toned fabric paint or use a dry-brush technique with chalk pastel. Focus on the edges for subtle shading. Alternatively, hand-stitch two tiny brown dots near the stem area to mimic a natural blemish—a touch many artisans overlook but which adds authenticity.
| Element | Recommended Material | Alternative Option |
|---|---|---|
| Main Yarn | Chenille acrylic (peach tone) | Pima cotton blend |
| Embroidery Thread | Stranded cotton (white) | Mercerized thread |
| Stuffing | Polyester fiberfill | Recycled filling from old pillows |
| Hook Size | 3.5 mm aluminum | Bamboo equivalent |
Common Pitfalls and How to Avoid Them
Even experienced crafters encounter issues like uneven stuffing, loose stitching, or misaligned features. Being aware of these challenges ahead of time improves outcomes significantly.
- Problem: The heart shape appears lopsided.
Solution: Sketch the outline lightly with a washable marker before stitching. - Problem: Stitches are too loose, causing gaps.
Solution: Switch to a smaller hook or practice maintaining consistent tension. - Problem: Keyring feels unstable.
Solution: Reinforce the attachment point with three passes of thread instead of one.
“Small handmade items like keychains are deceptively powerful—they carry emotion in miniature form. A well-crafted piece speaks volumes about care and intention.” — Lila Nguyen, Textile Artist & Craft Educator
Mini Case Study: From First Try to Gift Success
Sophie, a college student with no prior crochet experience, decided to make peach heart keychains for her five closest friends during finals week. She followed an early version of this tutorial, initially struggling with maintaining even rounds. After her first attempt collapsed due to under-stuffing, she adjusted by using tighter stitches and adding extra fiberfill. By the third try, her technique improved dramatically. Each friend received a personalized keychain with their initial stitched in cursive beside the heart. One later told her, “I’ve never lost my keys since—I check them constantly just to see this little thing smiling at me.” Sophie now leads a small crafting circle at her dorm, teaching others how to make variations using different fruits and colors.
Checklist for a Flawless Finish
Use this checklist before declaring your keychain complete:
- ✅ Shape is symmetrical and evenly stuffed
- ✅ Embroidered heart is centered and smooth
- ✅ All yarn tails are woven in and hidden
- ✅ Keyring is securely attached and rotates freely
- ✅ No visible gaps or skipped stitches
- ✅ Surface texture is soft and inviting to touch
Frequently Asked Questions
Can I make this without knowing how to crochet?
Yes. While crochet forms the core structure here, you can adapt the method using felt fabric. Cut two identical peach-shaped ovals, embroider the heart on one side, sew around the edges leaving a gap, stuff, then hand-stitch closed. It achieves a similar aesthetic with zero yarn work.
How long does it take to make one keychain?
For a beginner, expect 60 to 90 minutes including setup and finishing. With practice, skilled crafters complete one in under 30 minutes.
Is this suitable for children or classroom activities?
Absolutely. The project teaches fine motor skills, pattern recognition, and creative expression. Substitute plastic needles and pre-cut shapes for younger kids to ensure safety.
Final Thoughts and Creative Encouragement
The peach heart keychain transcends being just a functional object—it becomes a token of warmth, a splash of joy on an ordinary day. Its simplicity invites participation; its elegance rewards attention. More than just following steps, this craft encourages personalization. Try using lavender yarn for a \"grape heart,\" or add green felt leaves for botanical flair. Change the embroidery to a star, initial, or smiley face. The structure remains the same, but your imagination sets the tone.


 浙公网安备
33010002000092号
浙公网安备
33010002000092号 浙B2-20120091-4
Comments
No comments yet. Why don't you start the discussion?