
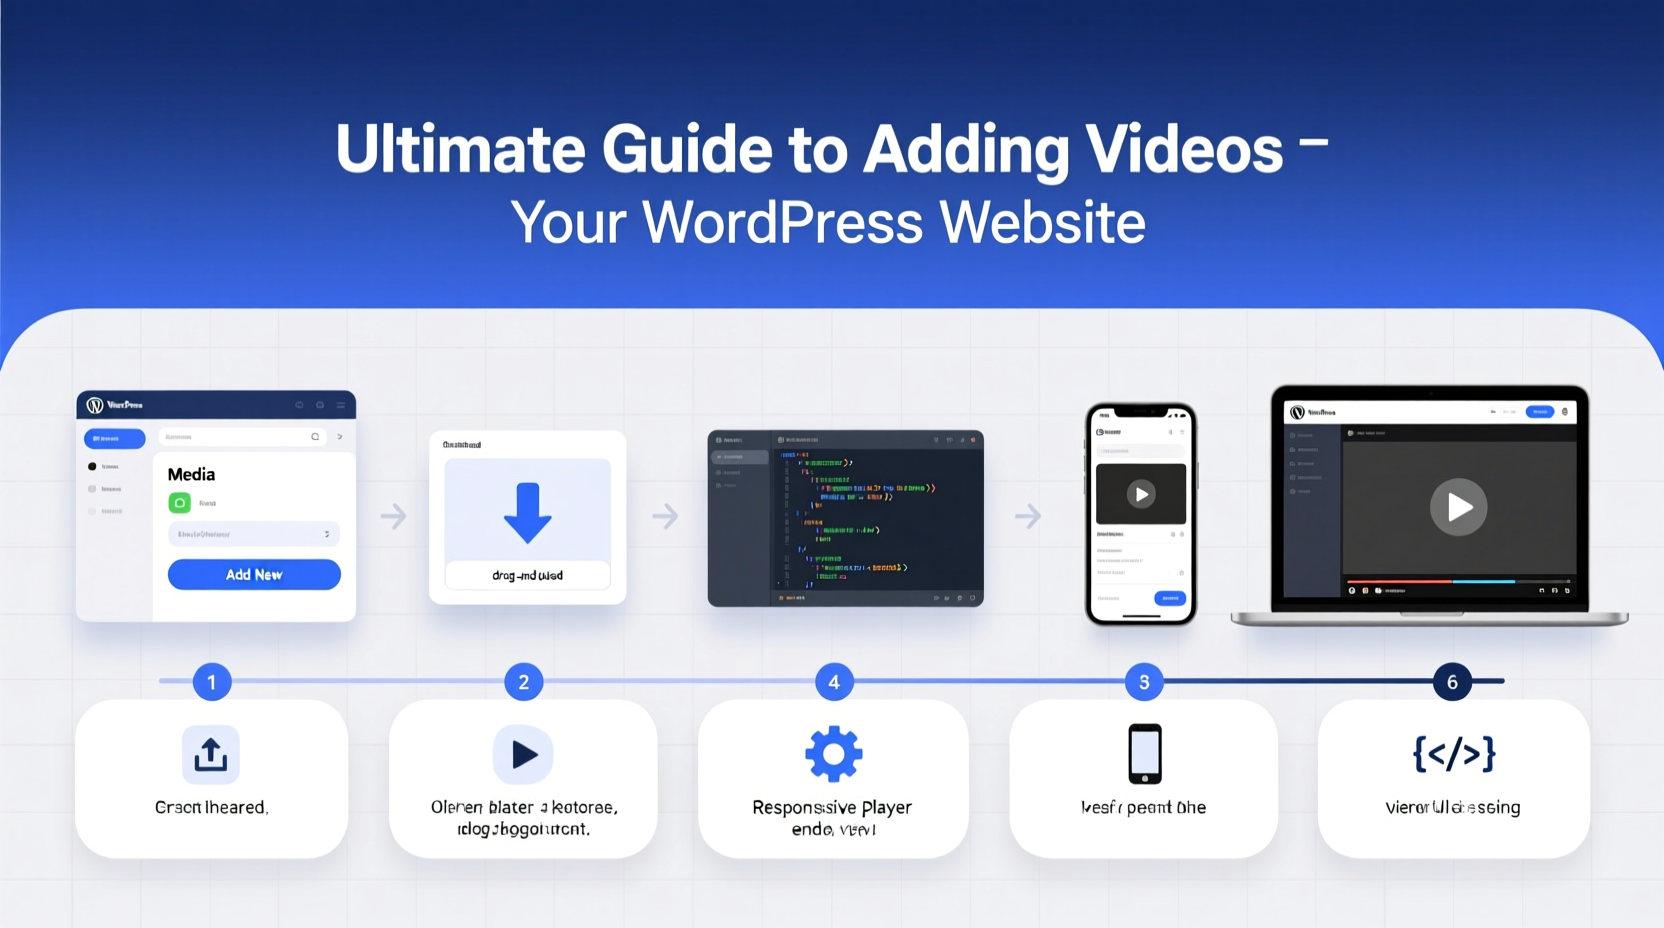
Adding video content to your WordPress site enhances engagement, improves SEO, and keeps visitors on your pages longer. Whether you're a beginner using the default editor or an experienced developer comfortable with code, there’s a method that fits your skill level. This guide walks through every practical way to embed and manage videos—direct uploads, platform embeds, shortcode use, custom HTML, and plugin solutions—all while maintaining performance and user experience.
Why Video Matters on Your WordPress Site
Video is no longer optional. Studies show that pages with video retain visitors up to 2–3 times longer than text-only pages. Google also favors rich media when ranking content, especially when it increases dwell time. From product demos to tutorials and testimonials, video builds trust and clarity faster than paragraphs of text.
The key is integrating video without slowing down your site or compromising mobile responsiveness. The right approach depends on where your video lives, how much control you need, and your technical comfort level.
Method 1: Embedding from External Platforms (Beginner-Friendly)
The easiest way to add video is by embedding from platforms like YouTube, Vimeo, or Wistia. WordPress supports oEmbed, meaning you can paste a video URL directly into the editor, and it automatically converts into a playable player.
- Navigate to the post or page where you want the video.
- In the block editor, click “+” to add a new block and select “Paragraph” or “Custom HTML.”
- Paste the full URL of your YouTube or Vimeo video on its own line.
- Press Enter. WordPress will fetch and display the embedded player.
This method requires zero coding and works instantly. However, keep in mind that third-party platforms may display ads or suggested videos unless you upgrade to a paid plan (e.g., Vimeo Pro).
Method 2: Uploading Videos Directly to WordPress (Intermediate)
Uploading videos directly gives you full ownership and eliminates reliance on external services. But it comes with trade-offs: large files consume server space and can slow down your site if not optimized.
Step-by-Step Upload Process
- Go to your WordPress dashboard and click Media > Add New.
- Drag and drop your video file or click “Select Files.”
- Wait for the upload to complete. Supported formats include MP4, MOV, WebM, and OGV.
- Once uploaded, copy the file URL from the media library.
- Insert it into a post using the “Video” block in the Gutenberg editor.
After insertion, you can enable autoplay, loop, or show controls via the block settings sidebar.
“Self-hosting gives creative freedom but demands responsibility. Optimize resolution, bitrate, and format to avoid performance hits.” — Daniel Lin, WordPress Performance Consultant
Tips for Optimizing Self-Hosted Videos
- Convert videos to MP4 (H.264 codec) for broad compatibility.
- Resize videos to 720p or 1080p max; higher resolutions rarely improve UX but increase load time.
- Use tools like HandBrake or FFmpeg to compress files before uploading.
- Enable lazy loading so videos only load when scrolled into view.
Method 3: Using Shortcodes for Custom Control
Shortcodes allow precise control over video playback without touching PHP or HTML. WordPress includes a built-in [video] shortcode for self-hosted files.
Example:
[video src=\"https://yoursite.com/wp-content/uploads/demo-video.mp4\" controls=\"true\" autoplay=\"false\" loop=\"false\" preload=\"metadata\"]
You can also create custom shortcodes via your theme’s functions.php file for reusable video templates. For instance:
function branded_video_player($atts) {
    $a = shortcode_atts(array(
        'src' => '',
        'poster' => ''
    ), $atts);

    return '<video controls poster=\"' . $a['poster'] . '\" style=\"width:100%;border-radius:8px;\">
                <source src=\"' . $a['src'] . '\" type=\"video/mp4\">
            </video>';
}
add_shortcode('branded_video', 'branded_video_player');
Now use [branded_video src=\"url-to-video.mp4\" poster=\"thumbnail.jpg\"] anywhere in posts.
Method 4: Advanced – Custom HTML & JavaScript Integration
For developers, embedding videos via raw HTML offers maximum flexibility. Use this when integrating interactive players, custom skins, or analytics tracking.
Example of a responsive HTML5 video embed:
<div style=\"position:relative;padding-bottom:56.25%;height:0;overflow:hidden;\">
  <video style=\"position:absolute;top:0;left:0;width:100%;height:100%;\"
        controls preload=\"metadata\">
    <source src=\"/videos/intro.mp4\" type=\"video/mp4\">
    Your browser does not support the video tag.
  </video>
</div>
This ensures the video maintains a 16:9 aspect ratio across devices. Combine with JavaScript libraries like Plyr or Video.js for enhanced UI and cross-browser consistency.
Method 5: Leveraging Plugins for Scalable Video Management
If you publish video regularly, plugins streamline organization, delivery, and optimization.
| Plugin | Best For | Key Features |
|---|---|---|
| Envira Gallery | Lightweight galleries with video | Responsive grids, lightbox support, fast loading |
| WP Video Lightbox | Popup-style playback | Modal windows, trigger buttons, clean UI |
| Nexter | Performance-focused embeds | Lazy loading, cookieless YouTube embedding |
| Adaptive Images for Video | Bandwidth optimization | Serves lower-quality video on mobile automatically |
Plugins reduce manual work but should be chosen carefully—only install trusted, regularly updated ones to avoid security risks or bloat.
Mini Case Study: Growing Engagement with Embedded Tutorials
Jessica runs a DIY home renovation blog. She noticed high bounce rates on her \"How to Tile a Backsplash\" article. After adding a 3-minute embedded tutorial (hosted on Vimeo Pro), average session duration increased by 68%. She used a thumbnail overlay linking to the video and placed it mid-article where readers typically got stuck.
By combining clear visuals with concise narration, she reduced support emails and saw a 24% rise in newsletter signups from that page. Her takeaway: strategic video placement beats random additions.
Checklist: Best Practices for Adding Videos to WordPress
- ✅ Choose hosting based on control vs. convenience (self-host vs. platform embed)
- ✅ Compress videos before uploading to save bandwidth
- ✅ Always add subtitles or transcripts for accessibility
- ✅ Test playback on mobile, tablet, and desktop
- ✅ Use descriptive filenames and alt text for SEO
- ✅ Enable privacy-enhanced mode for YouTube embeds (if available)
- ✅ Monitor site speed after adding multiple videos
Frequently Asked Questions
Can I autoplay videos on my WordPress site?
Yes, but with limitations. Most browsers block autoplay with sound to prevent disruption. You can enable autoplay only if the video is muted. In the Gutenberg editor, toggle “Autoplay” and ensure “Muted” is checked. Avoid excessive autoplay—it can hurt UX and increase bounce rates.
Why is my uploaded video not playing?
Common causes include unsupported formats (ensure H.264-encoded MP4), incorrect MIME types on the server, or missing HTML5 support. Check your web host allows video streaming and confirm the file plays locally. Also, verify that caching plugins aren’t interfering with media delivery.
Do embedded videos affect my site speed?
Externally hosted videos (YouTube, Vimeo) have minimal impact since they load from third-party servers. Self-hosted videos significantly affect performance if unoptimized. Always compress files, enable lazy loading, and consider offloading videos to a CDN for better global delivery.
Final Thoughts: Make Video Work for You, Not Against You
Video integration in WordPress doesn’t have to be complicated. Start simple—embed a YouTube link—and evolve as your needs grow. Whether you're uploading your own files, writing custom shortcodes, or deploying powerful plugins, the goal remains the same: deliver valuable content efficiently and beautifully.
The most effective video strategies are intentional, optimized, and user-centered. Don’t just add video because it’s trendy. Add it where it clarifies, demonstrates, or inspires.


 浙公网安备
33010002000092号
浙公网安备
33010002000092号 浙B2-20120091-4
Comments
No comments yet. Why don't you start the discussion?