
Customizing your Nintendo Switch gamepad with RGB LED lighting transforms a standard controller into a personalized gaming centerpiece. Whether you're aiming for aesthetic flair, ambient match lighting, or synchronized effects during gameplay, adding dynamic color control elevates both style and immersion. While Nintendo doesn’t offer built-in RGB support on Joy-Con or Pro Controllers, a growing community of modders has developed reliable methods to retrofit these devices safely. This guide walks through everything you need to know—from planning and parts selection to installation and customization—so you can bring vibrant lighting to your gaming setup without compromising functionality.
Understanding Your Options: Types of RGB Customization
Before picking up a soldering iron, it's important to understand the different approaches available for integrating RGB lighting into your Switch gamepad. Each method varies in complexity, reversibility, and visual impact.
- Surface-Mounted LEDs: Tiny LEDs glued or taped inside transparent areas of the controller shell. This non-invasive method preserves original hardware but offers limited brightness and diffusion.
- Embedded LED Strips: Flexible RGB strips installed beneath translucent plastic zones (like analog stick surrounds or trigger housings). Requires disassembly but delivers even glow and better control.
- Soldered Addressable LEDs: Individual WS2812B or similar addressable LEDs wired directly into the controller’s power circuit. Offers full color control via microcontrollers but demands technical precision.
- External Light Mods: Battery-powered rings or clips that attach externally. No modification required, though they may interfere with grip or docking.
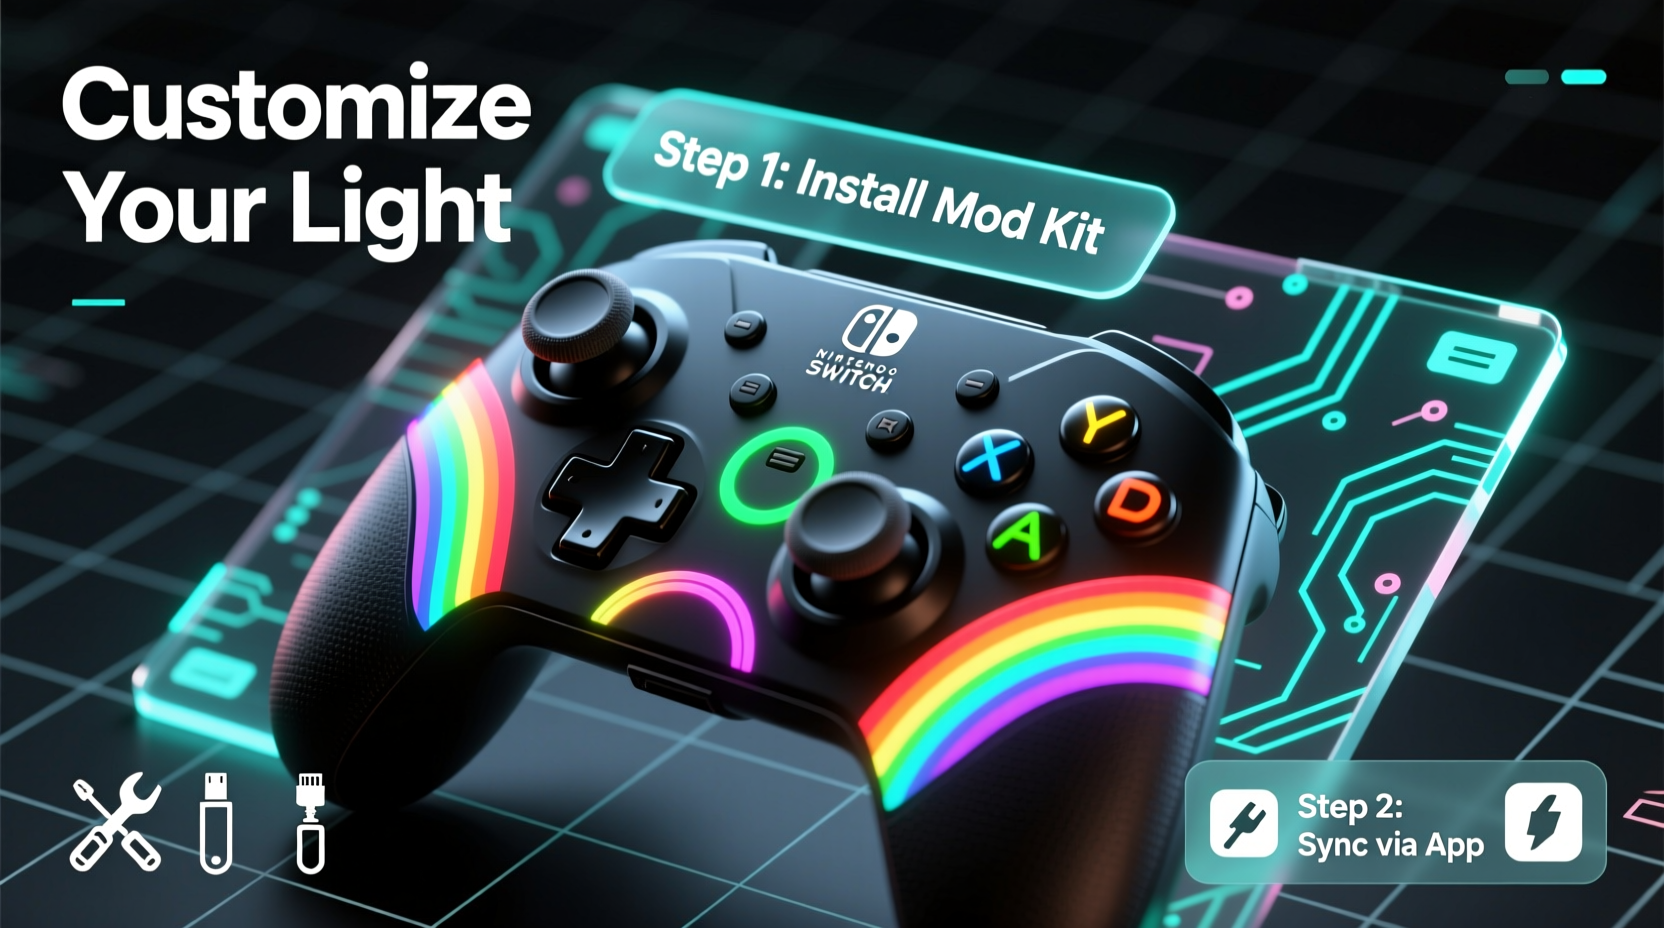
Tools and Materials Checklist
Successful RGB integration depends on having the right tools. Below is a complete checklist for a mid-level embedded LED project using addressable pixels.
🔧 Essential Tools
- Precision Phillips screwdriver (#00)
- Plastic pry tools (to avoid scratching casing)
- Soldering iron with fine tip
- Helping hands tool with magnifier
- Wire cutters and strippers
- Multimeter (for continuity and voltage checks)
💡 Components Required
- Addressable RGB LEDs (e.g., WS2812B \"NeoPixels\") – 3–6 units depending on design
- Microcontroller (optional, e.g., Arduino Pro Mini or QMK-compatible board)
- Thin insulated wire (30 AWG recommended)
- Resistor (220–330 ohms) for data line protection
- Heat shrink tubing or electrical tape
- Double-sided foam tape or epoxy (for securing components)
“We’ve seen a surge in demand for subtle, diffused lighting that enhances rather than overwhelms the controller’s design.” — Jordan Lee, DIY Gaming Modder and Content Creator
Step-by-Step Installation Guide
Follow this sequence to install RGB LEDs inside a Nintendo Switch Pro Controller. The same principles apply to Joy-Con with adjusted space considerations.
- Disassemble the Controller: Remove all screws using a precision driver. Carefully separate the top and bottom shells using plastic tools. Disconnect the battery ribbon cable immediately for safety.
- Plan LED Placement: Identify translucent areas—common spots include around the D-pad, face buttons, or near the home button. Use temporary adhesive to mock up LED positions.
- Prepare the LEDs: Solder wires to the VCC, GND, and DATA IN pins of the first LED. Use color-coded wires: red for power, black for ground, green/white for data.
- Connect Power Source: Tap into the controller’s internal 3.3V rail. Locate test points on the main PCB labeled “VDD” or measure voltage with a multimeter. Never draw from battery terminals directly.
- Route Wires Neatly: Thread wires along internal channels to avoid interference with joysticks or buttons. Secure with foam tape to prevent movement.
- Test Before Closing: Reconnect the battery and use a simple code (via Arduino IDE) to cycle colors. Confirm no flickering or overheating.
- Reassemble Safely: Ensure no wires are pinched. Replace all screws and verify button responsiveness before final closure.
Software Control and Lighting Effects
Once hardware is in place, software determines how your lights behave. For addressable LEDs, libraries like Adafruit_NeoPixel (Arduino) enable rich effects.
| Effect Type | Description | Best Use Case |
|---|---|---|
| Breathing Fade | Gentle pulse between brightness levels | Ambient desk lighting during idle time |
| Rainbow Cycle | Smooth progression across the color spectrum | Showcasing mod at gaming events |
| Button Sync | Lights react to A/X/B/Y presses | Immersive feedback during gameplay |
| Audio Reactive | Lights pulse with sound input (via mic) | Streaming or music visualization |
To implement button-synced lighting, you’d intercept signal lines from switches to the mainboard and feed them into a microcontroller as inputs, then trigger LED responses accordingly. Advanced users integrate Bluetooth modules to sync lighting with game audio or system themes.
Real-World Example: Enhancing a Tournament Setup
Consider Mark, a competitive Super Smash Bros. Ultimate player who customized his Pro Controller with four addressable LEDs around the analog stick. He programmed a breathing blue effect during character selection, shifting to rapid red pulses when his fighter’s damage exceeds 100%. This visual cue helps him adjust playstyle instinctively. By keeping wiring minimal and using a low-profile microcontroller, he maintained full ergonomics while gaining a tactical edge. His build survived six months of daily tournament use with zero failures.
Do’s and Don’ts of RGB Gamepad Mods
| Do’s | Don’ts |
|---|---|
| Use only 3.3V or regulated 5V sources | Tap into unregulated battery lines |
| Insulate all solder joints thoroughly | Leave exposed wires near moving parts |
| Test lighting outside the case first | Reassemble without verifying function |
| Keep modifications reversible when possible | Glue components permanently on first try |
| Diffuse LEDs with translucent tape or paint | Point LEDs directly at eyes or screens |
Frequently Asked Questions
Will adding RGB void my warranty?
Yes. Any internal modification, including soldering or drilling, voids Nintendo’s warranty. If preserving warranty coverage is important, consider external lighting solutions instead.
Can I sync the lights with my game or console?
Direct system-level syncing isn't supported by Nintendo, but third-party tools like OpenRGB or custom Arduino scripts can simulate reactive lighting based on audio output or button usage patterns.
How long do DIY RGB mods typically last?
With proper installation and heat management, most LED mods last over two years. The primary failure points are wire fatigue at stress bends and poor solder joints. Reinforcing connections with hot glue extends longevity significantly.
Final Thoughts and Next Steps
Customizing RGB LED lighting on your Nintendo Switch gamepad blends creativity with technical skill, offering a deeply personal touch to your gaming gear. From subtle glows to dynamic animations, the possibilities are limited only by space, power, and imagination. Whether you're building a showpiece for your streaming rig or enhancing gameplay cues, careful planning and attention to detail ensure lasting results.


 浙公网安备
33010002000092号
浙公网安备
33010002000092号 浙B2-20120091-4
Comments
No comments yet. Why don't you start the discussion?