
The ZD Toys Iron Man MK46 is one of the most detailed and screen-accurate collectible figures available today. With its intricate armor design and dynamic articulation, it's a prime candidate for customization. Whether you're aiming for enhanced realism, unique color variations, or battle-damaged authenticity, this guide walks through every phase of transforming your MK46 into a personalized masterpiece. From prep work to finishing touches, these methods are trusted by experienced collectors and prop modders alike.
Understanding Your Canvas: The MK46’s Design Strengths
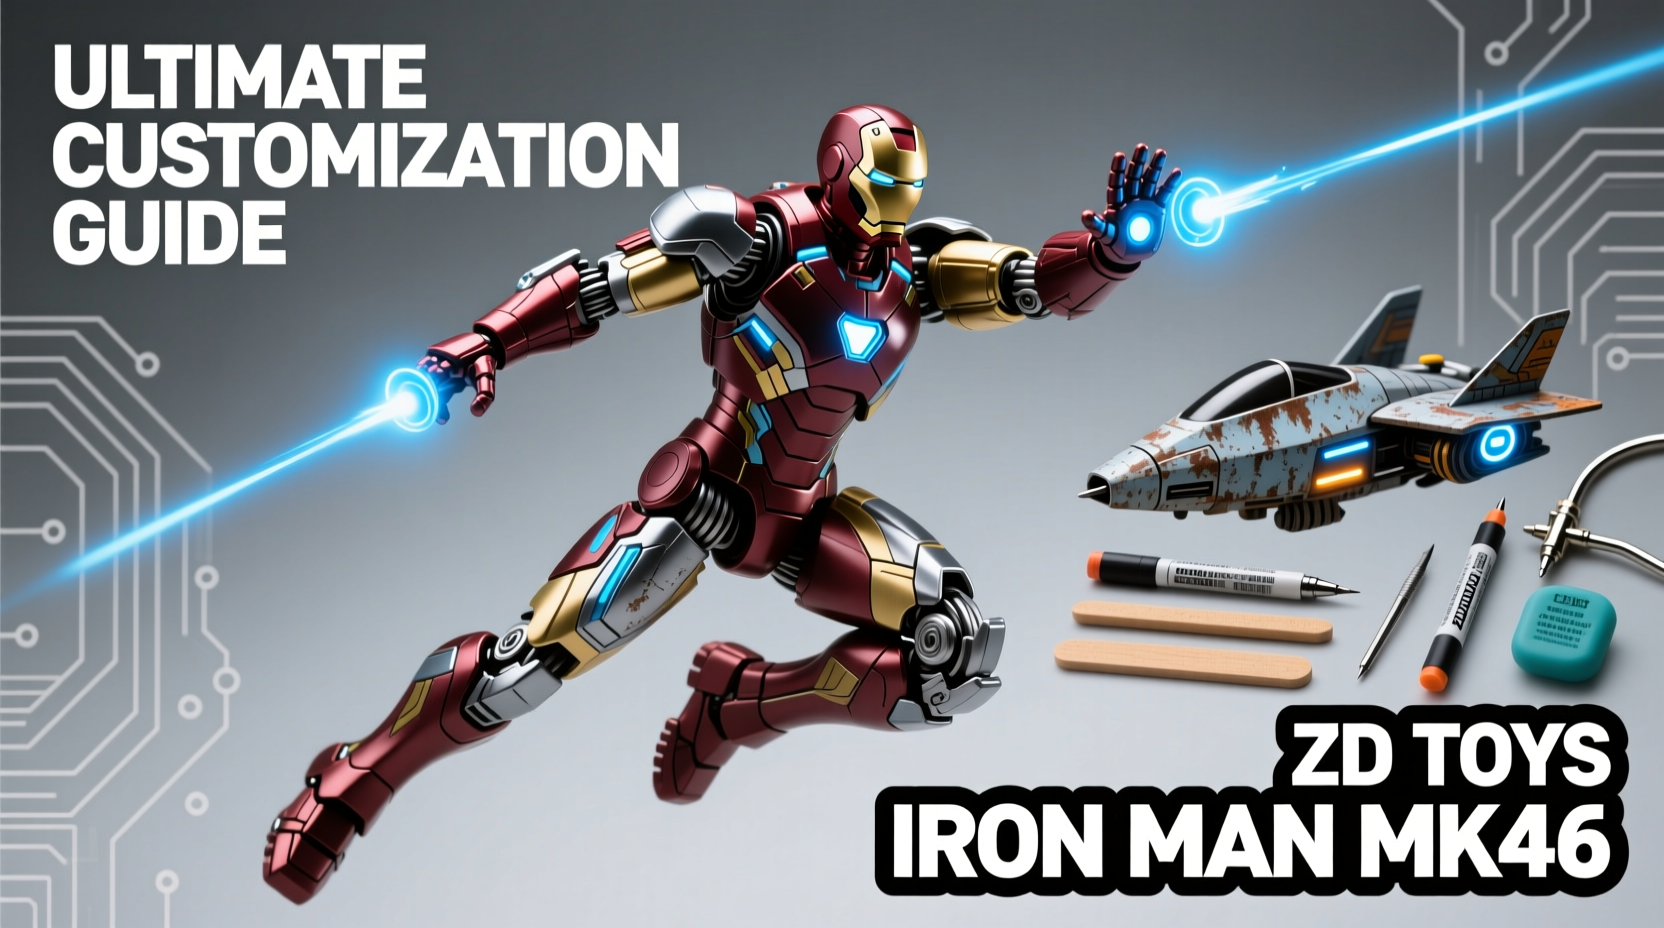
The MK46, also known as “The Titan,” features a robust exoskeleton-inspired design with layered plating, glowing arc reactor elements, and multiple interchangeable parts. Its polystone and PVC construction offers durability but also presents challenges when modifying. Unlike mass-market figures, ZD Toys models use high-grade materials that respond well to sanding, priming, and painting—if handled correctly.
Key areas often customized include:
- Armor segments (chest, shoulders, forearms)
- Helmet and faceplate detailing
- Glow effects (arc reactor, palm repulsors)
- Weathering and battle damage
- Base integration for dynamic displays
Essential Tools and Materials Checklist
Success in figure customization hinges on using the right tools. Here’s what you’ll need to get started:
- Micro sandpaper (400–2000 grit)
- Plastic primer (spray or airbrush-compatible)
- Acrylic or enamel paints (metallics recommended)
- Detail brushes (sizes 00 and 0)
- Isopropyl alcohol (90%+) for cleaning
- Putty or epoxy for gap filling
- Clear coat (matte, satin, or gloss depending on finish)
- Tweezers and hobby knife
- Masking tape (precision grade)
- LED lighting kit (optional for glow effects)
Step-by-Step Customization Process
Follow this sequence to ensure professional results without damaging your figure:
- Disassembly: Carefully remove hands, head, and any detachable armor plates. Label parts if needed.
- Cleaning: Wipe all surfaces with isopropyl alcohol to remove mold release agents and oils.
- Sanding: Lightly sand glossy areas where paint won’t adhere. Focus on seams and joint connectors.
- Priming: Apply thin, even coats of plastic primer. Let dry completely between layers (2–3 hours).
- Base Coating: Use an airbrush or fine brush for smooth application. Red, gold, and silver are standard, but consider alternate schemes like black/red or gunmetal.
- Detailing: Add panel lines using a wash technique—thin black enamel, apply generously, then wipe away excess.
- Weathering: Dry-brush metallic edges with gray or brown to simulate wear. Add chipped paint effects with a small brush.
- Glow Effects: For arc reactor and repulsors, use translucent orange/yellow paint layered over white LED backlighting.
- Sealing: Finish with a UV-resistant clear coat to protect against yellowing and handling marks.
- Reassembly: Reattach parts gently. Test articulation post-customization to ensure no paint cracking.
Paint Techniques for Realism and Depth
Flat, uniform colors rarely look convincing on high-end figures. To achieve cinematic depth, layer your approach:
- Washes: A thinned dark pigment settles into recesses, emphasizing mechanical detail. Best applied after base color.
- Dry Brushing: Load a nearly dry brush with light metallic paint and lightly drag across raised surfaces for highlights.
- Edge Wear: Simulate friction points (elbows, knees) with subtle rust or scuff effects using earth-toned pigments.
- Decals: Use water-slide decals for circuit patterns or branding. Seal with clear coat before and after application.
| Technique | Purpose | Recommended Product |
|---|---|---|
| Panel Line Wash | Define armor segmentation | Tamiya Panel Line Accent Color (Dark Brown) |
| Dry Brushing | Add surface highlight | Folk Art Metallics (Antique Gold) |
| Glazing | Subtle color shifts | Golden Fluid Acrylics (Transparent Oxide Red) |
| Chipping | Battle damage effect | Mig Productions Chipping Master Set |
Avoiding Common Mistakes: Do’s and Don’ts
Even seasoned modders make errors when rushing or skipping steps. Stay on track with this comparison guide:
| Do | Don’t |
|---|---|
| Work in thin layers to prevent texture buildup | Apply thick paint that obscures detail |
| Allow 24 hours curing time before handling | Reassemble too soon and risk smudging |
| Use a respirator when sanding or spraying | Inhale fumes from primers or solvents |
| Test colors on a spare part first | Assume screen colors match real-life pigments |
| Store finished figure away from direct sunlight | Display near windows causing UV degradation |
“Customization isn’t about hiding the original—it’s about enhancing what’s already strong. A great mod respects the source while adding personal vision.” — Marcus Tran, Prop Restoration Specialist & Collector
Real Example: Transforming a Factory-Fresh MK46 into a Battle-Worn Hero
Jessica R., a longtime Marvel collector from Austin, TX, wanted her MK46 to reflect Tony Stark’s final stand in *Avengers: Endgame*. She began by stripping the factory gloss with 600-grit paper, then applied a matte black undercoat. Over this, she painted red sections with intentional unevenness—using stippling to mimic rushed field repairs. Panel lines were exaggerated with heavy washes, and copper-colored putty was added around damaged joints to simulate exposed wiring. Finally, she installed micro-LEDs powered by a coin battery hidden in the base, making the arc reactor pulse realistically. The result? A museum-quality piece now featured in a local pop culture exhibit.
Advanced Options: Electronics and Display Integration
For those pushing beyond paint, integrating functional elements elevates your figure further:
- LED Lighting: Tiny SMD LEDs can be embedded in the chest, eyes, and palms. Use fiber optics for seamless light transmission through narrow channels.
- Motion Bases: Motorized stands allow slow rotation, ideal for showcasing all angles.
- Sound Modules: Miniature speakers triggered by motion sensors can play iconic lines (“I am Iron Man”) or repulsor charging sounds.
- Environmental Bases:
Create rubble, energy fields, or holographic interfaces using resin casting and acrylic layers.
FAQ
Can I repaint my MK46 without damaging the original sculpt?
Yes, as long as you avoid excessive heat, harsh solvents, or aggressive sanding. Always start with gentle preparation and use plastic-safe primers.
How do I fix a broken finger or damaged armor piece?
Use two-part epoxy putty (like Milliput) to rebuild lost sections. Once cured, sand and repaint to match. For complete replacements, consider 3D printing a duplicate from a scan.
Will modifying my figure reduce its resale value?
It depends. Factory-original mint-condition figures hold higher collector value. However, exceptionally crafted customs can attract niche buyers and sometimes exceed original pricing at auction.
Conclusion: Make It Yours
The ZD Toys Iron Man MK46 is more than a replica—it’s a foundation for creativity. With patience, precision, and passion, you can transform it into a one-of-a-kind tribute to engineering, storytelling, and personal expression. Every brushstroke, every modulated light, every weathered edge tells a story only you can define. Don’t just display your figure—let it speak. Start small, learn continuously, and share your journey with fellow enthusiasts who appreciate the craft as much as you do.


 浙公网安备
33010002000092号
浙公网安备
33010002000092号 浙B2-20120091-4
Comments
No comments yet. Why don't you start the discussion?