
The Iron Man MK45 model, inspired by Tony Stark’s cutting-edge armor from the Marvel Cinematic Universe, is more than just a collectible—it's a statement piece. Whether you're a lifelong fan of the franchise or a hobbyist with an eye for detail, customizing your MK45 can transform it from a standard replica into a one-of-a-kind centerpiece. Personalization allows you to reflect your style, highlight engineering details, and elevate its presence in any room. This guide covers proven methods, tools, and creative strategies to help you craft a truly distinctive display.
Understanding the MK45 Model: Design and Features
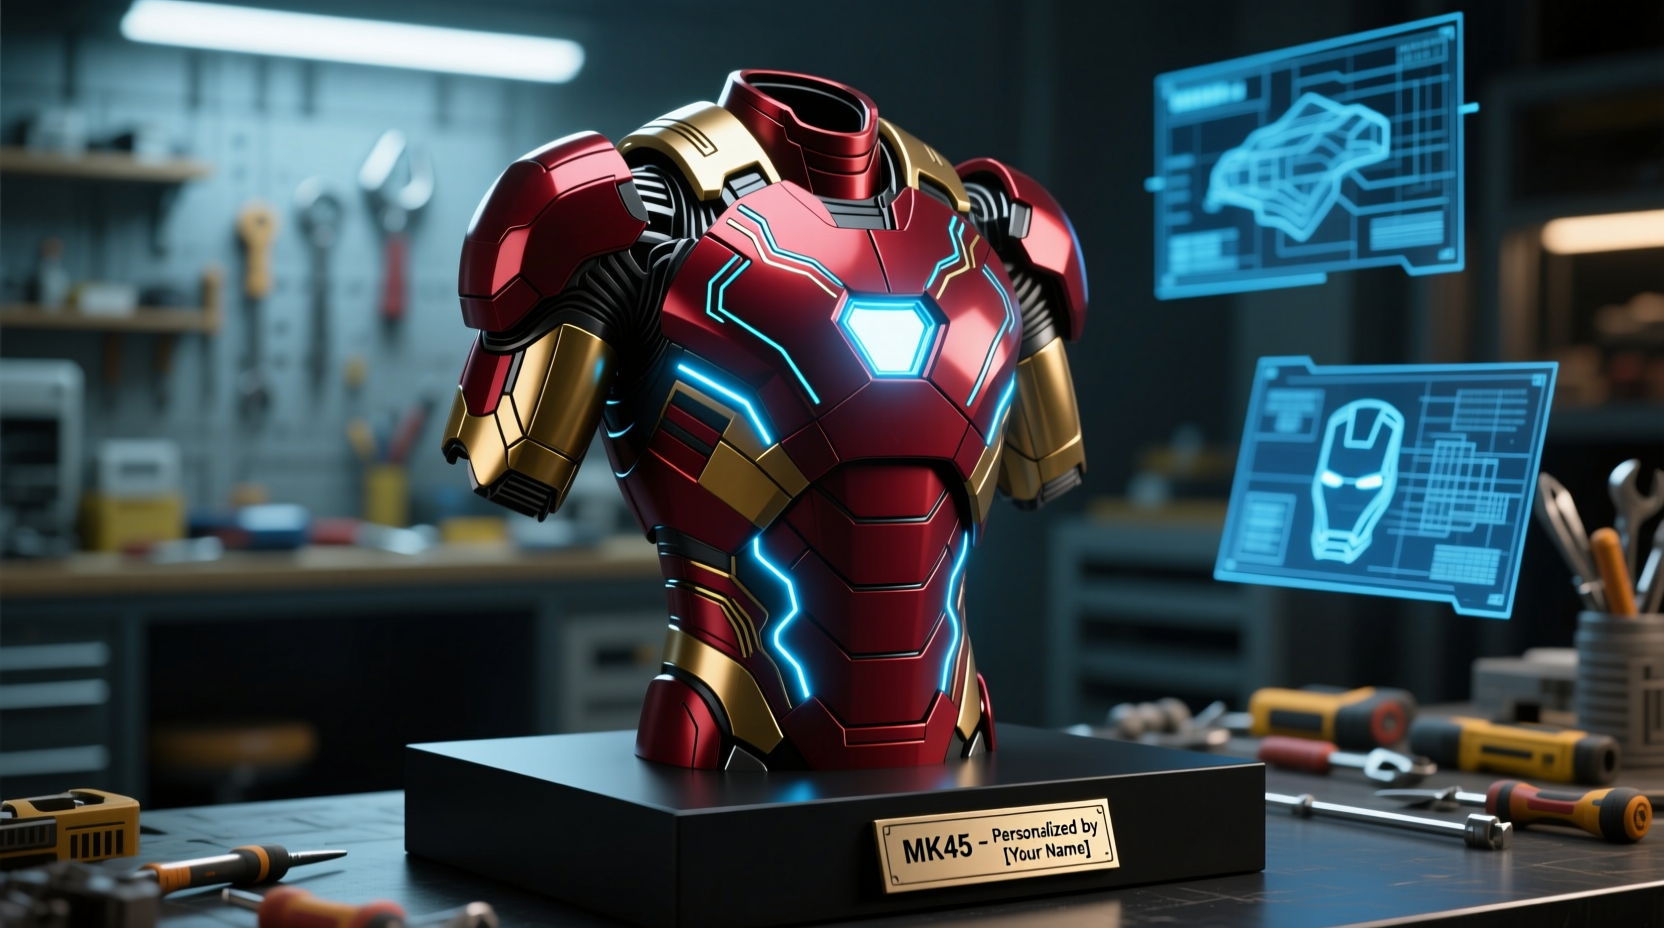
The MK45, also known as the Mark XLV, debuted in *Iron Man 3* and introduced a sleeker, modular design optimized for rapid deployment. Its segmented armor pieces and matte red-and-gold finish distinguish it from earlier models. Most commercially available replicas are made from polystone, resin, or high-grade PVC, offering durability and fine surface detail ideal for modification.
Before making changes, study the model’s structure. Identify removable sections such as the helmet, chest plate, arms, and base. Knowing which parts are glued versus snap-fit helps prevent damage during disassembly. Also, examine factory paint quality—some kits may have uneven finishes or visible mold lines, presenting opportunities for improvement through sanding, priming, and repainting.
Step-by-Step Guide to Customizing Your MK45
Personalization doesn’t require professional skills—just patience and the right approach. Follow this sequence to ensure lasting results:
- Disassemble Carefully: Remove detachable components using appropriate tools like plastic spudgers or precision screwdrivers. Keep screws and small parts in labeled containers.
- Clean and Prep Surfaces: Wash each piece with mild soap and water. Dry thoroughly, then lightly sand glossy areas with 600–1000 grit sandpaper to improve paint adhesion.
- Prime the Model: Apply a thin coat of plastic-compatible primer. This creates a uniform base and prevents paint from peeling.
- Repaint with Precision: Use acrylic or enamel paints designed for miniatures. Airbrushing yields smoother results; hand-brushing works well for small details.
- Add Weathering Effects: Simulate battle wear with dry brushing, washes, or subtle chipping using a sponge or old brush.
- Reassemble and Seal: Once paint is fully cured (24–48 hours), reattach parts. Finish with a clear matte or satin sealant to protect against dust and UV fading.
Incorporating Lighting and Display Enhancements
No Iron Man display is complete without lighting. The arc reactor and palm repulsors are natural focal points for illumination. LED integration adds realism and dramatically improves visual impact, especially in low-light environments.
Small SMD (surface-mount device) LEDs in warm white or blue can be embedded behind the chest piece and hands. Use flexible wiring and a micro battery pack hidden within the base. For advanced users, consider adding a motion sensor or remote-controlled dimmer to activate lights when approached.
| Component | Recommended LED Type | Power Source | Installation Tip |
|---|---|---|---|
| Arc Reactor | 3mm Blue LED | CR2032 Coin Cell | Diffuse light with translucent plastic disc |
| Palm Repulsors | SMD White LED | Mini Lithium Pack | Angle toward center for beam effect |
| Eye Lenses | 2mm Yellow LED | Shared Circuit | Use fiber optics for slim fit |
Expert Insight: What Makes a Display Truly Stand Out?
According to Diego Marquez, a prop designer who has worked on museum-quality Marvel exhibits, “The best custom displays don’t just replicate—they interpret. It’s not about copying the movie version exactly. It’s about telling a story through wear, color, and context.”
“Add personal touches: a scratched forearm from ‘battle damage,’ a custom serial number, or even a fictional service history plaque. These elements turn a model into a narrative artifact.” — Diego Marquez, Prop Design Specialist
This philosophy encourages creativity beyond paint and lights. Consider what version of the MK45 you want to portray: a freshly deployed suit? One returning from combat? Or a prototype variant with experimental upgrades?
Real Example: Transforming a Standard Kit into a Collector’s Showcase
James R., a mechanical engineer and avid collector from Austin, Texas, purchased a standard MK45 kit but wanted something bolder. He repainted the armor in deep metallic crimson with brushed titanium plating effects on the limbs. Using circuit board scraps and tiny bolts, he added panel detailing to the back unit, simulating enhanced power systems.
He installed addressable RGB LEDs that pulse in sequence, mimicking reactor startup. The base was rebuilt from acrylic and etched with holographic-style schematics of the MK45’s flight systems. At local comic conventions, his model won two awards for craftsmanship. “It stopped being a toy,” James said. “It became a project that reflected my passion for engineering and storytelling.”
Customization Checklist
- Inspect model for defects or misalignments
- Gather tools: sandpaper, primer, paints, brushes, airbrush (optional)
- Plan color scheme and theme (e.g., stealth black, battle-damaged, prototype)
- Select and test LEDs for key features (chest, eyes, palms)
- Design or modify display base for stability and aesthetics
- Apply protective topcoat after all modifications
- Document the build process with photos for sharing or future reference
Frequently Asked Questions
Can I repaint my MK45 without damaging the material?
Yes, as long as you use paints formulated for plastics and prepare the surface properly. Always test on a small, inconspicuous area first. Avoid oil-based paints unless a bonding agent is used, as they can cause cracking over time.
How do I prevent fingerprints on glossy finishes?
Wear cotton or nitrile gloves when handling painted surfaces. After sealing, apply a final anti-smudge coating if available. Regular dusting with a microfiber cloth helps maintain clarity without scratching.
Is it safe to leave LEDs on continuously?
Low-power SMD LEDs generate minimal heat and can run safely for extended periods. However, for longevity, use a timer switch or manual cutoff. Overheating from poor ventilation or oversized batteries can warp plastic components.
Making It Yours: Final Thoughts
Personalizing your Iron Man MK45 isn’t just about aesthetics—it’s an act of ownership. You’re not merely displaying a character; you’re curating a vision of innovation, resilience, and individuality. Whether you opt for subtle refinements or full-scale redesigns, every choice adds meaning. The most memorable displays aren’t flawless—they’re expressive.
Start small if needed. Even replacing the default base with a themed platform or adding a custom nameplate can shift the entire feel. As your confidence grows, so will your ability to push boundaries. And remember: there’s no single “right” way to customize. Your MK45 should resonate with you.


 浙公网安备
33010002000092号
浙公网安备
33010002000092号 浙B2-20120091-4
Comments
No comments yet. Why don't you start the discussion?