
In an age where visuals dominate communication, being able to trace the origin of a photo or uncover details about an unknown object is more valuable than ever. Reverse image search allows you to upload or point to an image and let search engines find related results—such as where it first appeared, similar pictures, or even shopping links. For Android users, this powerful tool is not only accessible but also surprisingly easy to use. Whether you’re verifying a meme, identifying a plant in your backyard, or checking if a product photo is authentic, reverse image search puts answers at your fingertips.
Why Reverse Image Search Matters on Android
Android powers over 70% of smartphones globally, making it the most widely used mobile operating system. With so many people capturing, sharing, and receiving images daily, the ability to investigate those images directly from your phone is essential. Unlike desktops, Android devices offer immediate access to cameras, cloud storage, and apps—perfect for real-time visual inquiries.
Reverse image search helps combat misinformation by revealing the original context of viral photos. It aids shoppers in finding better deals using product images. Travelers can identify landmarks from snapshots, and students can research artwork or historical figures without needing to describe them in words. The practical applications are endless.
Method 1: Using Google Lens via Chrome Browser
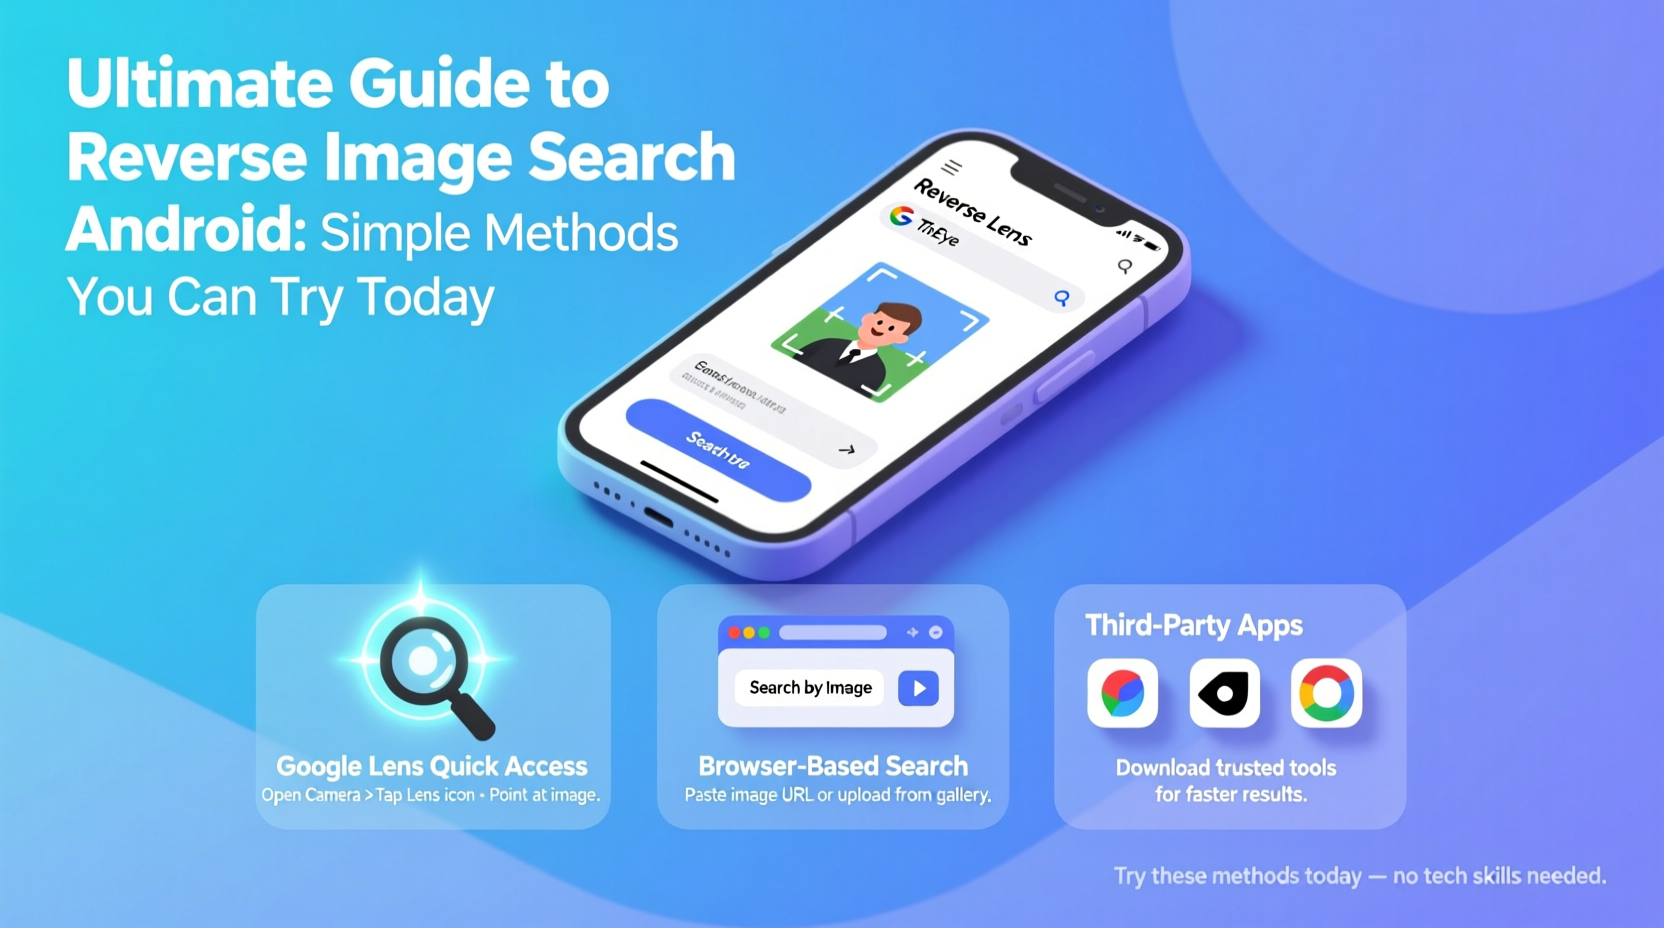
The most seamless way to perform a reverse image search on Android is through Google Lens in the Chrome app. This method works whether the image is online or saved in your gallery.
- Open the Chrome browser and navigate to a webpage containing the image you want to search.
- Long-press the image until a menu appears.
- Select Search image with Google Lens.
- Wait for results, which may include visually similar images, websites where it appears, and contextual information.
If the image is already saved on your device, open Chrome, tap the three-dot menu, select “Lens,” and choose “Upload an image” from your gallery. Google Lens analyzes colors, shapes, text, and objects within the photo to deliver relevant matches.
“Google Lens has transformed how users interact with visual information—it’s like giving your phone the ability to understand what it sees.” — Dr. Alan Chen, Computer Vision Researcher at MIT Media Lab
Method 2: Reverse Search Using Google Photos
For images stored in your personal collection, Google Photos offers built-in reverse search functionality powered by AI.
To use it:
- Open the Google Photos app.
- Navigate to the photo you’d like to investigate.
- Tap the Search bar at the bottom (labeled “Describe what you’re looking for”).
- Google automatically detects elements in the image—such as “dog,” “mountain,” or “vintage car”—and shows related photos from your library.
- Tap the image, then look for the “Lens” icon below to explore external results.
This method excels when identifying objects, animals, or locations captured in your own photos. For example, snap a picture of a flower, open it in Google Photos, tap Lens, and receive instant suggestions on its species and care tips.
Method 3: Dedicated Apps for Advanced Reverse Searching
While Google’s tools are robust, third-party apps provide additional features such as batch searches, metadata extraction, and cross-platform engine support.
| App Name | Key Features | Best For |
|---|---|---|
| TinEye Mobile | Precise match detection, no ads, privacy-focused | Verifying image authenticity |
| Revimg | Supports multiple engines (Google, Bing, Yandex) | Finding higher-resolution versions |
| Image Searcher | OCR integration, bulk uploads | Research and academic work |
These apps often allow deeper investigation than browser-based tools. TinEye, for instance, maintains a massive index of licensed and copyrighted images, making it ideal for creators checking unauthorized usage of their work.
Step-by-Step Guide: How to Reverse Search Any Image in Under 2 Minutes
Follow this universal process regardless of where the image comes from:
- Locate the image: Decide whether it’s online, in your gallery, or shared via messaging apps.
- Copy or save it: If online, long-press and save. If sent via WhatsApp or Instagram, download it first.
- Open Google Lens: Either through Chrome (Menu > Lens > Upload) or directly via the standalone Google Lens app.
- Upload or capture: Select the image from your phone or take a new photo.
- Analyze results: Review matching images, source URLs, shopping options, or text overlays extracted from the image.
This workflow takes less than 120 seconds once practiced and works across platforms—from Facebook memes to Pinterest fashion inspiration.
Real-World Example: Uncovering a Fake Product Listing
Sophia was browsing a local buy-and-sell group when she spotted a designer handbag listed at half price. Skeptical, she asked the seller for more photos. After receiving one, she downloaded it, opened Google Lens, and ran a reverse search.
Within seconds, the same image appeared on several counterfeit goods websites—with identical lighting and background. Armed with this evidence, Sophia avoided a scam and reported the listing. What took her less than two minutes could have saved her hundreds of dollars.
Checklist: Mastering Reverse Image Search on Android
Use this checklist every time you need to investigate an image:
- ✅ Save the image to your device if it's online
- ✅ Ensure internet connection is stable
- ✅ Use Google Lens for quick, accurate results
- ✅ Try Yandex via Revimg for facial recognition accuracy
- ✅ Check publication dates of matching results
- ✅ Cross-reference multiple sources before drawing conclusions
- ✅ Delete sensitive images after use to protect privacy
Common Pitfalls and How to Avoid Them
Even experienced users make mistakes. One common error is assuming the top result is always correct. Algorithms prioritize popularity, not truth. A widely shared fake image may rank higher than the original.
Another issue is poor image quality. Blurry, cropped, or heavily filtered photos reduce accuracy. Whenever possible, use high-resolution originals.
Also, be cautious with private content. Never reverse-search personal photos of others without consent. Ethical use ensures trust and responsible digital behavior.
FAQ
Can I reverse search screenshots on Android?
Yes. Screenshots are treated like any other image. Save them to your gallery and use Google Lens or a dedicated app to analyze them.
Is reverse image search free on Android?
Yes, all core tools—including Google Lens, Chrome integration, and Google Photos—are completely free. Some third-party apps offer premium features but basic searching remains accessible at no cost.
Does reverse image search work offline?
No. Reverse searching requires sending the image to servers for analysis, so a data or Wi-Fi connection is necessary. However, you can save images offline for later searching.
Conclusion
Reverse image search on Android is no longer a niche skill—it’s a daily necessity. From protecting yourself against scams to discovering the name of a mysterious plant in your garden, the tools are already on your phone. Google Lens, integrated seamlessly into Chrome and Photos, makes the process effortless. Third-party apps add depth for power users. By mastering just a few techniques, you gain the ability to verify, learn, and explore in ways typing alone cannot match.


 浙公网安备
33010002000092号
浙公网安备
33010002000092号 浙B2-20120091-4
Comments
No comments yet. Why don't you start the discussion?