
Screen recording has become essential in today’s digital landscape. Whether you're creating tutorials, documenting software bugs, delivering remote presentations, or producing educational content, capturing your screen effectively can make the difference between confusion and clarity. With so many devices and platforms available—from Windows and macOS to iOS and Android—the process can seem overwhelming. But with the right tools and techniques, anyone can produce high-quality screen recordings that are clear, professional, and purpose-driven.
Choosing the Right Screen Recording Tool
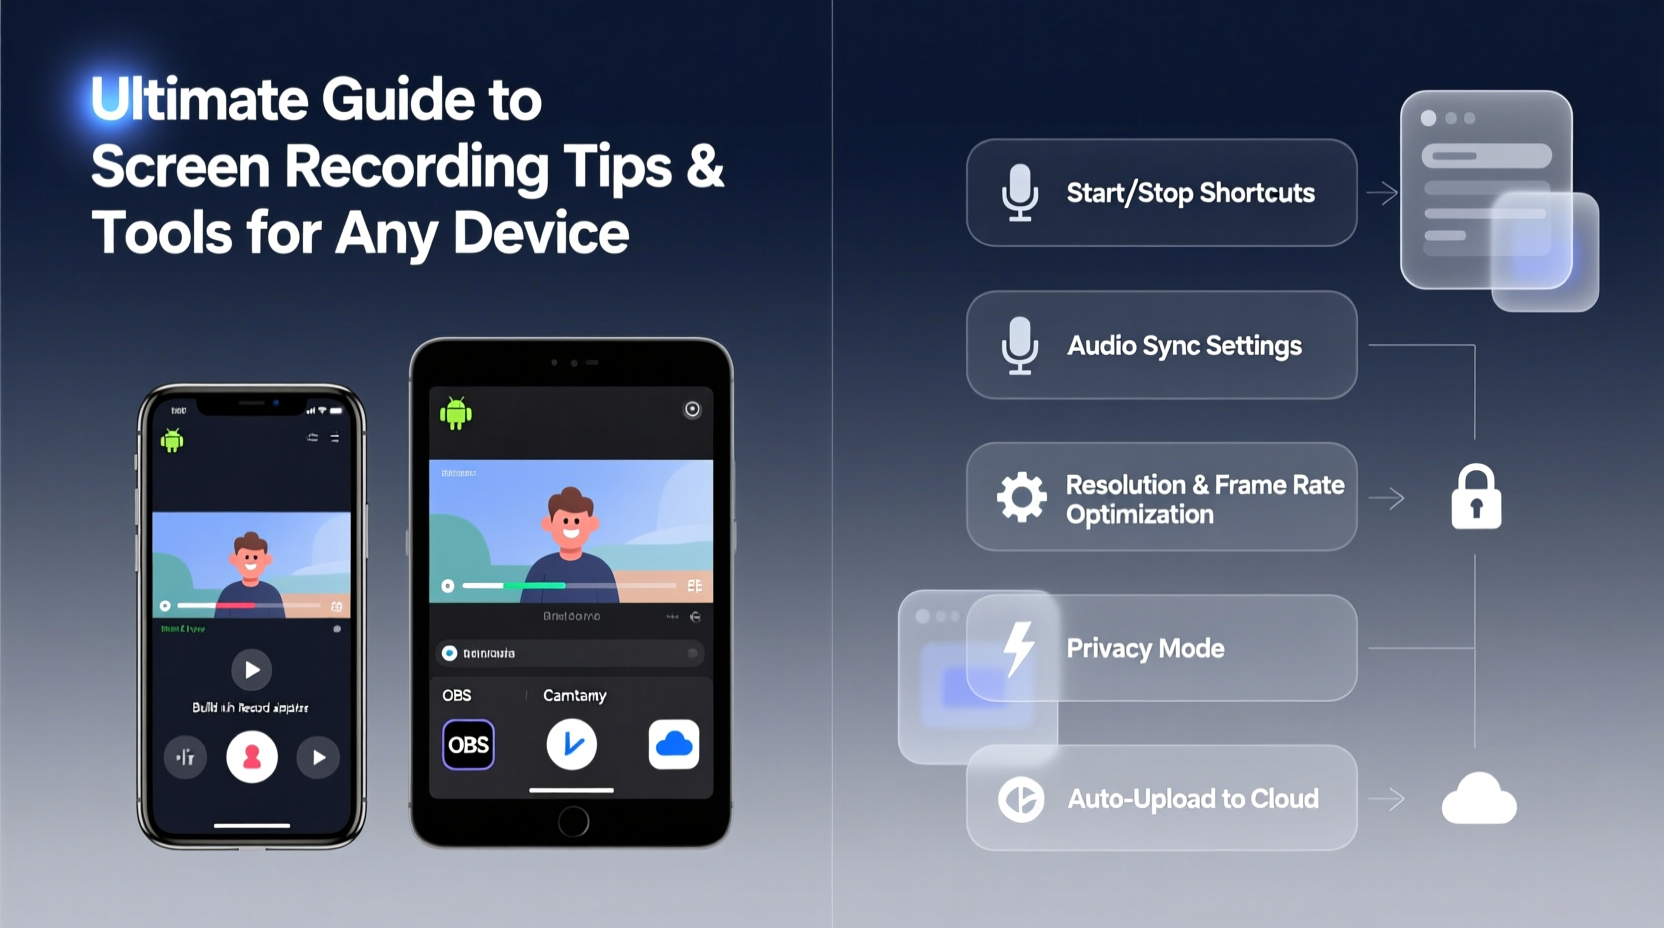
The first step to a successful screen recording is selecting the right software or built-in tool for your device. While third-party applications often offer advanced features, native tools provide simplicity and reliability without installation.
| Device/OS | Built-In Option | Top Third-Party Tools |
|---|---|---|
| Windows 10/11 | Xbox Game Bar (Win + G) | OBS Studio, Camtasia, Bandicam |
| macOS | QuickTime Player + Screenshot Toolbar | ScreenFlow, Loom, CleanShot X |
| iOS | Screencapture (via Control Center) | Loom, Clipomatic |
| Android | Built-in screen recorder (varies by brand) | AZ Screen Recorder, Mobizen |
| Chromebook | Screen capture via keyboard (Ctrl + Show All) | Loom, Screencastify |
For casual users, built-in tools are sufficient. However, content creators, educators, and professionals benefit from third-party tools offering editing capabilities, multi-source recording (e.g., webcam + screen), and cloud sharing.
Optimizing Your Recording Environment
No amount of post-production can fix a poorly captured video. The key to clean recordings lies in preparation. Start by minimizing visual clutter on your desktop. Close unnecessary applications, hide desktop icons, and use a neutral wallpaper to keep focus on the subject.
Audio quality is just as critical as visuals. Use an external microphone if possible, and record in a quiet environment. Background noise—like fans, HVAC systems, or street sounds—can ruin otherwise excellent footage. Consider using a pop filter to reduce plosives when speaking directly into the mic.
“Most viewers forgive modest video quality, but poor audio is an instant turnoff.” — David Lin, Video Production Consultant
Adjust your screen resolution to at least 1080p for clarity, especially when demonstrating detailed workflows. Set your frame rate to 30fps for standard content or 60fps for fast-paced actions like gaming or animation previews.
Step-by-Step Guide to High-Quality Screen Recording
Follow this sequence to ensure consistent, professional results regardless of your device:
- Plan your script or flow – Know exactly what you’ll demonstrate to minimize mistakes and retakes.
- Prepare your workspace – Clear desktop, disable notifications, and close irrelevant browser tabs.
- Test audio input – Speak naturally and check volume levels in your recording software.
- Select recording area – Choose full screen, a specific window, or custom region based on content needs.
- Start recording with hotkey – Use shortcuts (e.g., Win + Alt + R) for quick initiation without mouse dependency.
- Narrate clearly during capture – Explain each action in real time, avoiding long silences.
- Stop cleanly and review – Play back immediately to verify audio sync and visual clarity.
- Edit and export – Trim dead space, add captions or highlights, and export in MP4 format for compatibility.
Best Practices for Different Use Cases
Different goals require different approaches. A software tutorial demands precision and narration, while a bug report prioritizes brevity and system detail.
- Educational Content: Break lessons into short segments (5–8 minutes). Use annotations or zoom effects to highlight important areas.
- Remote Work & Collaboration: Use tools like Loom or Screencastify that allow instant sharing via link—ideal for async communication.
- Technical Support: Include system information (OS version, app version) at the start of the recording. Keep it under 2 minutes unless necessary.
- Gaming or Streaming: Prioritize performance—use hardware encoding (NVENC, AMD VCE) to reduce CPU load.
- Marketing Demos: Add intro/outro slides, background music (low volume), and branding elements during editing.
“Clarity over completeness. It’s better to explain one feature well than rush through ten.” — Maya Patel, UX Trainer
Essential Checklist Before Every Recording
Use this checklist to avoid common pitfalls and ensure professional output:
- ✅ Disable email, chat, and OS notifications
- ✅ Close unused apps and browser tabs
- ✅ Test microphone and speaker settings
- ✅ Confirm screen resolution and scaling (avoid blurry text)
- ✅ Charge your device or plug into power
- ✅ Verify storage space—HD videos consume several GB per hour
- ✅ Open all files/apps you’ll need during the session
- ✅ Do a 10-second test recording and playback
Real Example: Solving a Client Issue with Screen Recording
Sarah, a customer success manager at a SaaS company, received a confused message from a client struggling to generate a monthly report. Instead of writing a lengthy email with screenshots, she launched Loom, shared her screen, and walked through the steps in under four minutes. She included her face in the corner for a personal touch and sent the link. The client responded within minutes: “That was so clear—I finally get it!” This single recording saved Sarah multiple back-and-forths and boosted client satisfaction.
This scenario illustrates how screen recording isn’t just about technology—it’s about communication efficiency. In remote-first environments, visual explanations outperform text every time.
Frequently Asked Questions
Can I record audio and screen separately?
Yes, most advanced tools like OBS Studio and Camtasia allow separate audio tracks. This gives you flexibility to re-record voiceovers without redoing the entire screen capture.
Why is my screen recording lagging or choppy?
Lag usually stems from high resolution, low free RAM, or outdated graphics drivers. Lower the frame rate to 30fps, close background apps, and ensure your GPU drivers are up to date. For older machines, consider recording in 720p instead of 1080p.
Is screen recording legal?
In general, recording your own screen activity is legal. However, distributing recordings that include copyrighted material (e.g., streaming movies, proprietary software interfaces) without permission may violate terms of service or copyright law. Always obtain consent when recording others’ content or conversations.
Making the Most of Your Recordings
A great screen recording doesn’t end at export. Organize your files with clear naming conventions—include date, topic, and version (e.g., “Onboarding_Tutorial_v2_2025.mp4”). Store them in a dedicated folder or cloud drive with controlled access if sensitive.
For teams, consider building a knowledge library using platforms like Notion, SharePoint, or Google Drive, where recorded walkthroughs are categorized and searchable. This reduces repetitive questions and empowers self-service learning.
Final Thoughts
Screen recording is no longer a niche skill reserved for video editors or IT pros. It’s a fundamental tool for modern communication, learning, and productivity. Whether you’re on a laptop, tablet, or smartphone, the combination of the right tools, smart preparation, and attention to detail ensures your recordings deliver value every time.
Technology evolves, but the principles remain: plan thoroughly, record cleanly, and share thoughtfully. With these strategies in hand, you’re ready to create screen recordings that inform, engage, and solve real problems.


 浙公网安备
33010002000092号
浙公网安备
33010002000092号 浙B2-20120091-4
Comments
No comments yet. Why don't you start the discussion?