
Capturing what’s on your screen is a fundamental skill in today’s digital world. Whether you're troubleshooting an error, sharing instructions, or preserving visual information, knowing how to take fast, high-quality screenshots can save time and improve communication. While the process seems simple, mastering it—especially across different operating systems, applications, and use cases—requires more than just pressing a button. This guide delivers a complete overview of efficient, reliable methods to capture crisp, useful screenshots on any Windows or Linux-based PC.
Understanding Your Screenshot Options
Modern PCs offer multiple ways to capture your screen, each suited for different needs. The method you choose should depend on what you’re trying to capture: the entire screen, a single window, a custom region, or even a delayed shot for dropdown menus.
Windows provides several built-in tools, including keyboard shortcuts, the Snipping Tool, and the newer Snip & Sketch. Third-party software adds advanced features like annotation, automatic uploads, and scrolling captures. Choosing the right option ensures clarity, speed, and minimal disruption to your workflow.
Essential Keyboard Shortcuts for Speed
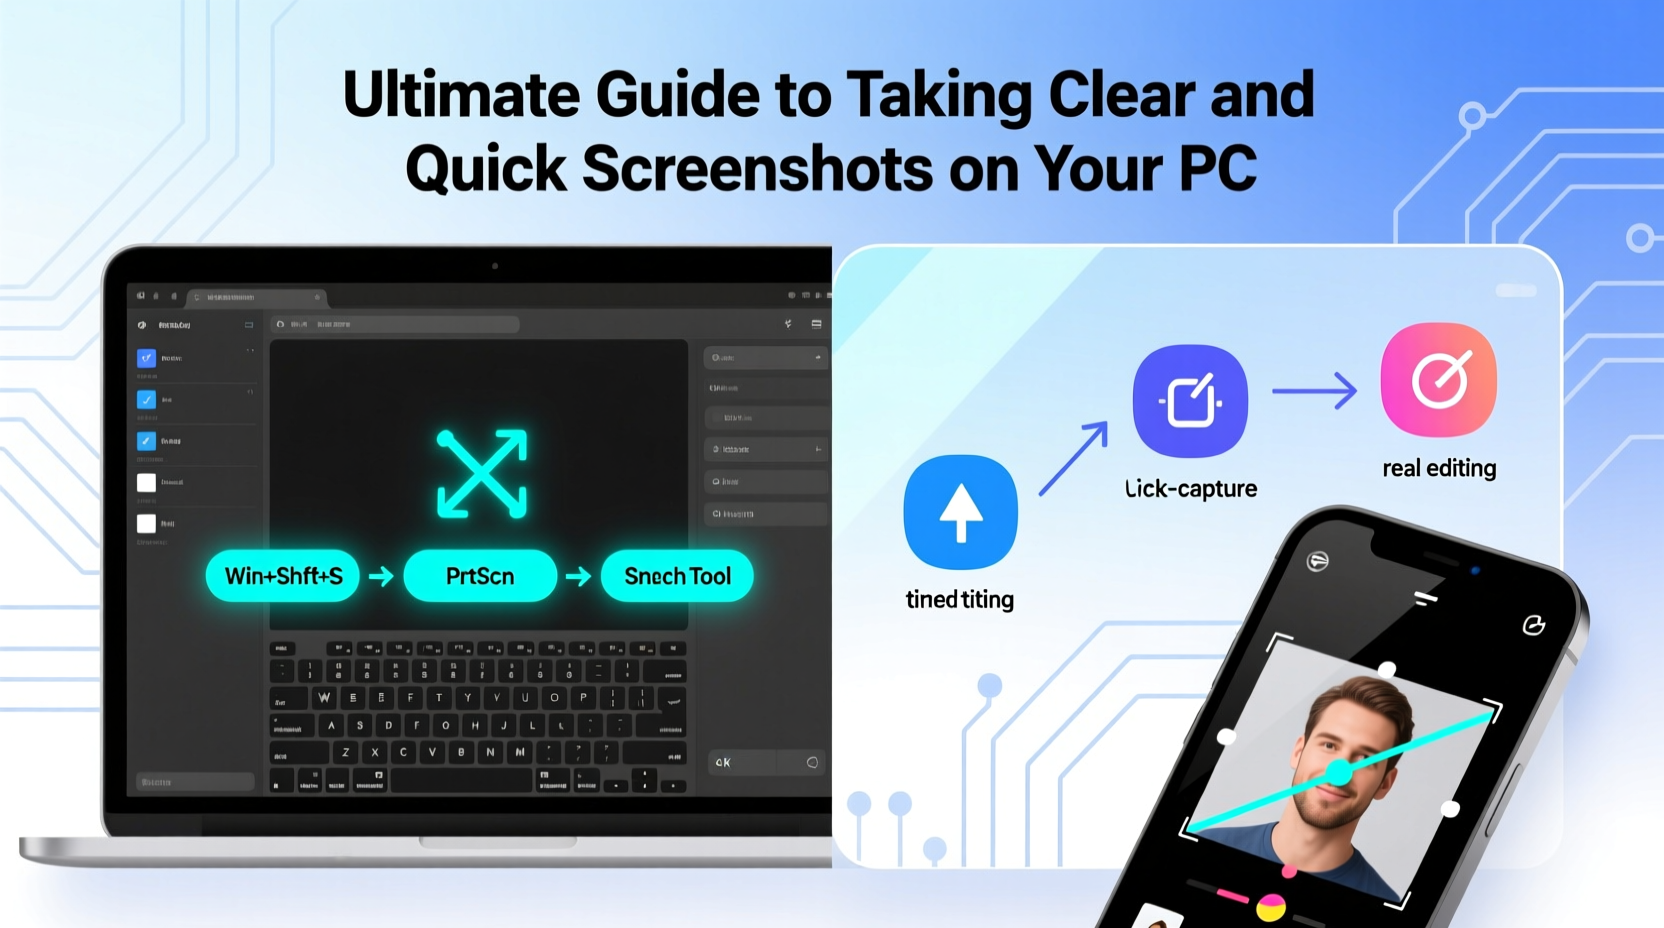
Keyboard shortcuts are the fastest way to take screenshots when you need efficiency. Memorizing a few key combinations eliminates the need to open additional apps.
| Shortcut | Action | Output Location |
|---|---|---|
| Print Screen (PrtScn) | Captures entire screen | Copies to clipboard |
| Alt + PrtScn | Captures active window | Copies to clipboard |
| Windows + Shift + S | Opens Snip & Sketch tool | Copies selection to clipboard |
| Windows + PrtScn | Takes full-screen screenshot | Saves to Screenshots folder |
| Windows + H | Records screen (if enabled) | Saves to Captures folder |
These shortcuts work across most versions of Windows 10 and 11. For users who frequently share screenshots via email or chat, combining Windows + Shift + S with paste (Ctrl + V) streamlines the process significantly.
Using Built-In Tools: Snipping Tool and Snip & Sketch
The Snipping Tool has evolved into a modern utility that supports timed captures, freeform snips, and annotation. In Windows 11, it's unified with Snip & Sketch, offering a seamless experience.
- Open the Start menu and search for “Snipping Tool.”
- Select your snip type: Rectangular, Freeform, Window, or Full-screen.
- Click “New” to begin the capture.
- Use the toolbar to highlight, draw, or add text after capturing.
- Save directly as PNG, JPEG, or GIF, or copy to clipboard.
A particularly useful feature is the 5- or 10-second delay option. This allows you to open context menus, hover over tooltips, or prepare dynamic content before the screenshot is taken.
“Timed snips are essential for capturing transient UI elements like notifications or dropdowns that disappear on mouse click.” — Daniel Reed, UX Documentation Specialist
Optimizing Screenshot Quality and Clarity
A poorly formatted or blurry screenshot defeats its purpose. To ensure clarity, follow these best practices:
- Maintain native resolution: Avoid zooming in on your display settings. Screenshots reflect pixel density, so higher resolutions yield sharper images.
- Declutter the screen: Close unnecessary windows and tidy desktop icons before capturing.
- Use high-contrast themes: Light-on-dark or dark-on-light interfaces improve readability in shared screenshots.
- Zoom in for detail: If highlighting small text or icons, increase browser or app zoom temporarily before capturing.
- Resize thoughtfully: When sharing online, scale down large images to reduce file size—but avoid over-compression that degrades quality.
Third-Party Tools for Advanced Users
For professionals who regularly create tutorials, reports, or documentation, third-party tools offer capabilities beyond basic capture.
Popular options include:
- ShareX: Open-source, highly customizable. Supports automated workflows, GIF recording, and direct upload to cloud services.
- Greenshot: Lightweight and fast. Integrates with Office and browser plugins for instant annotation and export.
- Lightshot: Simple interface with quick sharing via URL—ideal for casual users.
- Snagit: Paid but powerful. Offers scrolling captures (for long web pages), templates, and video editing.
ShareX, for example, allows you to assign custom hotkeys, blur sensitive data automatically, and export in multiple formats—all within seconds of capture.
Mini Case Study: Streamlining Technical Support
At a mid-sized IT helpdesk, agents were spending excessive time describing issues over the phone. After implementing ShareX with standardized capture templates, they began asking users to send annotated screenshots of errors. Response time dropped by 40%, and first-call resolution improved significantly. One technician noted, “A highlighted blue screen error tells us more in two seconds than a five-minute description ever could.”
Step-by-Step Guide: Capturing a Scrolling Webpage
Standard screenshots can’t capture content beyond the visible viewport. However, some tools allow full-page captures. Here’s how to do it using Snagit (also possible with certain browser extensions):
- Launch Snagit and select “Region” or “Browser” capture mode.
- Navigate to the webpage you want to capture.
- Click and drag to define the initial capture area.
- When prompted, choose “Scrolling” or “Panoramic” capture.
- Let the tool auto-scroll and stitch the image together.
- Edit as needed—crop, annotate, or add callouts.
- Export as PNG, PDF, or copy directly to presentation software.
This method is invaluable for saving articles, contracts, or long forms without printing or relying on unreliable “print to PDF” outputs.
Do’s and Don’ts of Screenshot Usage
| Do’s | Don’ts |
|---|---|
| Blur out personal data (emails, passwords, account numbers) | Share raw screenshots with visible private information |
| Use arrows or text highlights to direct attention | Send unannotated images requiring lengthy explanations |
| Save files with descriptive names (e.g., “login_error_win11.png”) | Rely on generic names like “Screenshot_1.png” |
| Compress images for emails to reduce load time | Attach multi-megabyte screenshots to lightweight messages |
FAQ
Where does Windows save my screenshots?
If you use Windows + PrtScn, screenshots are saved automatically in C:\\Users\\[YourName]\\Pictures\\Screenshots. Manual copies from PrtScn go to the clipboard and must be pasted into an app like Paint or Word to save.
Can I take a screenshot of a black screen or DRM-protected video?
No. Due to digital rights management (DRM), most streaming platforms (like Netflix) block screenshots and screen recording to prevent piracy. Attempting to capture such content will result in a black or blank image.
Why does my screenshot look blurry?
Blurriness often occurs when the display scaling is set above 100% (e.g., 125% or 150%). While this makes text easier to read, it can cause exported images to appear pixelated. Try capturing at 100% scaling or use vector-based annotation tools to maintain sharpness.
Final Checklist: Take Better Screenshots Today
- ☑ Know your shortcuts:
- Memorize Windows + Shift + S for quick selective captures.
- ☑ Prepare your screen:
- Close irrelevant tabs and clean up desktop clutter.
- ☑ Protect privacy:
- Always blur or crop sensitive information before sharing.
- ☑ Annotate for clarity:
- Use arrows, circles, or text labels to highlight key areas.
- ☑ Choose the right tool:
- Stick to built-in tools for simple tasks; upgrade to ShareX or Snagit for complex workflows.
Take Control of Your Visual Communication
Clear, well-executed screenshots enhance understanding, reduce back-and-forth, and make digital collaboration smoother. By leveraging the right tools, optimizing your environment, and following best practices, you transform a basic function into a powerful productivity asset. Whether you're a student, professional, or casual user, applying these techniques consistently will elevate the quality and impact of your digital communication.


 浙公网安备
33010002000092号
浙公网安备
33010002000092号 浙B2-20120091-4
Comments
No comments yet. Why don't you start the discussion?