
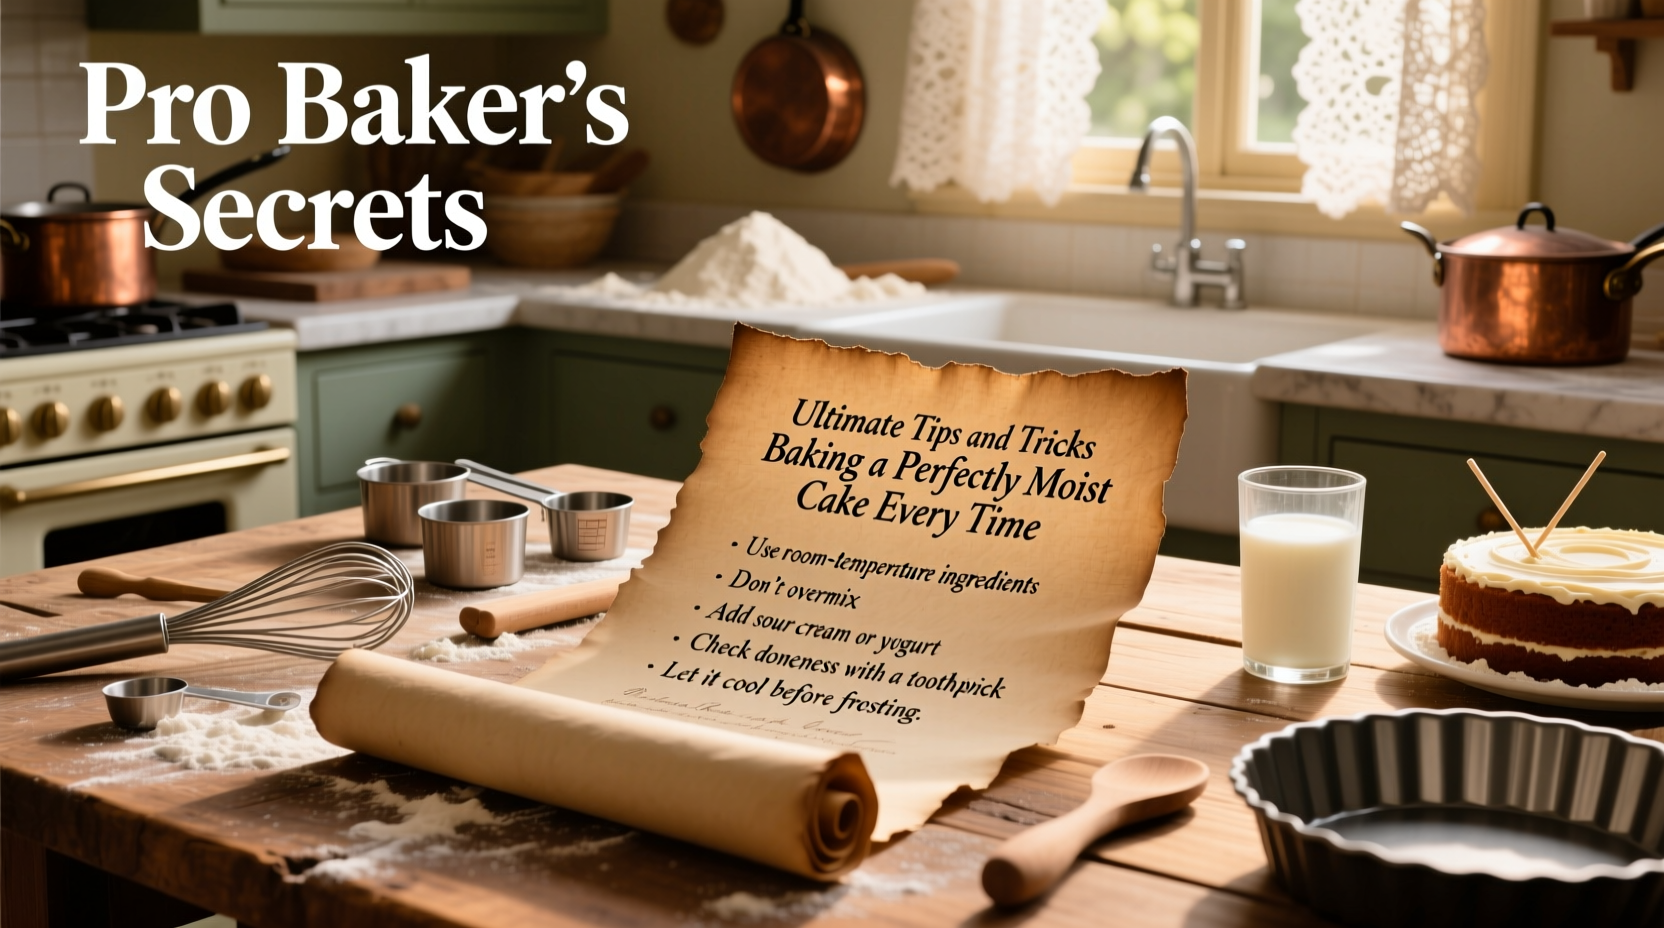
Baking a cake that’s consistently moist, tender, and flavorful is one of the most sought-after skills in home baking. Too often, cakes turn out dry, crumbly, or dense—despite following recipes to the letter. The secret isn’t luck; it’s understanding the science behind moisture retention and applying proven techniques. From ingredient selection to cooling methods, every step influences the final texture. This guide dives deep into actionable strategies that ensure your cakes come out perfectly moist, slice after slice.
Choose the Right Ingredients for Moisture Retention
The foundation of a moist cake begins with ingredient selection. Each component plays a role in hydration, structure, and tenderness.
- Fat: Butter, oil, or even sour cream add richness and slow down gluten development. Oil-based cakes are typically moister than butter-based ones because oil remains liquid at room temperature.
- Eggs: They provide structure and emulsification. Using extra egg yolks increases fat content, enhancing moisture and softness.
- Liquid components: Buttermilk, yogurt, or even coffee not only add flavor but also contribute acidity, which reacts with leavening agents and tenderizes gluten.
- Sugar: Beyond sweetness, sugar is hygroscopic—it attracts and holds moisture. Brown sugar, with its molasses content, adds extra moisture and a slight caramel note.
Master the Mixing Method
How you combine ingredients affects the cake’s crumb more than you might think. Overmixing is the leading cause of dry, tough cakes.
When flour is overworked, gluten develops excessively, resulting in a rubbery texture. To avoid this, follow the creaming method properly: beat butter and sugar until light and fluffy (about 3–5 minutes), then add eggs one at a time. Alternate adding dry ingredients and wet ingredients in three parts, starting and ending with the dry mix. Mix only until just combined after each addition.
“Overmixing is the silent killer of moist cakes. Once flour hits the batter, stir gently and stop the moment no streaks remain.” — Chef Lydia Chen, Pastry Instructor at New York Culinary Institute
Mixing Do’s and Don’ts
| Action | Do | Don't |
|---|---|---|
| Creaming butter & sugar | Mix 3–5 min until pale and fluffy | Undermix or rush this step |
| Incorporating flour | Use low speed or fold by hand | Mix on high speed until smooth |
| Adding wet ingredients | Alternate with dry in thirds | Pour all liquid at once |
| Final mixing | Stop immediately when blended | Keep mixing to “smooth it out” |
Optimize Baking Time and Temperature
Even with perfect ingredients and mixing, incorrect oven conditions can ruin moisture levels. Most cakes bake best at 325°F to 350°F (163°C to 177°C). Higher temperatures set the crust too quickly, trapping steam inside and causing cracks—or worse, drying out the interior before it’s fully cooked.
Use an oven thermometer to verify accuracy. Many ovens run hot or cold, leading to under- or over-baking. Set your timer for 5–10 minutes less than the recipe suggests, then begin checking for doneness.
Real Example: The Overbaked Vanilla Cake
Sarah, a home baker from Portland, followed a popular vanilla cake recipe exactly—but her results were consistently dry. She discovered her oven ran 25°F hotter than displayed. After adjusting the temperature and reducing bake time by 7 minutes, her cake emerged golden, springy, and moist through the center. A simple calibration transformed her results.
Use Moisture-Enhancing Techniques During and After Baking
Moisture doesn’t end when the cake leaves the oven. Smart post-bake practices lock in softness.
- Immediate removal from pan: Let the cake cool in the pan for only 10–15 minutes, then transfer to a wire rack. Prolonged contact with hot metal causes condensation, making the bottom soggy while the top dries out.
- Simple syrup brush: Lightly brush cooled cake layers with warm sugar syrup (equal parts water and sugar, boiled and cooled slightly). This adds invisible moisture and enhances flavor.
- Proper storage: Wrap unfrosted cakes tightly in plastic wrap or store in airtight containers. For frosted cakes, use a cake dome or cover with a clean bowl.
Step-by-Step Guide to Locking in Moisture
- Remove cake from oven and let sit in pan for 10 minutes.
- Run a knife around edges and invert onto a wire rack.
- Let cool completely (about 1–2 hours).
- If stacking or filling, brush each layer with 1–2 tablespoons of simple syrup.
- Frost immediately or wrap in cling film if delaying.
- Store at room temperature for up to 2 days or refrigerate (with proper wrapping) for up to 5 days.
Frequently Asked Questions
Can I substitute applesauce for oil to keep the cake moist?
Yes, unsweetened applesauce can replace up to half the oil in a recipe. It adds moisture and reduces fat, but using it entirely may result in a gummy texture. Balance is key.
Why does my cake feel moist at first but dry the next day?
This usually means moisture escaped during storage. Ensure the cake is wrapped airtight. Cakes with fruit fillings or syrups may release water initially, creating a false impression of lasting moisture.
Does altitude affect cake moisture?
Absolutely. At higher elevations, lower air pressure causes liquids to evaporate faster and leavening gases to expand more. Reduce baking powder by 1/8 to 1/4 teaspoon per teaspoon called for, increase liquid slightly, and lower oven temperature by 25°F to retain moisture.
Essential Moist Cake Checklist
- ✅ Use oil or extra egg yolks for added fat
- ✅ Incorporate buttermilk or yogurt for tenderness
- ✅ Cream butter and sugar thoroughly
- ✅ Avoid overmixing once flour is added
- ✅ Bake at the correct temperature (verify with thermometer)
- ✅ Test for doneness early with a toothpick
- ✅ Cool briefly in pan, then transfer to rack
- ✅ Brush layers with simple syrup if desired
- ✅ Store airtight to prevent drying
Final Thoughts: Bake with Intention, Not Just Instructions
Perfectly moist cake isn’t about magic—it’s about mindful execution. Every decision, from how long you cream the butter to how you store the finished product, shapes the outcome. Treat baking as both science and craft. Measure accurately, observe closely, and adjust based on your kitchen’s unique conditions. With these techniques, you’re not just following a recipe—you’re mastering the art of consistent, delicious results.


 浙公网安备
33010002000092号
浙公网安备
33010002000092号 浙B2-20120091-4
Comments
No comments yet. Why don't you start the discussion?