
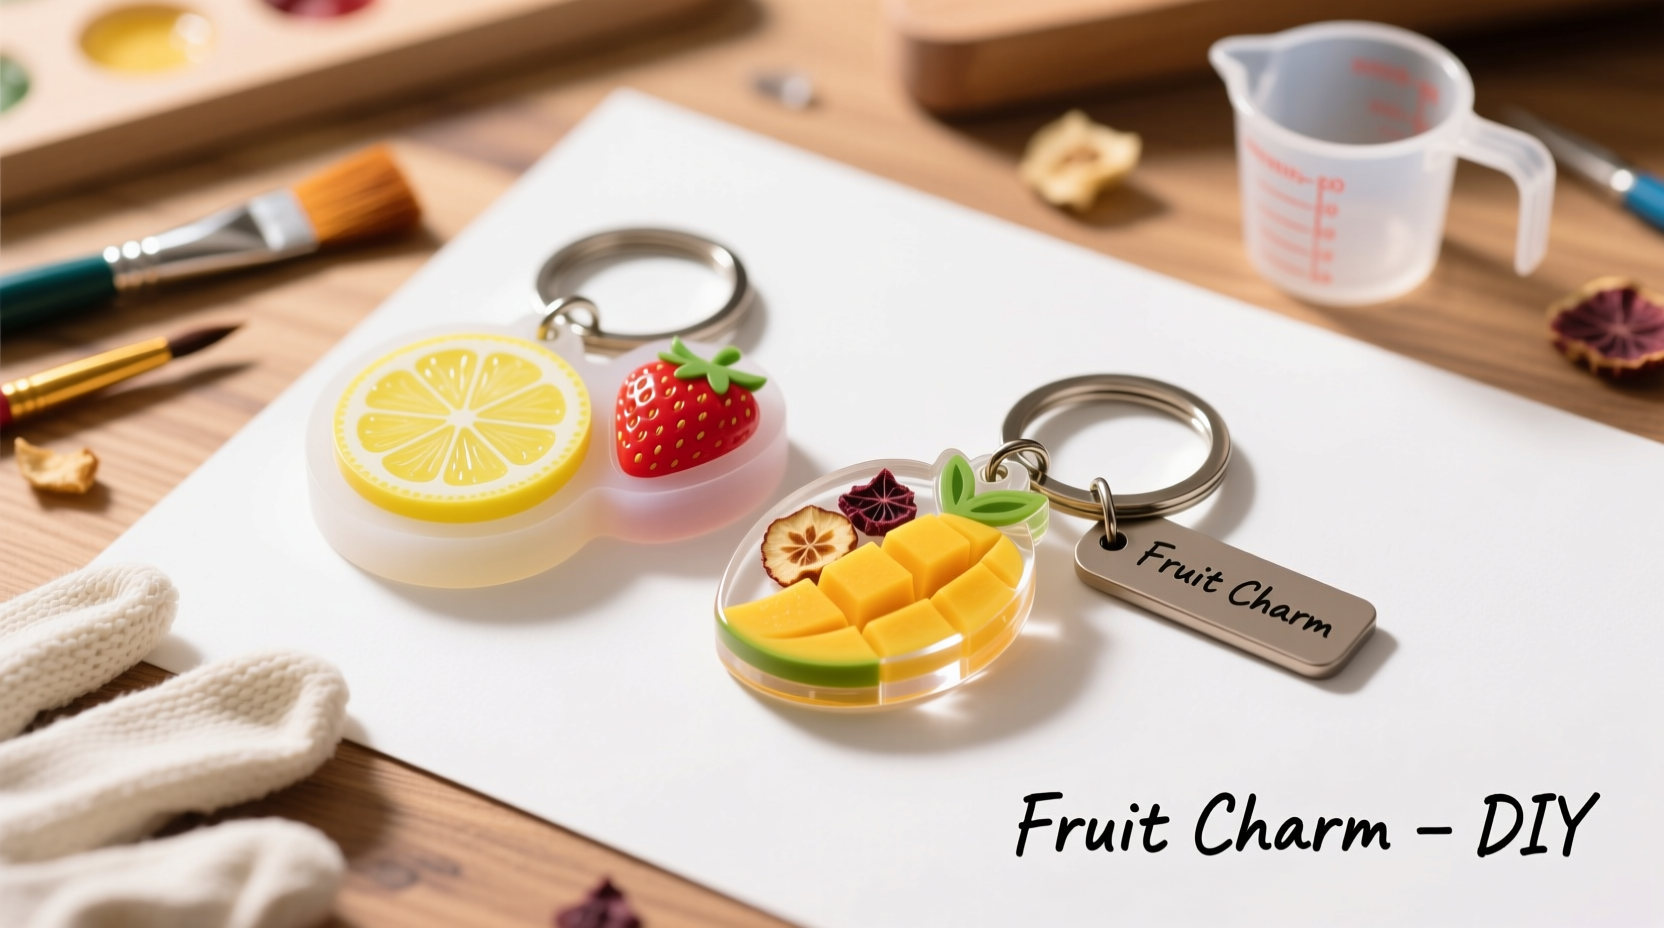
Handmade accessories offer a personal touch that store-bought items often lack. Among the most cheerful and vibrant options are fruit-themed keychains—small, playful creations that bring a splash of color to everyday life. Whether you're crafting for yourself, as a gift, or to sell at a local market, these DIY projects are beginner-friendly, affordable, and surprisingly durable when made correctly. This guide walks through everything you need to know to create your own unique fruit-inspired keychains using accessible materials and straightforward techniques.
Why Fruit-Themed Keychains Are a Great Starter Project
Fruit motifs are universally appealing. From strawberries and lemons to pineapples and watermelons, their bold colors and recognizable shapes make them ideal for crafting. Unlike more complex designs, fruit shapes can be simplified without losing charm, which is perfect for those new to crafting. Additionally, these keychains require minimal tools and dry quickly, allowing beginners to see satisfying results in under an hour.
Beyond aesthetics, handmade keychains serve as excellent confidence-builders. Completing a small project successfully encourages further exploration into crafts like resin work, polymer clay modeling, or embroidery. The tactile nature of shaping tiny fruits also improves fine motor skills and focus—benefits that extend beyond the craft table.
“Simple, joyful crafts like fruit keychains reignite creativity and help people reconnect with the satisfaction of making something tangible.” — Lila Nguyen, Craft Therapist & Educator
Materials You’ll Need to Get Started
The beauty of this project lies in its simplicity. Most materials can be found at local craft stores or online retailers like Etsy or Amazon. Here’s what you should gather before beginning:
- Polymer clay (in red, yellow, green, white, and black)
- Clay rolling pin or glass bottle
- Blade or craft knife
- Baking tray
- Parchment paper
- Oven (for curing clay)
- Keychain rings (metal or plastic)
- Jump rings and pliers (optional, for secure attachment)
- Acrylic paint and sealant (if finishing with paint)
- Toothpicks (for detailing)
Step-by-Step Guide to Making Your First Fruit Keychain
Follow this timeline to create a classic strawberry keychain—the perfect starting point due to its simple structure and high visual impact.
- Preheat your oven to 275°F (135°C) according to your clay’s instructions.
- Condition the clay by kneading red clay until soft and pliable. Roll it into a smooth oval about 1 inch long.
- Create texture using a toothpick to press small indentations across the surface—these will represent seeds.
- Shape the leaves from green clay: roll a small piece into a flat teardrop, then pinch the top slightly and add vein lines with the toothpick tip.
- Attach the leaf group to the top of the strawberry body. Press gently to adhere.
- Flatten slightly with your finger to give a realistic, slightly squished look.
- Place on parchment-lined tray and bake for 15–20 minutes (follow package guidelines).
- Cool completely, then attach a jump ring through a small hole you poked before baking—or use strong glue if no hole was made.
- Add the keychain ring and test durability by gently tugging.
Variation Ideas for Other Fruits
- Lemon: Use yellow clay, form a sphere, flatten slightly, and drill or poke two holes for hanging. Add a green stem on top.
- Watermelon slice: Roll red clay, embed tiny black clay balls for seeds, add a white rind layer, and cap with a green curved peel section.
- Pineapple: Create a textured surface with crisscross patterns using a needle tool, then stack a leafy green crown on top.
Do’s and Don’ts When Crafting Clay Keychains
| Do’s | Don’ts |
|---|---|
| Condition clay thoroughly before shaping | Use sharp tools without supervision |
| Bake on parchment paper to prevent sticking | Overbake—this causes cracking or browning |
| Poke a hole before baking for cleaner threading | Wash hands immediately after handling uncured clay |
| Seal painted finishes with clear varnish | Expose finished pieces to prolonged sunlight (may fade colors) |
| Store unused clay in airtight containers | Use food-prep tools for clay (chemical residue risk) |
Mini Case Study: How Sarah Turned Keychains Into a Side Hustle
Sarah Kim, a college student from Portland, started making fruit keychains during winter break as a way to de-stress. She posted her first batch—strawberries, oranges, and cherries—on Instagram and tagged local craft communities. Within weeks, she received custom requests for graduation gifts and birthday presents.
She began pricing them at $6 each or three for $15, selling at campus markets and through a small Etsy shop. By sourcing clay in bulk and streamlining her process, she cut production time to 20 minutes per set. Six months later, she earned over $900 in profit and reinvested in silicone molds to expand her designs.
“I didn’t think something so small could matter,” Sarah said. “But seeing someone clip my pineapple keychain onto their bag—it felt real.”
Customization Tips to Make Your Keychains Stand Out
Uniqueness comes from personal touches. Consider these ideas to elevate your designs:
- Glitter accents: Mix fine glitter into translucent clay layers for a sparkling lemon zest effect.
- Mini charms: Attach tiny bees to apple keychains or sunglasses to coconuts for whimsy.
- Personalization: Use alphabet stamps to imprint names or initials on the back of fruit bodies.
- Matte vs. glossy finish: A satin varnish gives a juicy look, while matte makes it appear more natural.
- Mixed media: Combine felt leaves with clay fruit for a soft contrast.
FAQ: Common Questions from Beginners
Can I make these without an oven?
Yes—use air-dry clay instead. It takes 24–48 hours to harden and may require sealing for durability, but it eliminates the need for baking. Note: Air-dry clay is more fragile than baked polymer clay.
How do I prevent colors from mixing when working with multiple clays?
Wash your hands between colors or use disposable gloves. Keep separate tools for light and dark shades. Store colored clays in labeled bags immediately after use.
Are these safe for kids to make?
With supervision, yes. Use child-safe clays labeled non-toxic, avoid small parts for young children, and ensure oven use is handled by an adult. Air-dry clay is safer for unsupervised kid-led crafting.
Checklist: Your DIY Fruit Keychain Success Plan
- Choose your fruit design (strawberry, lemon, watermelon, etc.)
- Gather all materials listed above
- Prep workspace with parchment and tools
- Condition and shape clay carefully
- Poke hole for keyring before baking
- Bake according to instructions and cool completely
- Attach hardware securely
- Apply sealant if painting or adding glitter
- Inspect for durability and finish quality
- Schedule your next design iteration!
Conclusion: Start Small, Create Joy
There’s magic in turning simple lumps of clay into tiny, wearable celebrations of color and imagination. Fruit-themed keychains may seem modest, but they carry personality, intention, and the quiet pride of handmade creation. With just a few basic supplies and a willingness to experiment, anyone can begin crafting delightful accessories that brighten keys, backpacks, or gift tags.


 浙公网安备
33010002000092号
浙公网安备
33010002000092号 浙B2-20120091-4
Comments
No comments yet. Why don't you start the discussion?