
For competitive gamers and performance-focused PC users, every millisecond counts. While upgrading your GPU or CPU can improve frame rates, there’s another often-overlooked method to enhance visual responsiveness: monitor overclocking. By pushing your display beyond its factory-rated refresh rate, you can achieve smoother motion, reduced input lag, and a more immersive gaming experience—without spending a dime on new hardware. But it must be done carefully. This guide walks you through the process of safely overclocking your monitor, explains the risks, and provides actionable steps to maximize results while minimizing potential damage.
Understanding Monitor Overclocking
Monitor overclocking refers to increasing the refresh rate of your display beyond the manufacturer-specified limit. A standard 60Hz monitor updates the image 60 times per second; a 144Hz model does so 144 times. Overclocking aims to push that number even higher—say, from 144Hz to 160Hz or beyond—by adjusting timing parameters in your graphics driver settings.
Unlike GPU or CPU overclocking, which involves voltage and clock speed manipulation, monitor overclocking works by reconfiguring the signal sent from your graphics card to your screen. The goal is to find a stable, higher refresh rate that your panel can handle without artifacts, flickering, or permanent damage.
This technique is particularly effective with certain panel types. IPS and TN panels tend to respond better to overclocking than VA panels due to faster native response times and signal processing. However, success varies widely based on the individual monitor’s hardware tolerances.
“Not all monitors are created equal—some have headroom baked into their design. Pushing them gently beyond spec can unlock smoother visuals, but brute force testing risks panel longevity.” — David Lin, Display Engineer at TFT Central
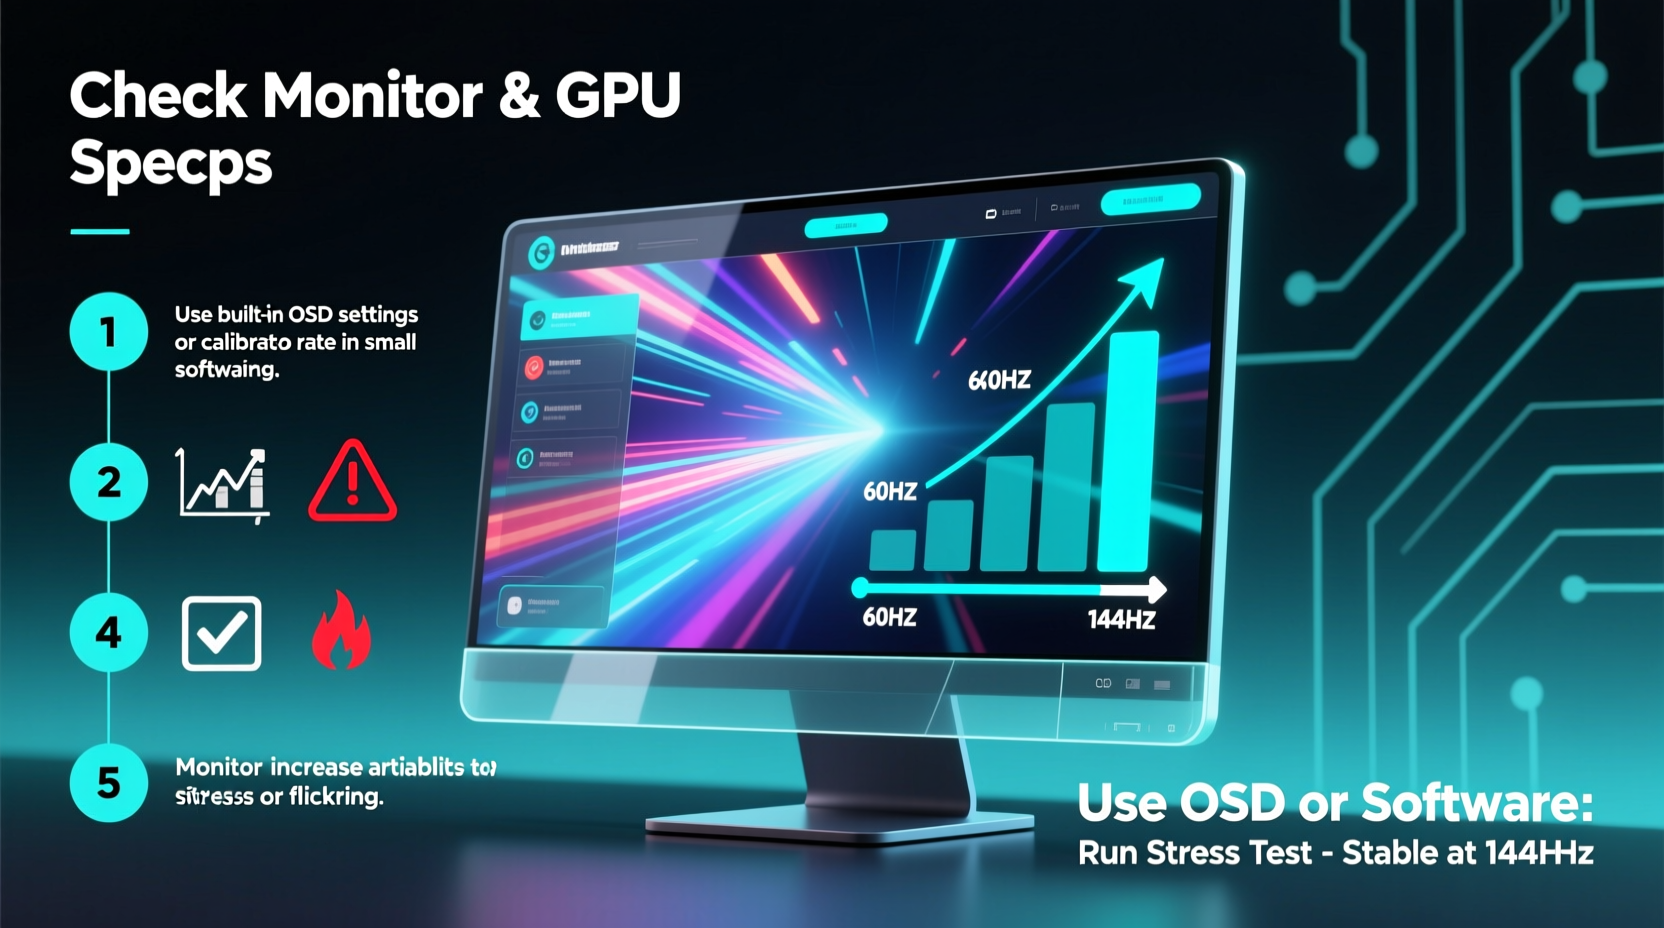
Step-by-Step Guide to Safely Overclock Your Monitor
Overclocking your monitor requires precision and patience. Follow these steps to increase your refresh rate responsibly.
- Verify Compatibility: Confirm your monitor and GPU support custom resolutions. NVIDIA Control Panel and AMD Radeon Software both allow custom timing setups. Ensure your cable (preferably DisplayPort 1.2 or higher) supports higher bandwidth.
- Determine Base Refresh Rate: Note your monitor’s maximum rated refresh rate (e.g., 144Hz at 1920x1080). This is your starting point.
- Use Custom Resolution Tools: Open NVIDIA Control Panel > Change Resolution > Custom. Click “Create Custom Resolution” and duplicate your current settings.
- Increase Vertical Refresh Slightly: Raise the refresh rate by 5–10Hz initially (e.g., from 144Hz to 150Hz). Keep other values (resolution, timings, pixel clock) unchanged.
- Test Stability: Apply the setting and click “Yes” if prompted. If the screen goes black, wait 15 seconds—Windows will revert automatically. If successful, run a test video or game to check for flicker, ghosting, or tearing.
- Increment Gradually: If stable, repeat the process in 5Hz increments until instability occurs. The last stable setting is your overclock ceiling.
- Save and Profile: Once confirmed, save the profile in your GPU software. Consider naming it “OC_155Hz” for clarity.
Do’s and Don’ts of Monitor Overclocking
| Do’s | Don’ts |
|---|---|
| Start with small increments (5Hz) | Jump straight to +30Hz above spec |
| Use DisplayPort over HDMI | Attempt overclocking over HDMI 1.4 |
| Test stability with motion-heavy content | Rely solely on static desktop tests |
| Keep original resolution unchanged | Modify horizontal/vertical timings unless experienced |
| Back up GPU driver profiles | Ignore persistent flickering or audio buzzing |
Real-World Example: Overclocking a 144Hz IPS Panel
Jamal, a first-person shooter enthusiast, owns an older 24-inch IPS monitor rated at 144Hz. After researching forums, he learns that similar models have achieved 165Hz stably. Using NVIDIA Control Panel, he creates a custom resolution at 1920x1080 with a 150Hz refresh rate. The system accepts it. He plays 10 minutes of CS2; no issues arise. He increases to 155Hz—still stable. At 160Hz, minor flickering appears during dark scenes. He backs down to 155Hz, logs the result, and sets it as his default gaming profile. The improvement is noticeable: aiming feels tighter, and fast pans appear smoother. His monitor runs reliably at this rate for over a year with no degradation.
This case illustrates the importance of incremental testing and real-use validation. Jamal didn’t chase the highest possible number—he found the sweet spot between performance and reliability.
Expert Tips for Long-Term Stability
- Monitor Temperature: Prolonged high refresh rates can increase power draw and heat. Ensure your monitor has adequate ventilation, especially if mounted on a wall or enclosed desk setup.
- Avoid Overdriving Settings: Pairing an overclocked refresh rate with aggressive overdrive (sharpness or response time settings) can cause inverse ghosting. Adjust overdrive cautiously after locking in the refresh rate.
- Check Firmware Updates: Some manufacturers release firmware updates that either enable higher refresh rates or restrict custom modes. Stay informed before making permanent changes.
- Use Multiple Profiles: Save separate GPU profiles for gaming (overclocked) and productivity (stock settings) to reduce wear during non-gaming hours.
Frequently Asked Questions
Is monitor overclocking safe?
When done gradually and within reasonable limits, monitor overclocking is generally safe. Most failures are temporary (signal loss), not permanent damage. However, sustained instability or excessive voltage stress from poor signal integrity could shorten panel lifespan. Proceed with caution and stop if flickering, color distortion, or buzzing occurs.
Can I overclock a laptop screen?
Generally, no. Laptop displays are tightly integrated with proprietary EDID configurations and often lack support for custom refresh rates via external tools. Some high-end gaming laptops allow limited adjustments through manufacturer software, but true overclocking is rare and risky.
Will overclocking void my warranty?
Potentially. While most manufacturers don’t detect or track custom refresh rates, any physical damage attributed to overclocking (e.g., dead pixels, backlight failure) may void warranty claims. Check your product terms before proceeding.
Final Checklist Before You Begin
- ✅ Confirm your monitor model supports custom refresh rates
- Check community forums like Reddit’s r/Monitors or TechPowerUp for user-reported OC success.
- ✅ Use a high-quality DisplayPort cable (1.2 or higher)
- HDMI often lacks the bandwidth for stable high-refresh custom modes.
- ✅ Backup your current GPU settings
- Create a restore point or export your driver profile.
- ✅ Test each increment with dynamic content
- Watch panning videos or play fast-paced games to catch subtle instability.
- ✅ Know when to stop
- If you encounter flicker, black screens, or audio interference, revert and accept the last stable setting.
Conclusion: Smooth Out Your Gaming Experience
Overclocking your monitor isn’t magic—it’s a calculated optimization rooted in understanding your hardware’s hidden potential. With careful testing and respect for technical limits, you can unlock smoother gameplay, sharper motion clarity, and a competitive edge. This method costs nothing but time and attention, yet delivers tangible benefits comparable to a hardware upgrade. Whether you gain 10Hz or 20Hz, every frame matters when victory hinges on reaction time. Now that you have the knowledge, take control of your display’s performance. Experiment wisely, document your results, and enjoy the fluidity of a truly responsive screen.


 浙公网安备
33010002000092号
浙公网安备
33010002000092号 浙B2-20120091-4
Comments
No comments yet. Why don't you start the discussion?